Developer
Cursor
Connect Klavis MCP Servers with Cursor IDE in minutes and supercharge your AI coding experience

Quick Setup Guide
1
Access Klavis MCP Servers
Navigate to the Klavis home page and click “MCP Server” in the left sidebar, pick MCP Server you like.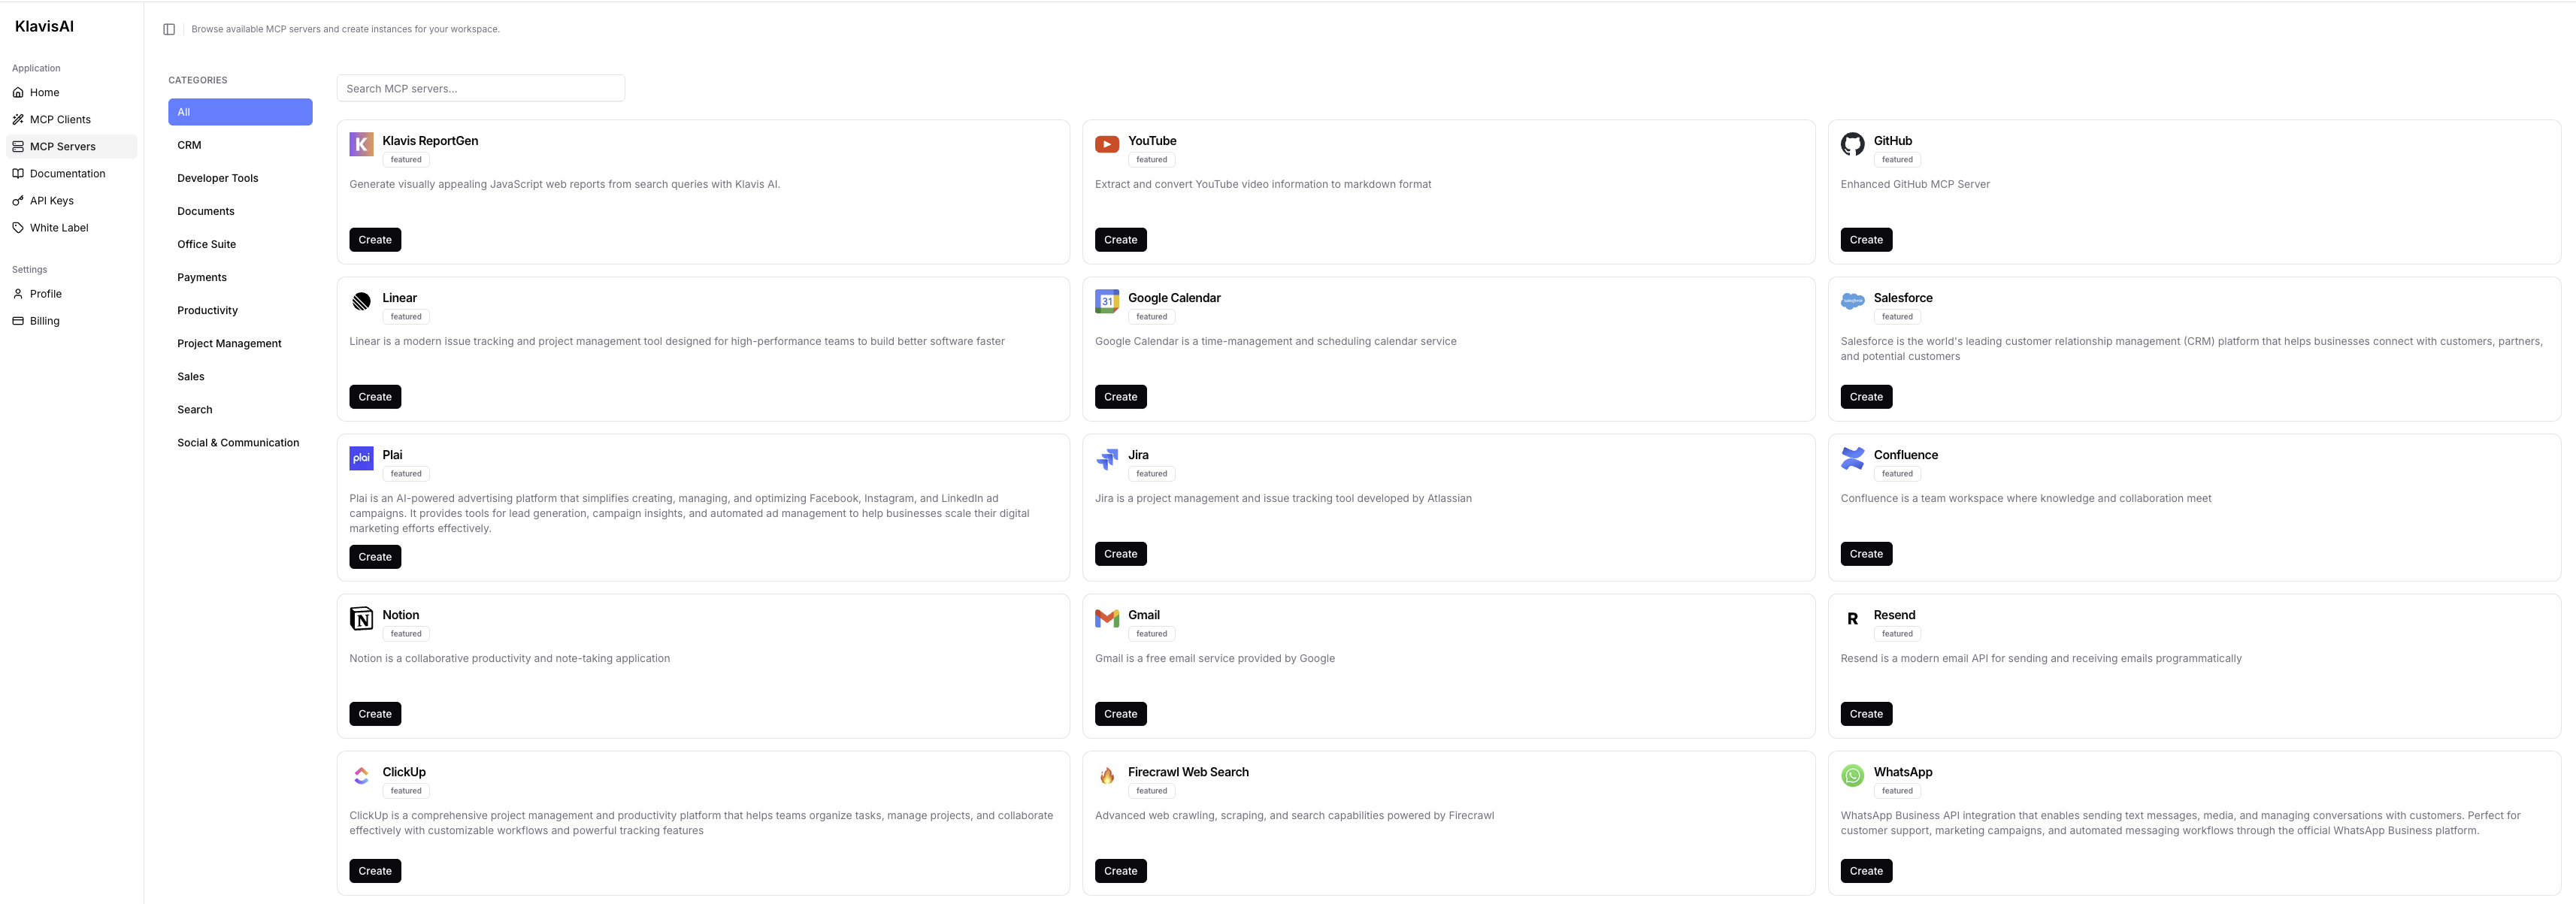 Click the “Create” button next to your chosen server.
Click the “Create” button next to your chosen server.2
Complete Authentication
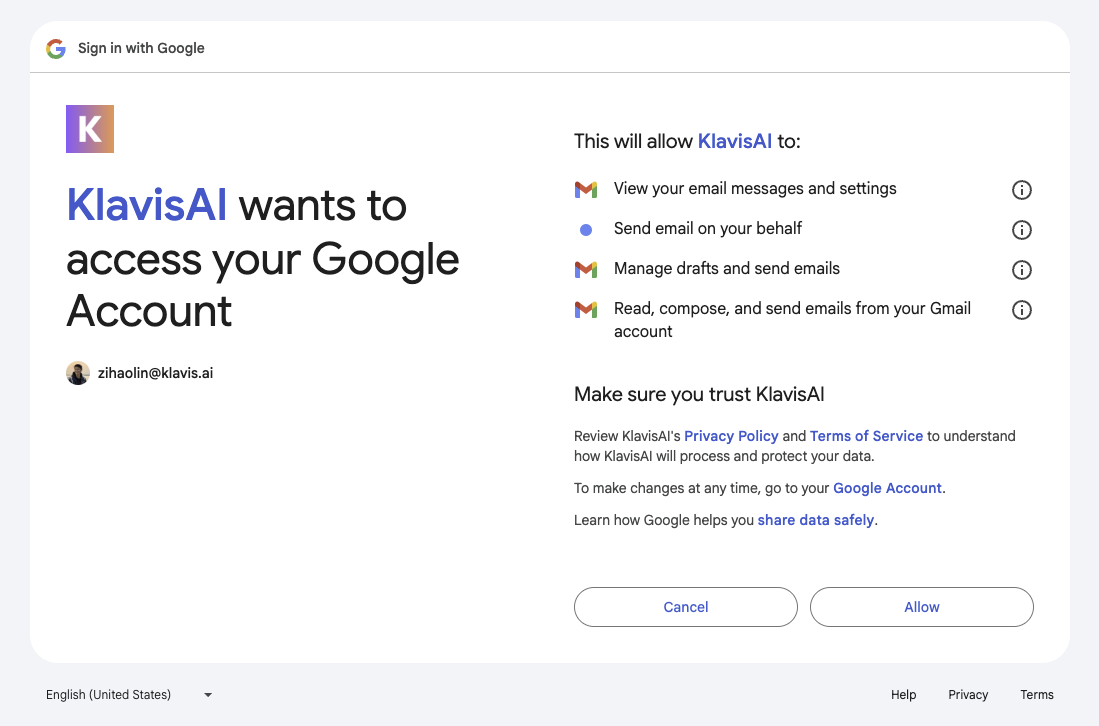

🔐 OAuth Services (Most Common)
🔐 OAuth Services (Most Common)
- Automatically redirected to OAuth authorization
- Sign in to your account (GitHub, Google, Slack, etc.)
- Grant necessary permissions
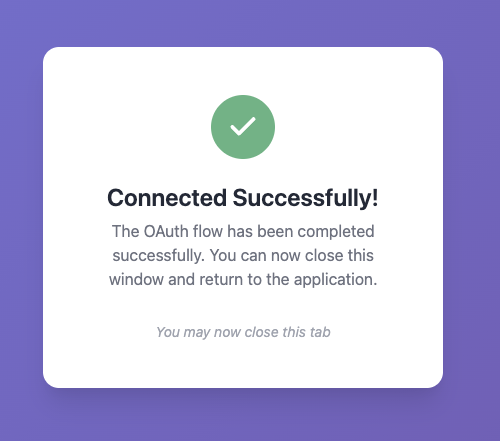
- Redirected back to Klavis automatically
🔑 API Key Services
🔑 API Key Services
- Prompted to enter an API key
- Follow service-specific instructions to generate key
- Paste key in the provided field
- Click “Save” to continue
3
Configure Cursor IDE
Copy Your Server URL, open Cursor IDE settings: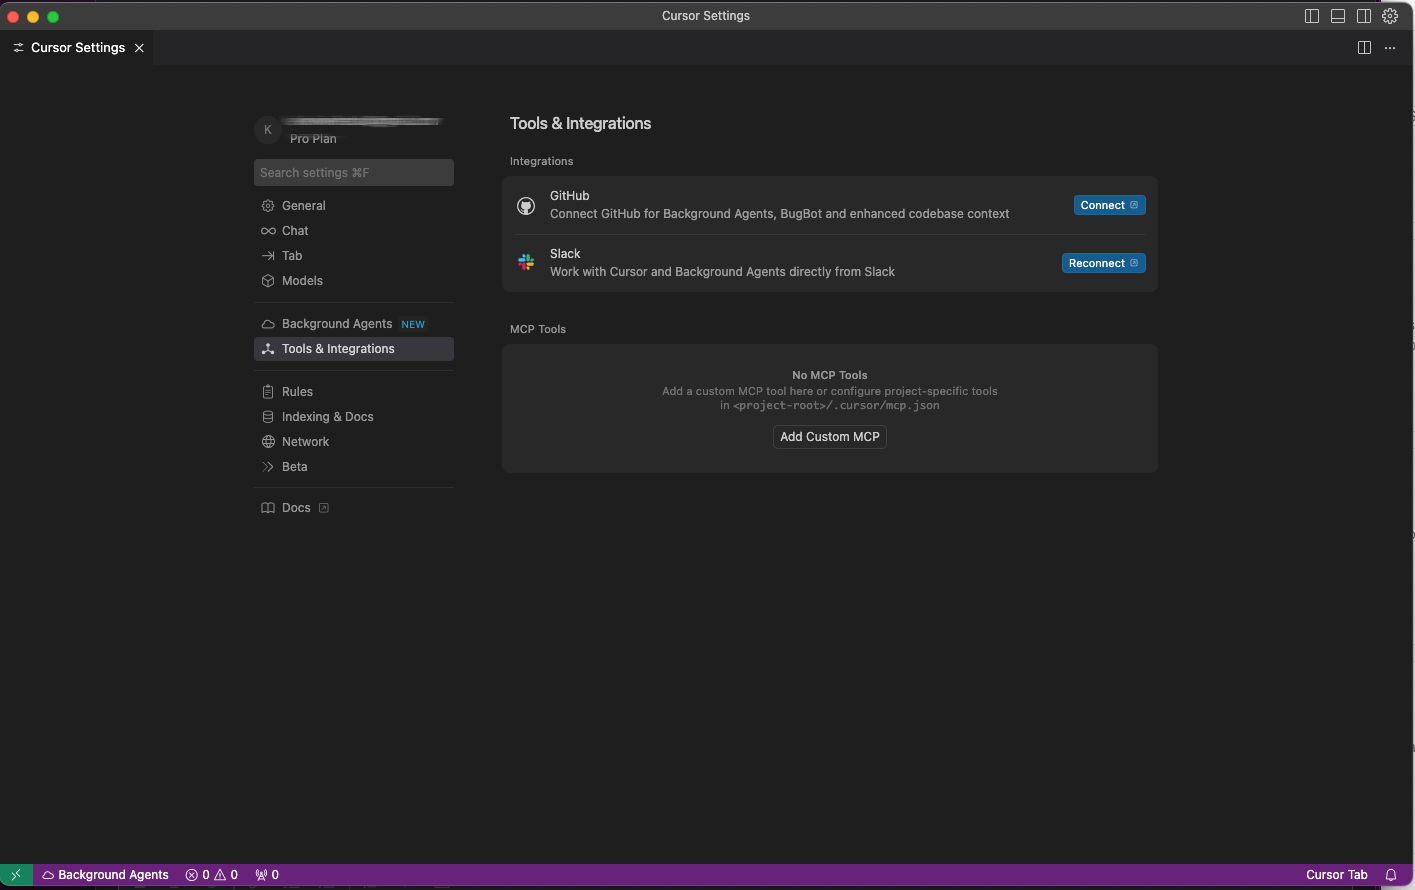
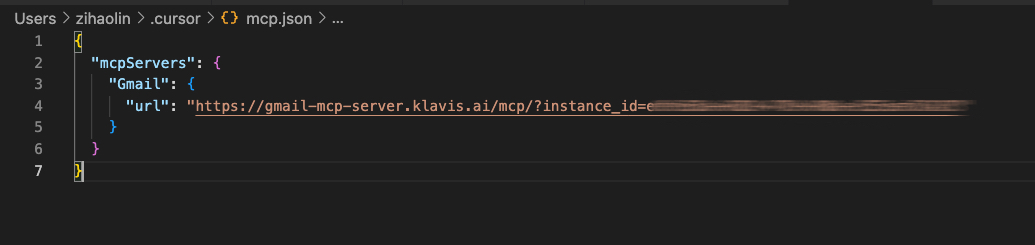
- macOS:
Cmd + ,or Cursor > Settings - Windows/Linux:
Ctrl + ,or File > Preferences > Settings
4
Verify Tools Loading

📋 Reopen Cursor Settings to apply the new configuration
5
Start Using in Cursor Chat
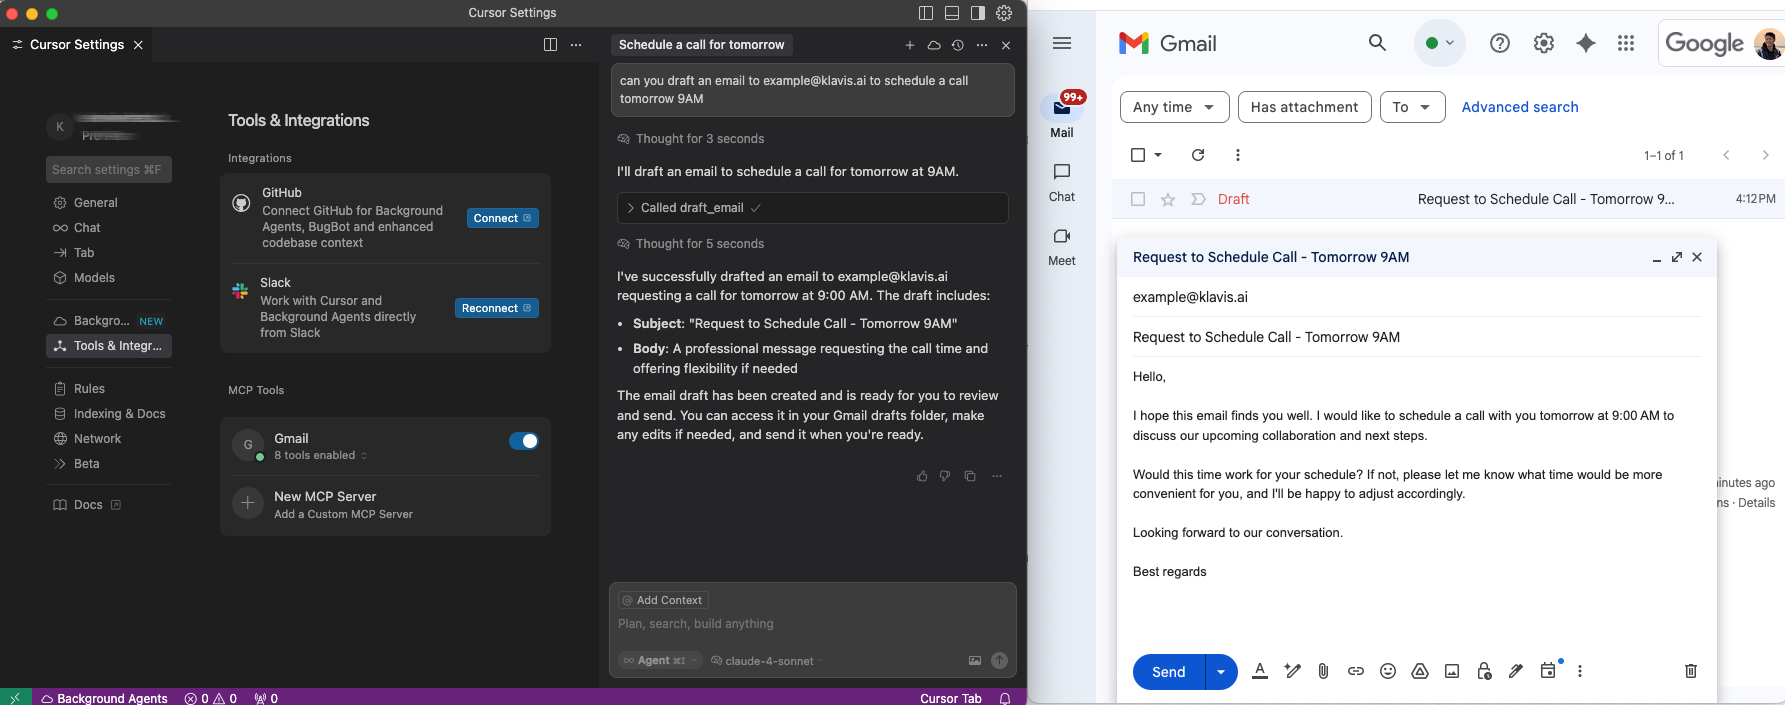 Open Cursor Chat (
Cmd/Ctrl + L) and start using natural language:🎯 Cursor Chat automatically detects when to use your MCP server tools based on context - no need to specify tool names!
6
Happy Building! 🎉
You’re all set! Your MCP server is now integrated with Cursor IDE.
Troubleshooting
🔧 Tools Not Appearing
🔧 Tools Not Appearing
- Double-check your Server URL for typos
- Ensure stable internet connection
- Verify authentication in Klavis dashboard
- Check Cursor IDE logs for error messages
- Try completely restarting Cursor IDE
🔐 Authentication Issues
🔐 Authentication Issues
- Re-authenticate in the Klavis dashboard
- Check if your OAuth tokens have expired
- Verify API key permissions (for API key services)
- Ensure you’ve granted all necessary permissions
⚡ Performance Issues
⚡ Performance Issues
- Limit the number of active MCP servers
- Check your internet connection speed
- Restart Cursor IDE periodically
- Contact support if issues persist
Need Help?
Community
Join our Discord for community support and discussions
Support
Contact our technical support team for assistance