Quick Start Guide
Create your first MCP server in 10 seconds using Gmail as an example.1
Create from Klavis Dashboard
Navigate to the Klavis Dashboard and click “MCP Server” in the left sidebar.Find the MCP server you like, here we use Gmail one as example.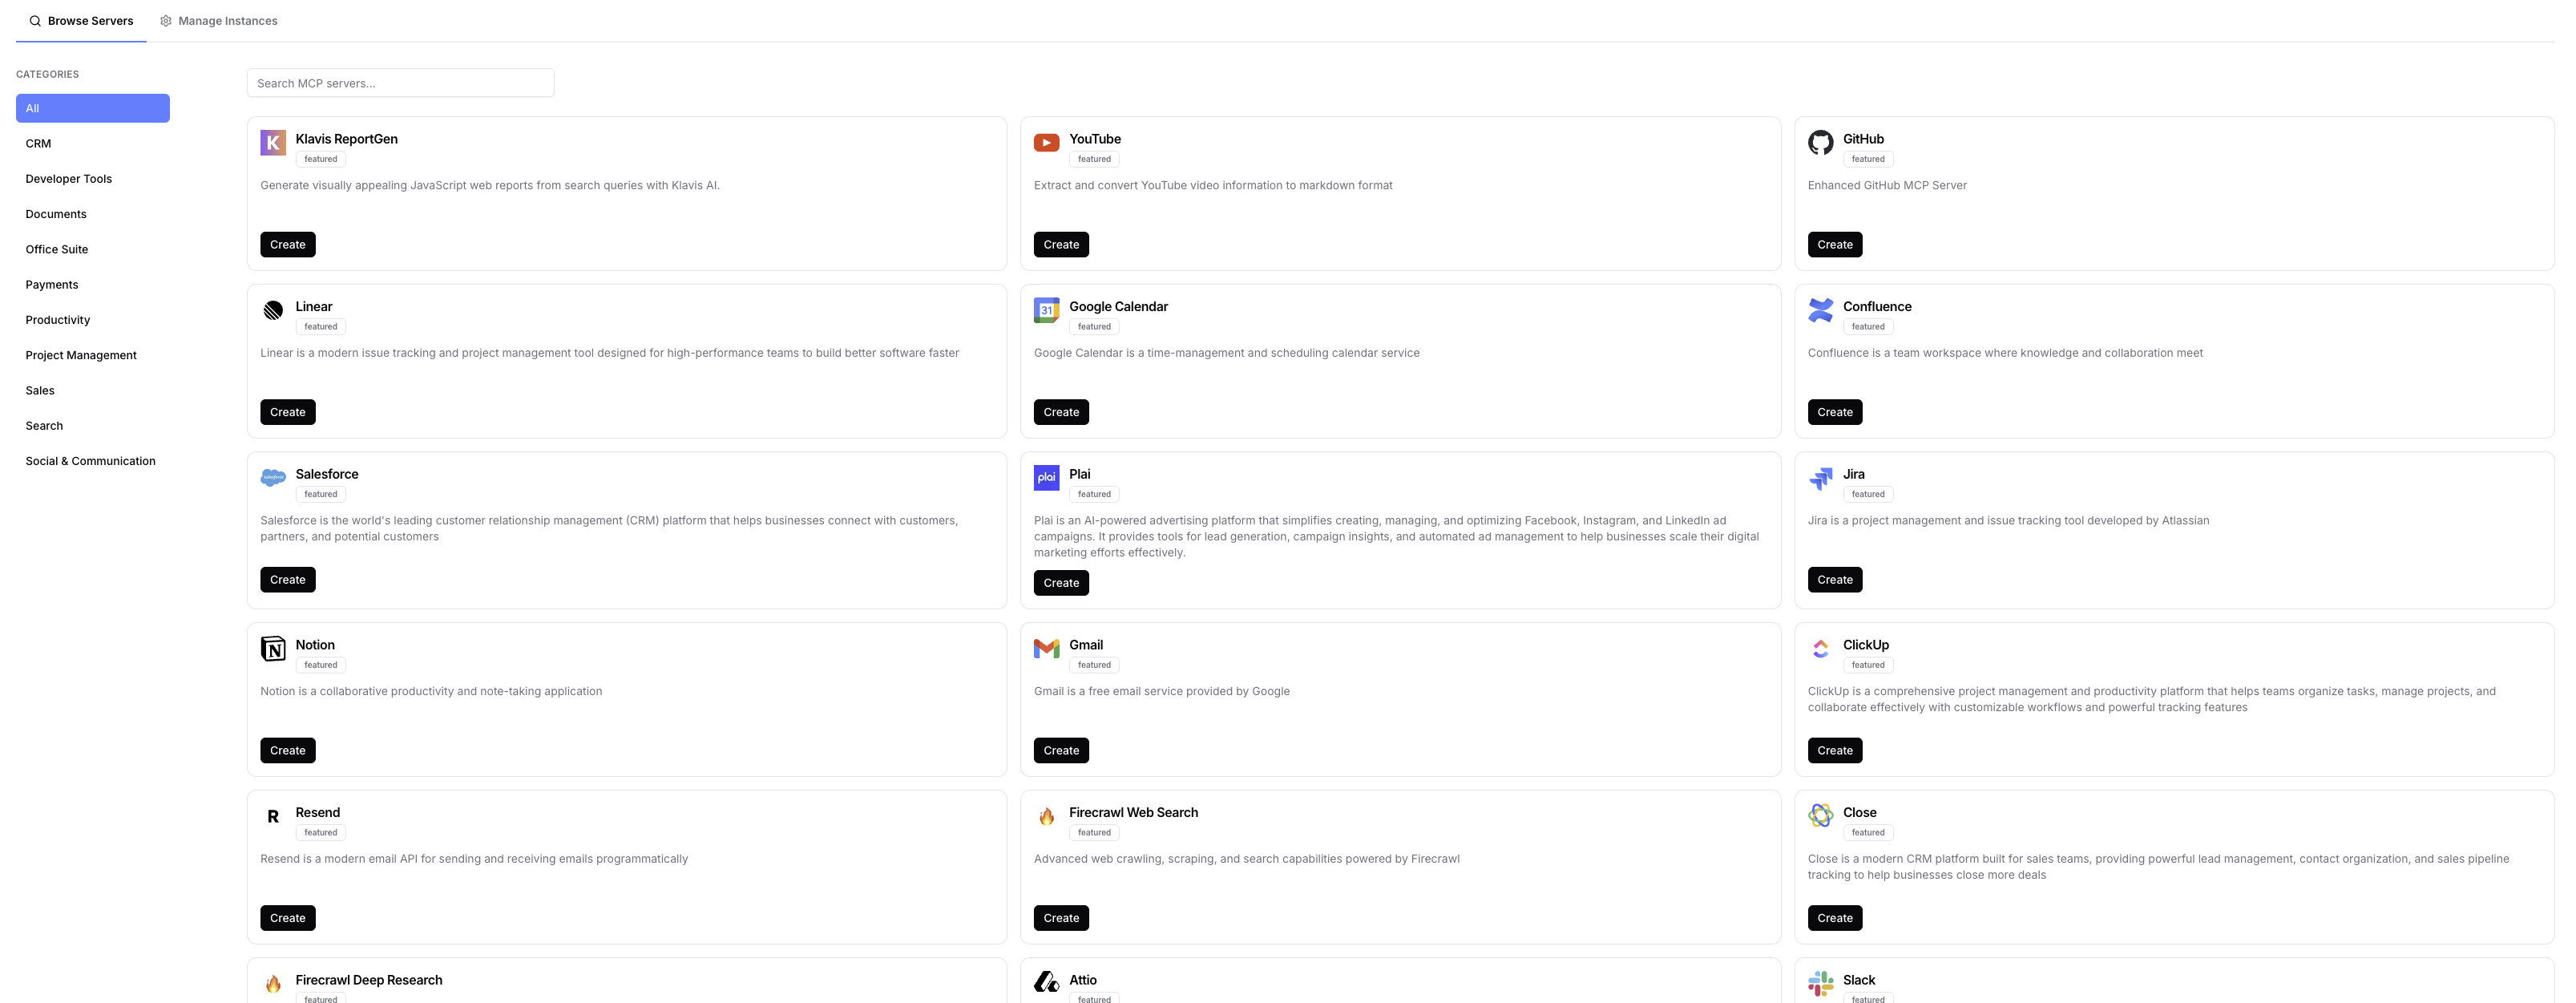
You’ll get a server URL and OAuth URL for authentication. Keep these handy for the next steps.
2
Complete OAuth Authentication
Once you hit the create button, it will automatically redirect you to the OAuth flow.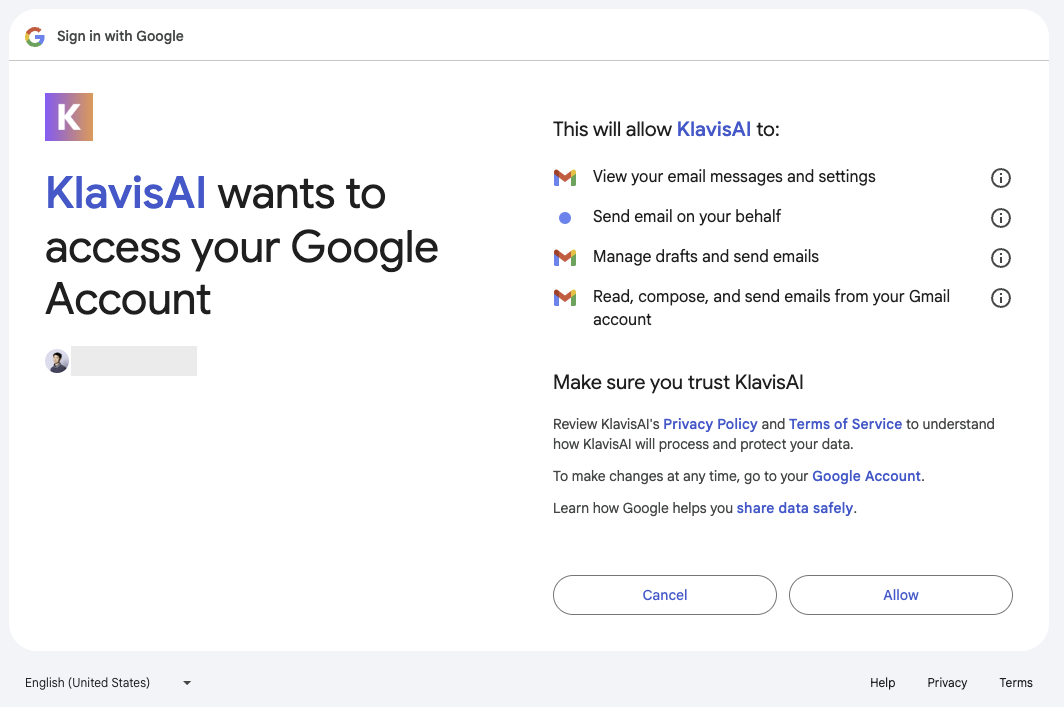
🔐 Gmail OAuth Flow
🔐 Gmail OAuth Flow
- Sign in to your Google account
- Grant Gmail permissions to Klavis
- You’ll be redirected back automatically
- Your MCP server is now ready to use
Once OAuth is complete, your Gmail MCP server can read, send, and manage your emails.
Congratulations! You’ve successfully created your first MCP server.