Prerequisites
- Calendly account (personal or business)
- Access to Calendly Developer Portal
Step 1: Create Calendly Developer Account
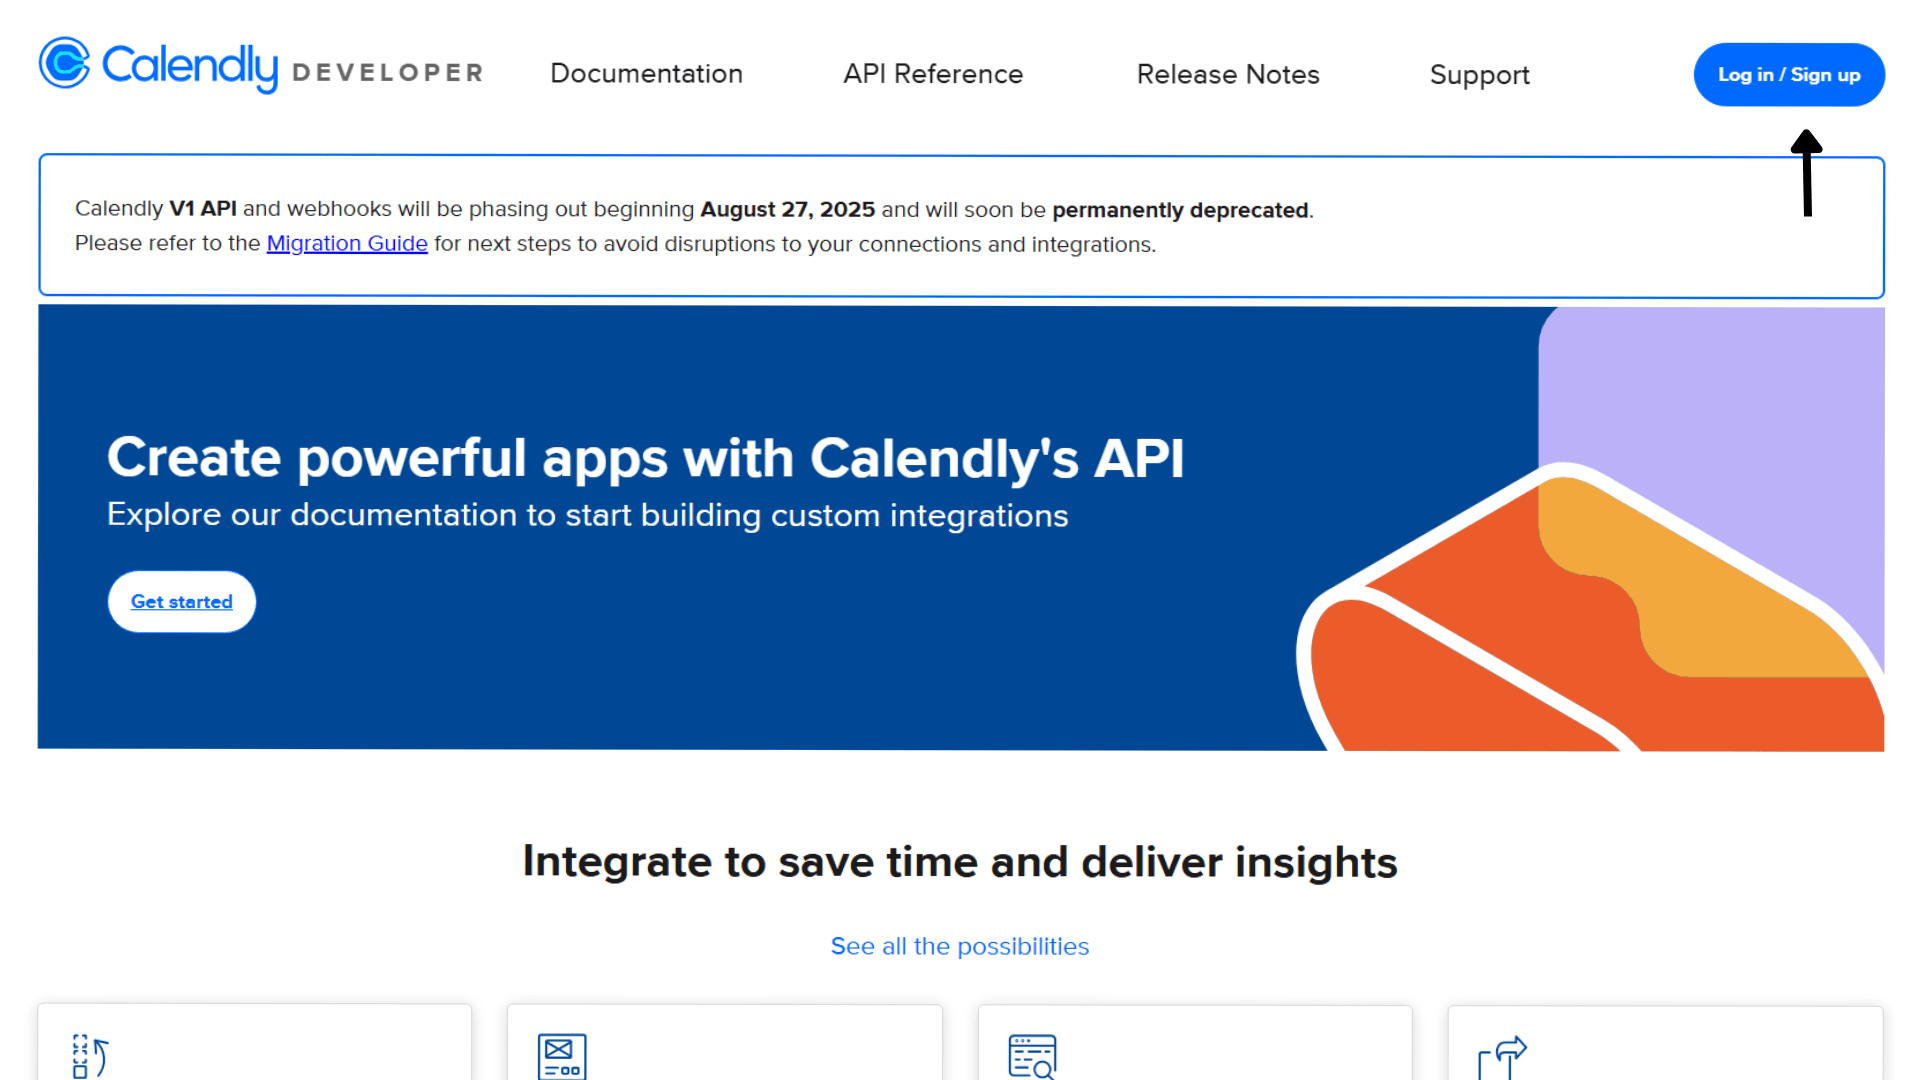
- Visit https://developer.calendly.com/
- Click “Sign In” or “Log In” if you already have an account
- Sign in with your Calendly account or create a new developer account
Step 2: Create a New App
- Once logged in, go to “Accounts” -> “My Apps”
- Click “Create a new app”
- Choose “Web App” as the integration type
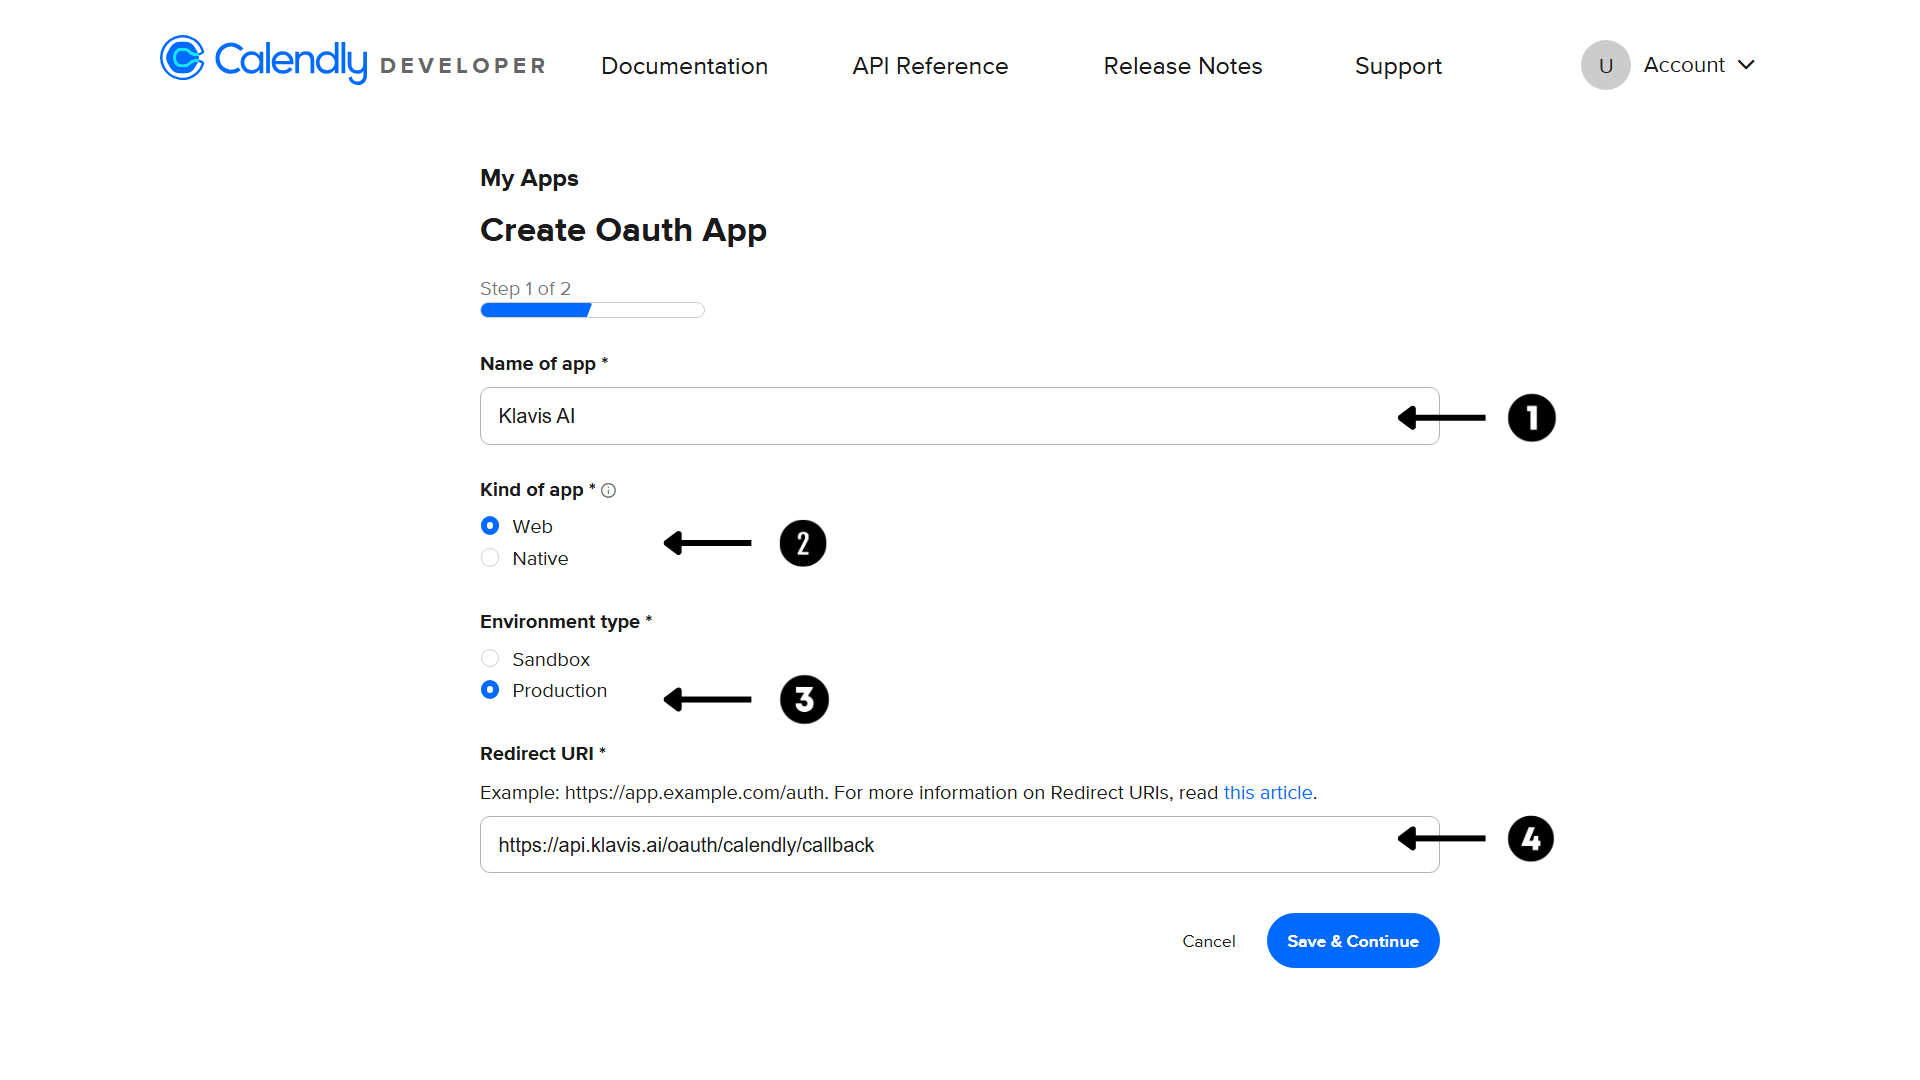
- Fill in the app details:
- Name of app: Your application name (e.g., your brand name)
- Kind of app: Web/Native (depending on your need)
- Environment Type: Sandbox/Production (Production recommended)
- Redirect URIs: Add your callback URL:
https://api.klavis.ai/oauth/calendly/callback
Normally, the redirect URI should be set to:
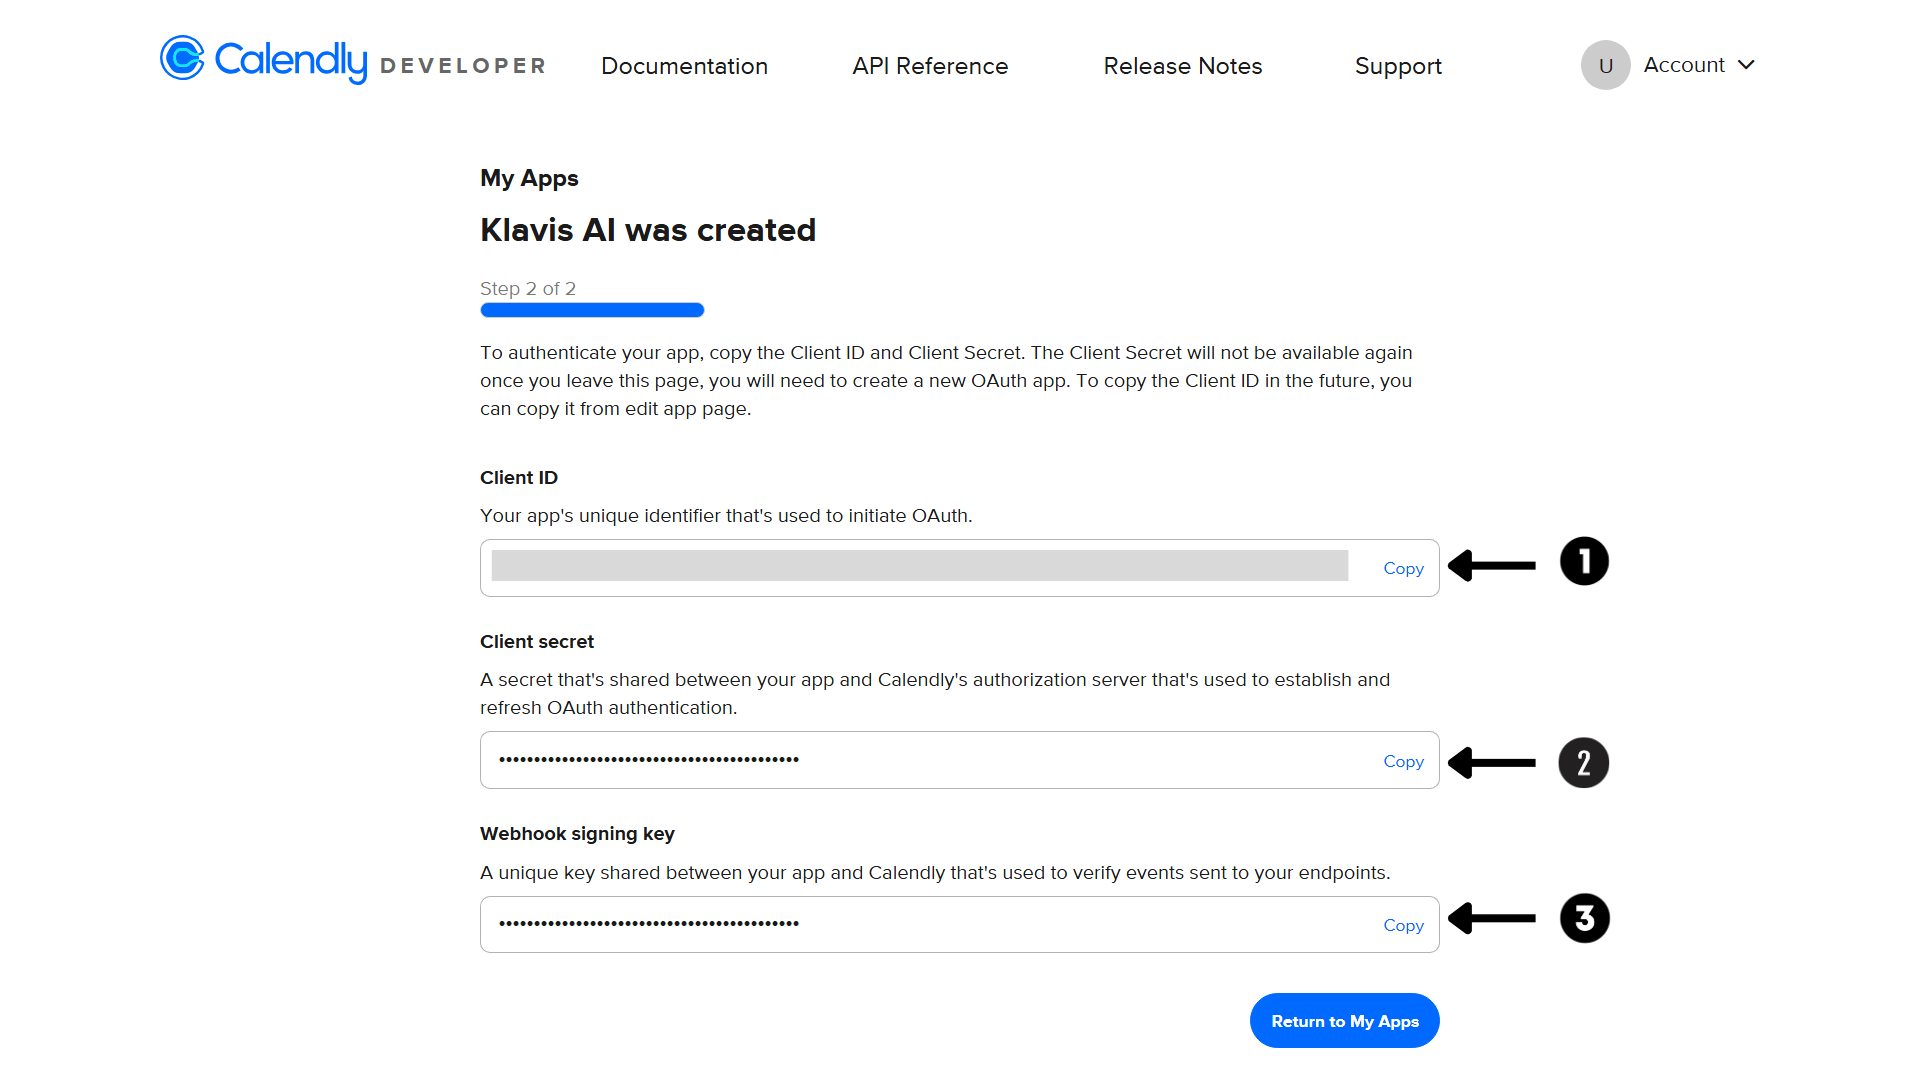
https://api.klavis.ai/oauth/calendly/callbackStep 3: Get Your Credentials
After creating the app, you’ll see:- Client ID: Copy this value
- Client Secret: Generate and copy this value (keep it secure!)
Calendly does not use traditional OAuth scopes. Once authenticated, your application has access to all API endpoints permitted by the user’s subscription and role.
(Optional) Step 4: White Labeling
White labeling allows you to customize the OAuth experience with your own branding instead of Klavis AI’s.
- Configure White Labeling: Go to https://www.klavis.ai/home/white-label
- Add Your Credentials: Enter your Calendly Client ID and Client Secret from Step 3
-
Set Redirect URI: Use
https://api.klavis.ai/oauth/calendly/callbackor your custom callback URL -
Initiate OAuth: Use your client ID when starting the OAuth flow:
For detailed white labeling implementation and code examples, see our OAuth & White Labeling guide.