Prerequisites
- Microsoft account (personal or organizational)
- Access to Azure Portal
Step 1: Create Microsoft App Registration
- Visit https://portal.azure.com/ and sign in
- Search App registrations → click New registration
-
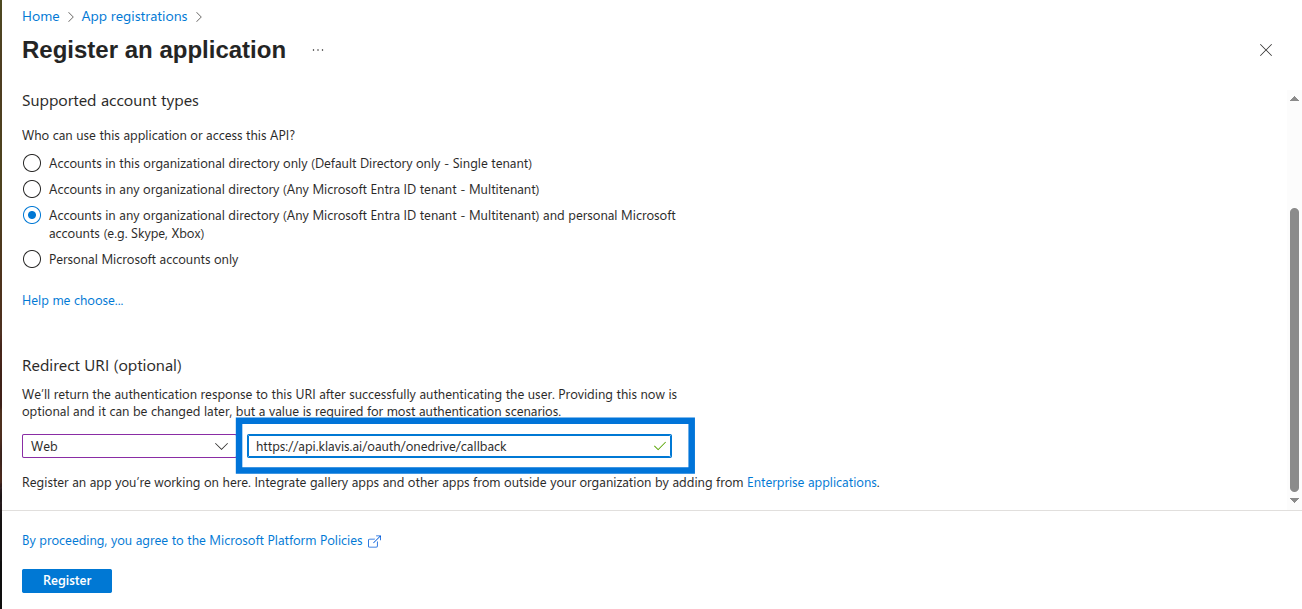
Fill out the form:
- Name: Choose a descriptive app name
- Supported account types: Select Accounts in any organizational directory and personal Microsoft accounts
- Redirect URI:
https://api.klavis.ai/oauth/onedrive/callback
- Click Register
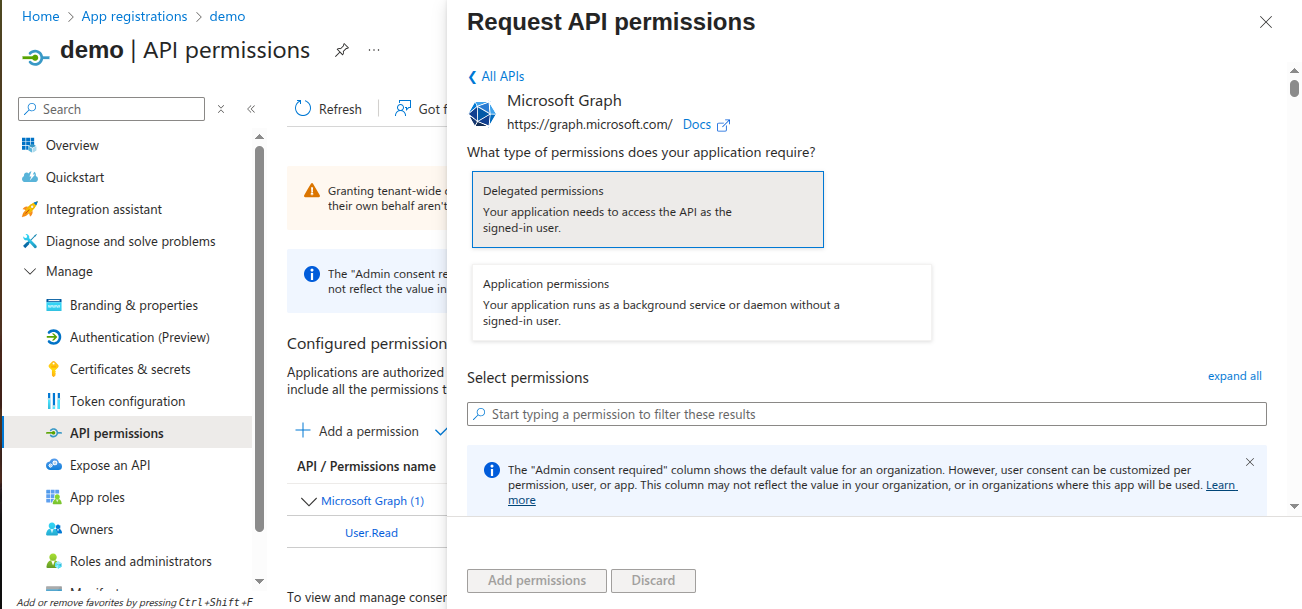
Step 2: Configure API Permissions
Klavis OneDrive MCP Server uses the following OAuth scopes:
openid, profile, email, offline_access, Files.ReadWrite.All, User.Read- Go to your app → API Permissions
- Click Add a permission → Microsoft Graph → Delegated permissions
-
Select:
openid,profile,email,offline_accessFiles.ReadWrite.AllUser.Read
- Click Add permissions
- (Optional) Click Grant admin consent if you want to approve for all org users
Step 3: Collect Client ID & Secret
- Go to Certificates & Secrets tab
- Click New client secret → set description + expiry → Add
- Copy the Client Secret Value (shown only once)
- From Overview tab, copy Application (client) ID


You have successfully created a OneDrive OAuth application! You now have your Client ID and Client Secret ready for integration with Klavis AI.
(Optional) Step 4: White Labeling
White labeling allows you to customize the OAuth experience with your own branding instead of Klavis AI’s.
- Configure White Labeling: Go to https://www.klavis.ai/home/white-label
- Add Your Credentials: Enter your OneDrive Client ID and Client Secret from Step 3
-
Set Redirect URI: Use
https://api.klavis.ai/oauth/onedrive/callbackor your custom callback URL -
Initiate OAuth: Use your client ID when starting the OAuth flow:
For detailed white labeling implementation and code examples, see our OAuth & White Labeling guide.