Prerequisites
- Intuit Developer account (free to sign up)
- Access to Intuit Developer Platform
Step 1: Create Intuit Developer Account & Workspace
- Visit https://developer.intuit.com and sign in with your Intuit credentials
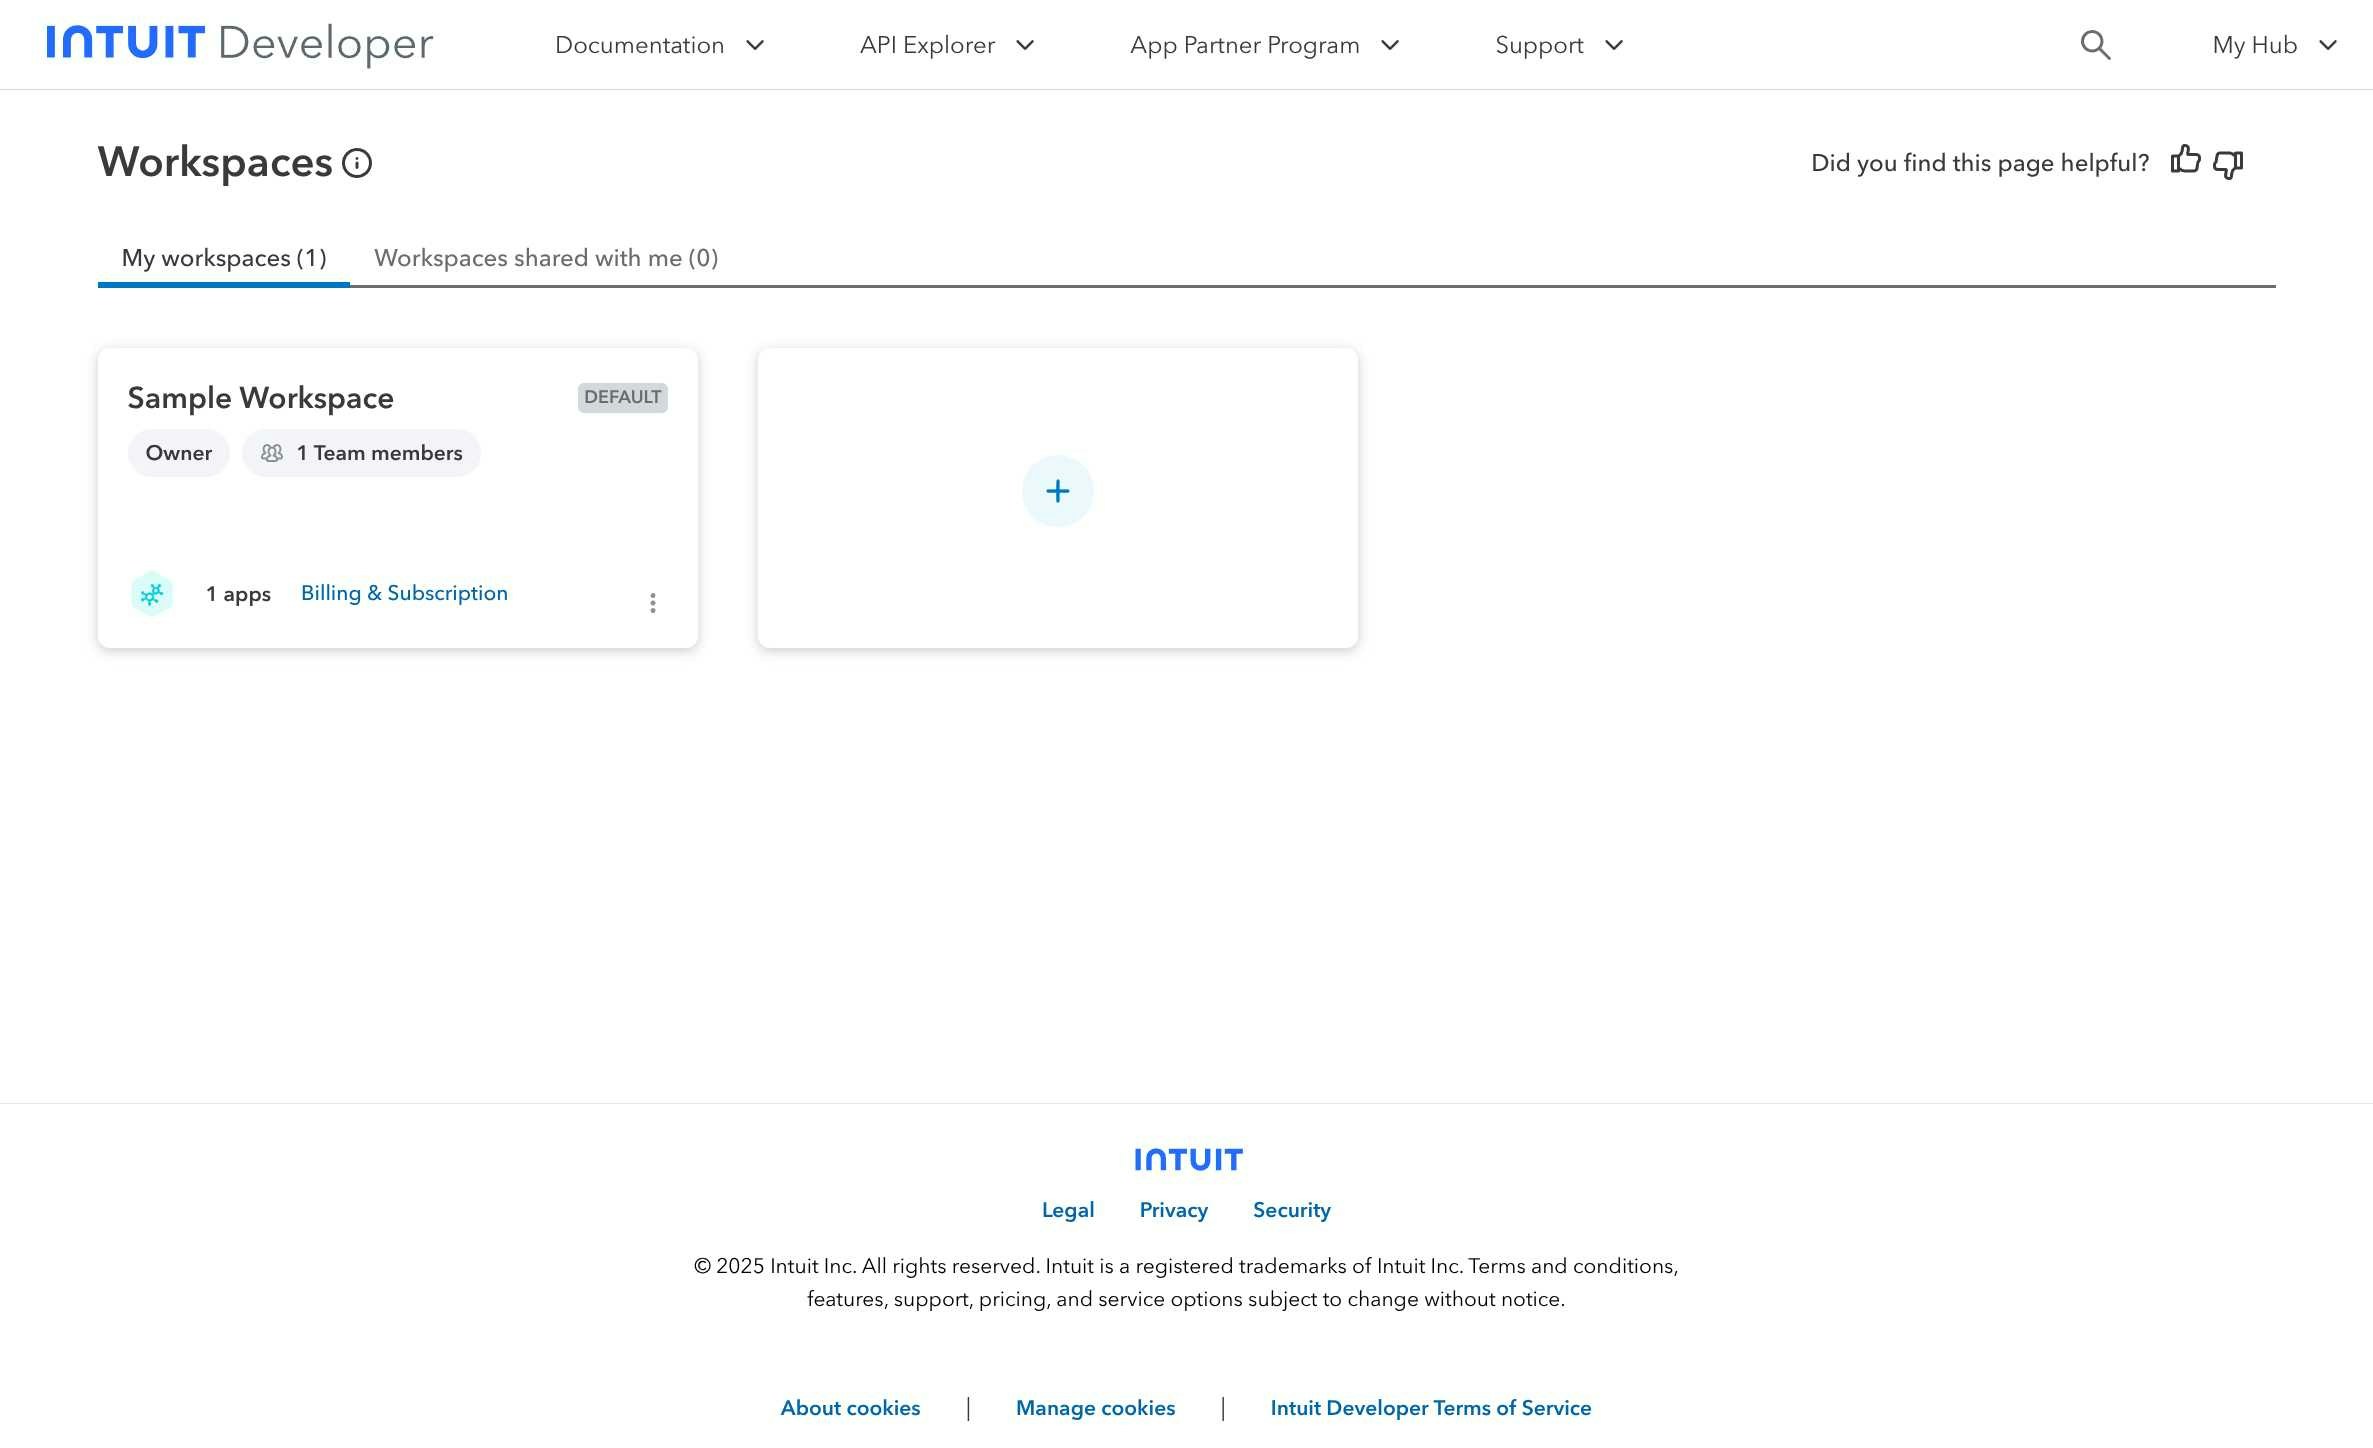
- Click “Create a workspace” to set up your development environment
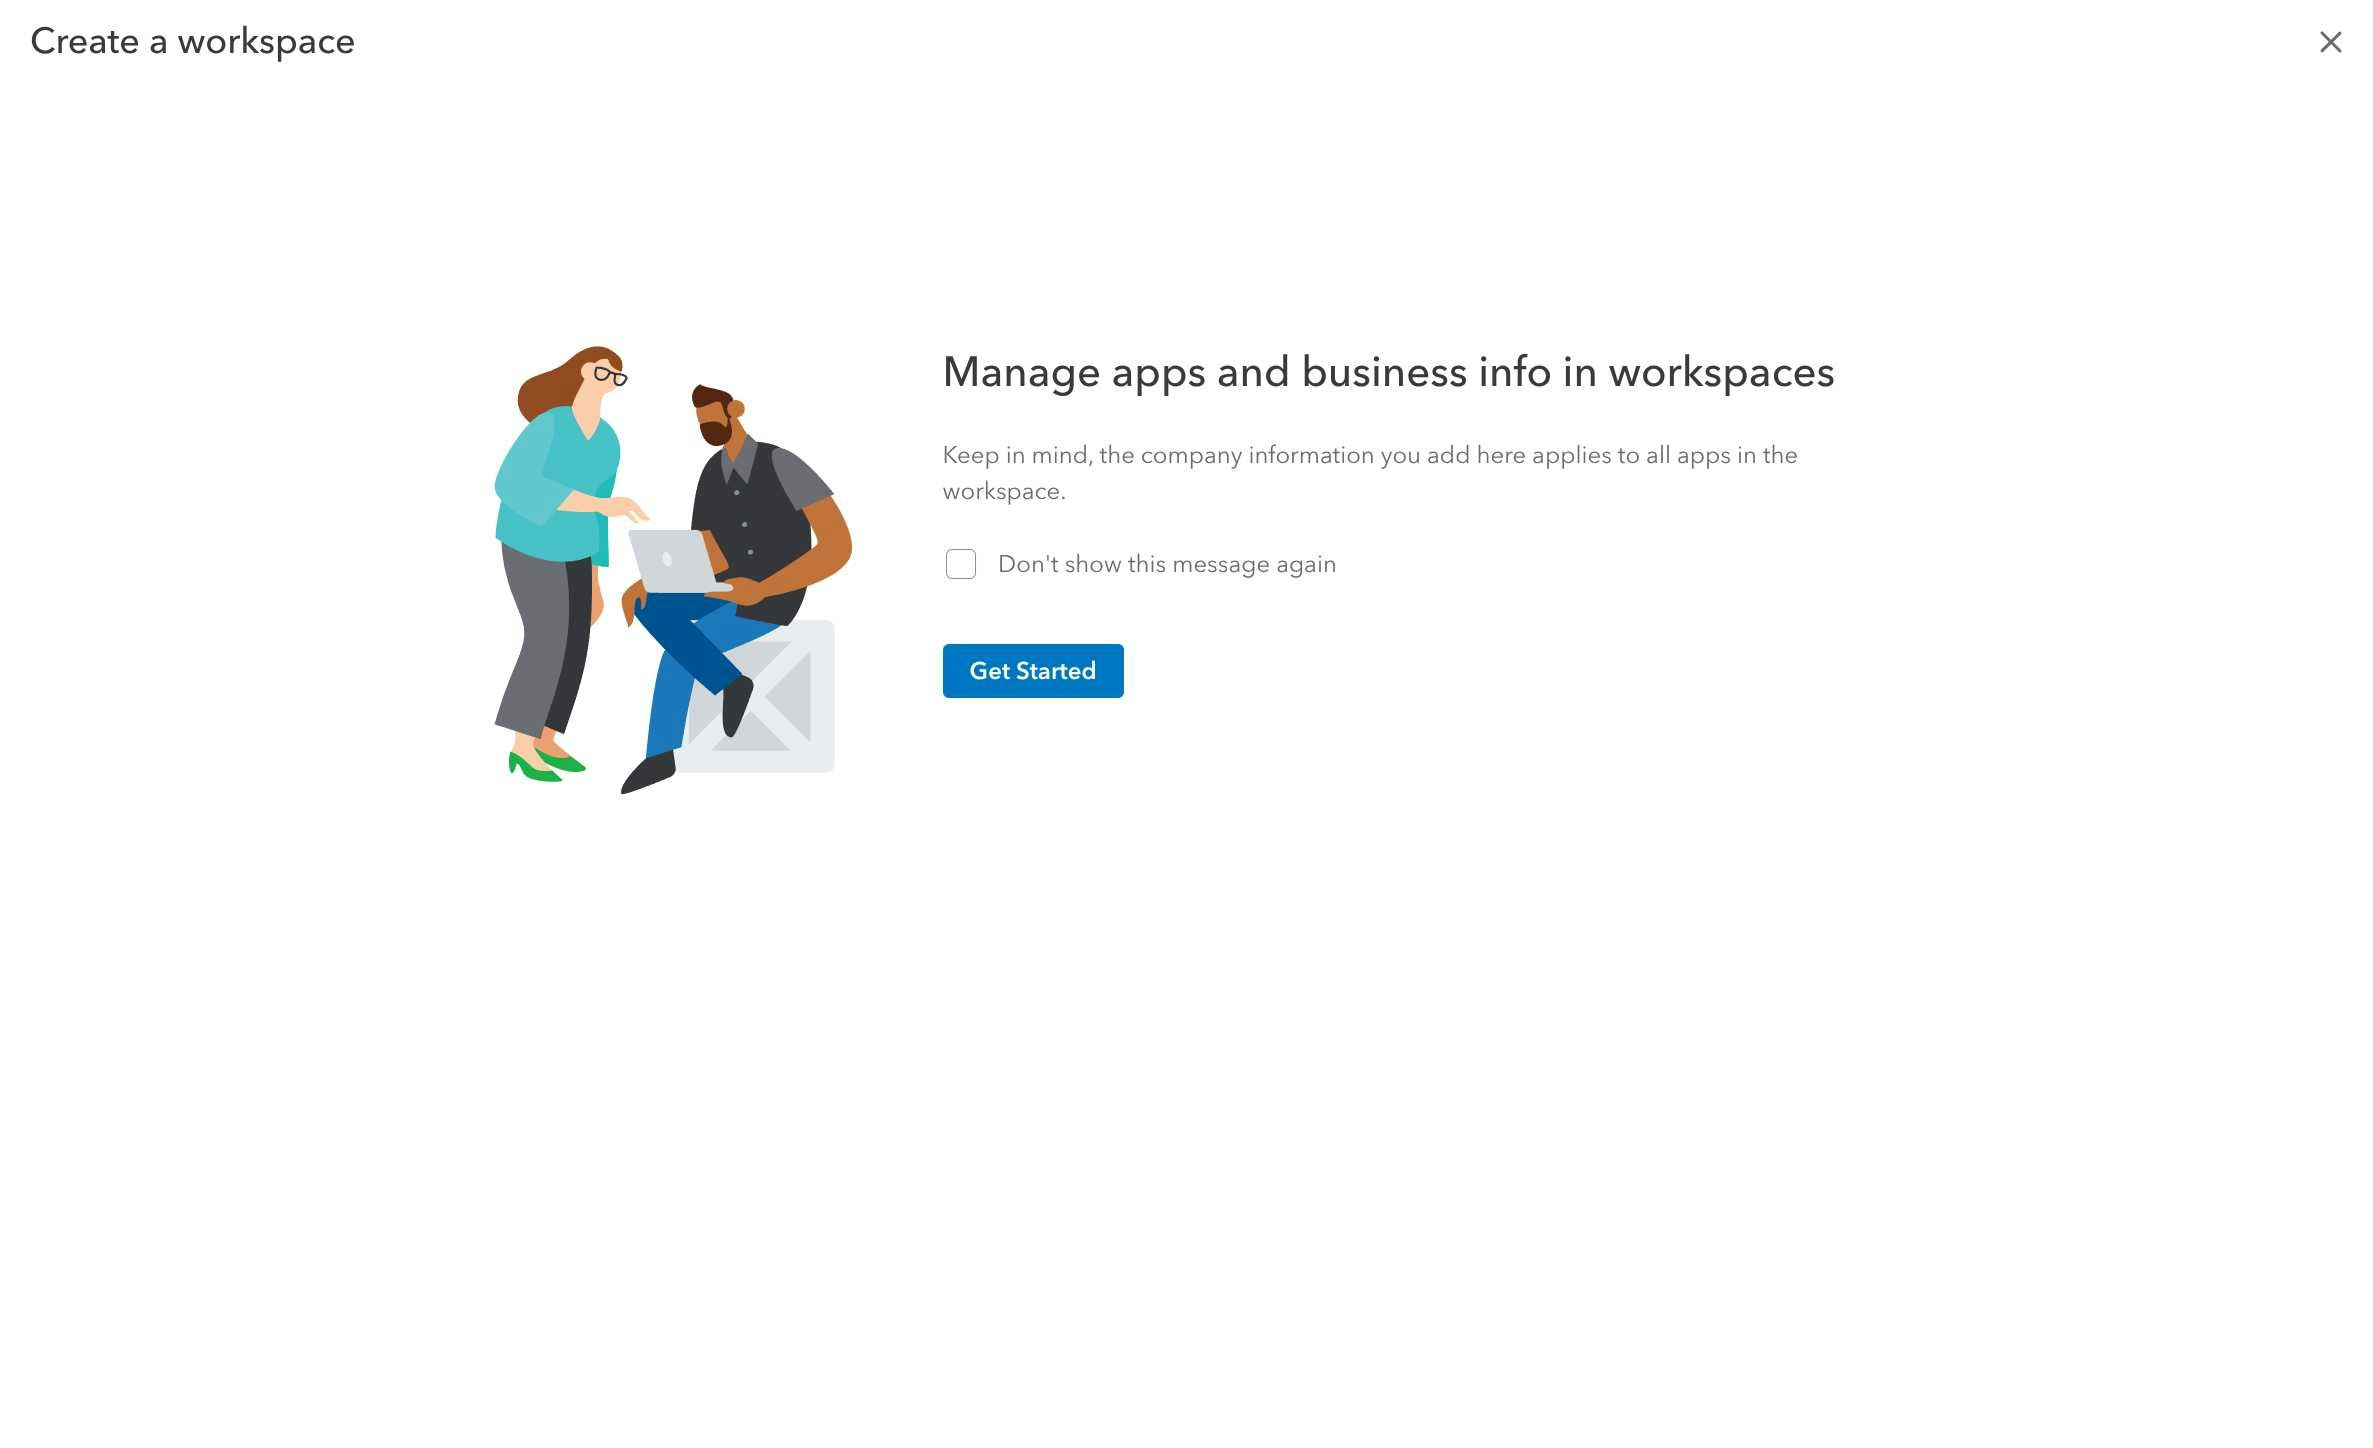
- Fill out the workspace creation form with three steps:
- Step 1 - Basic Information: Enter workspace name and description
- Step 2 - Company Information: Provide your company details
- Step 3 - Contact Information: Add your contact information
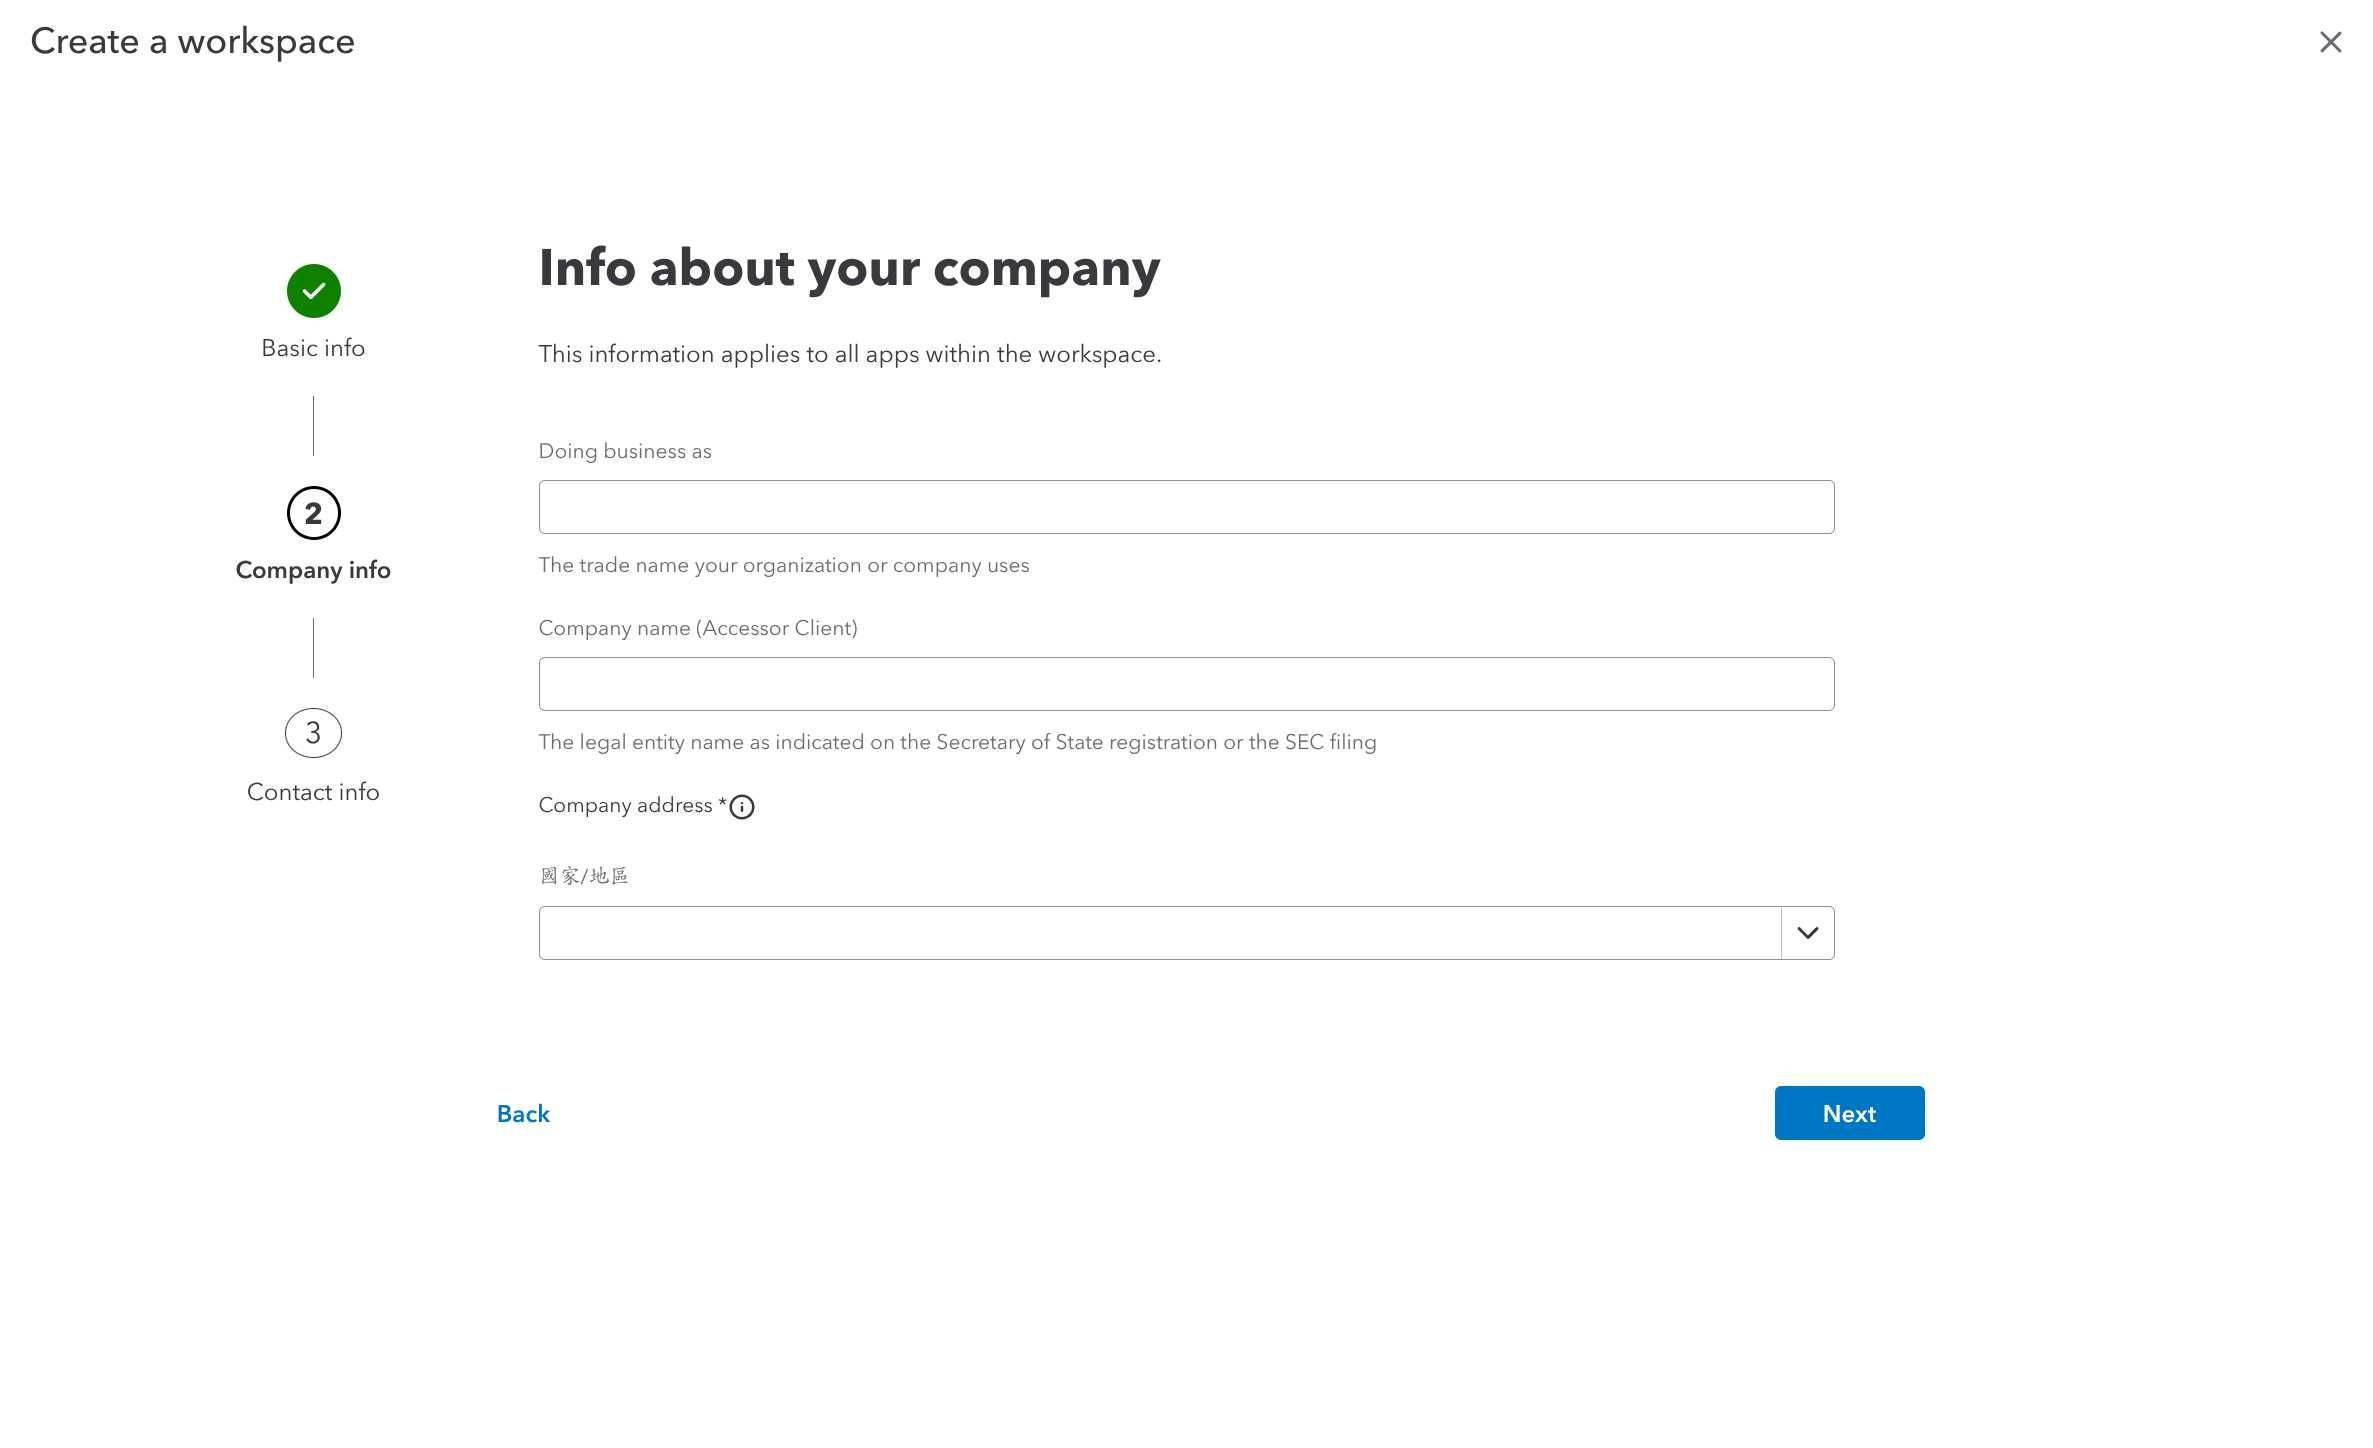
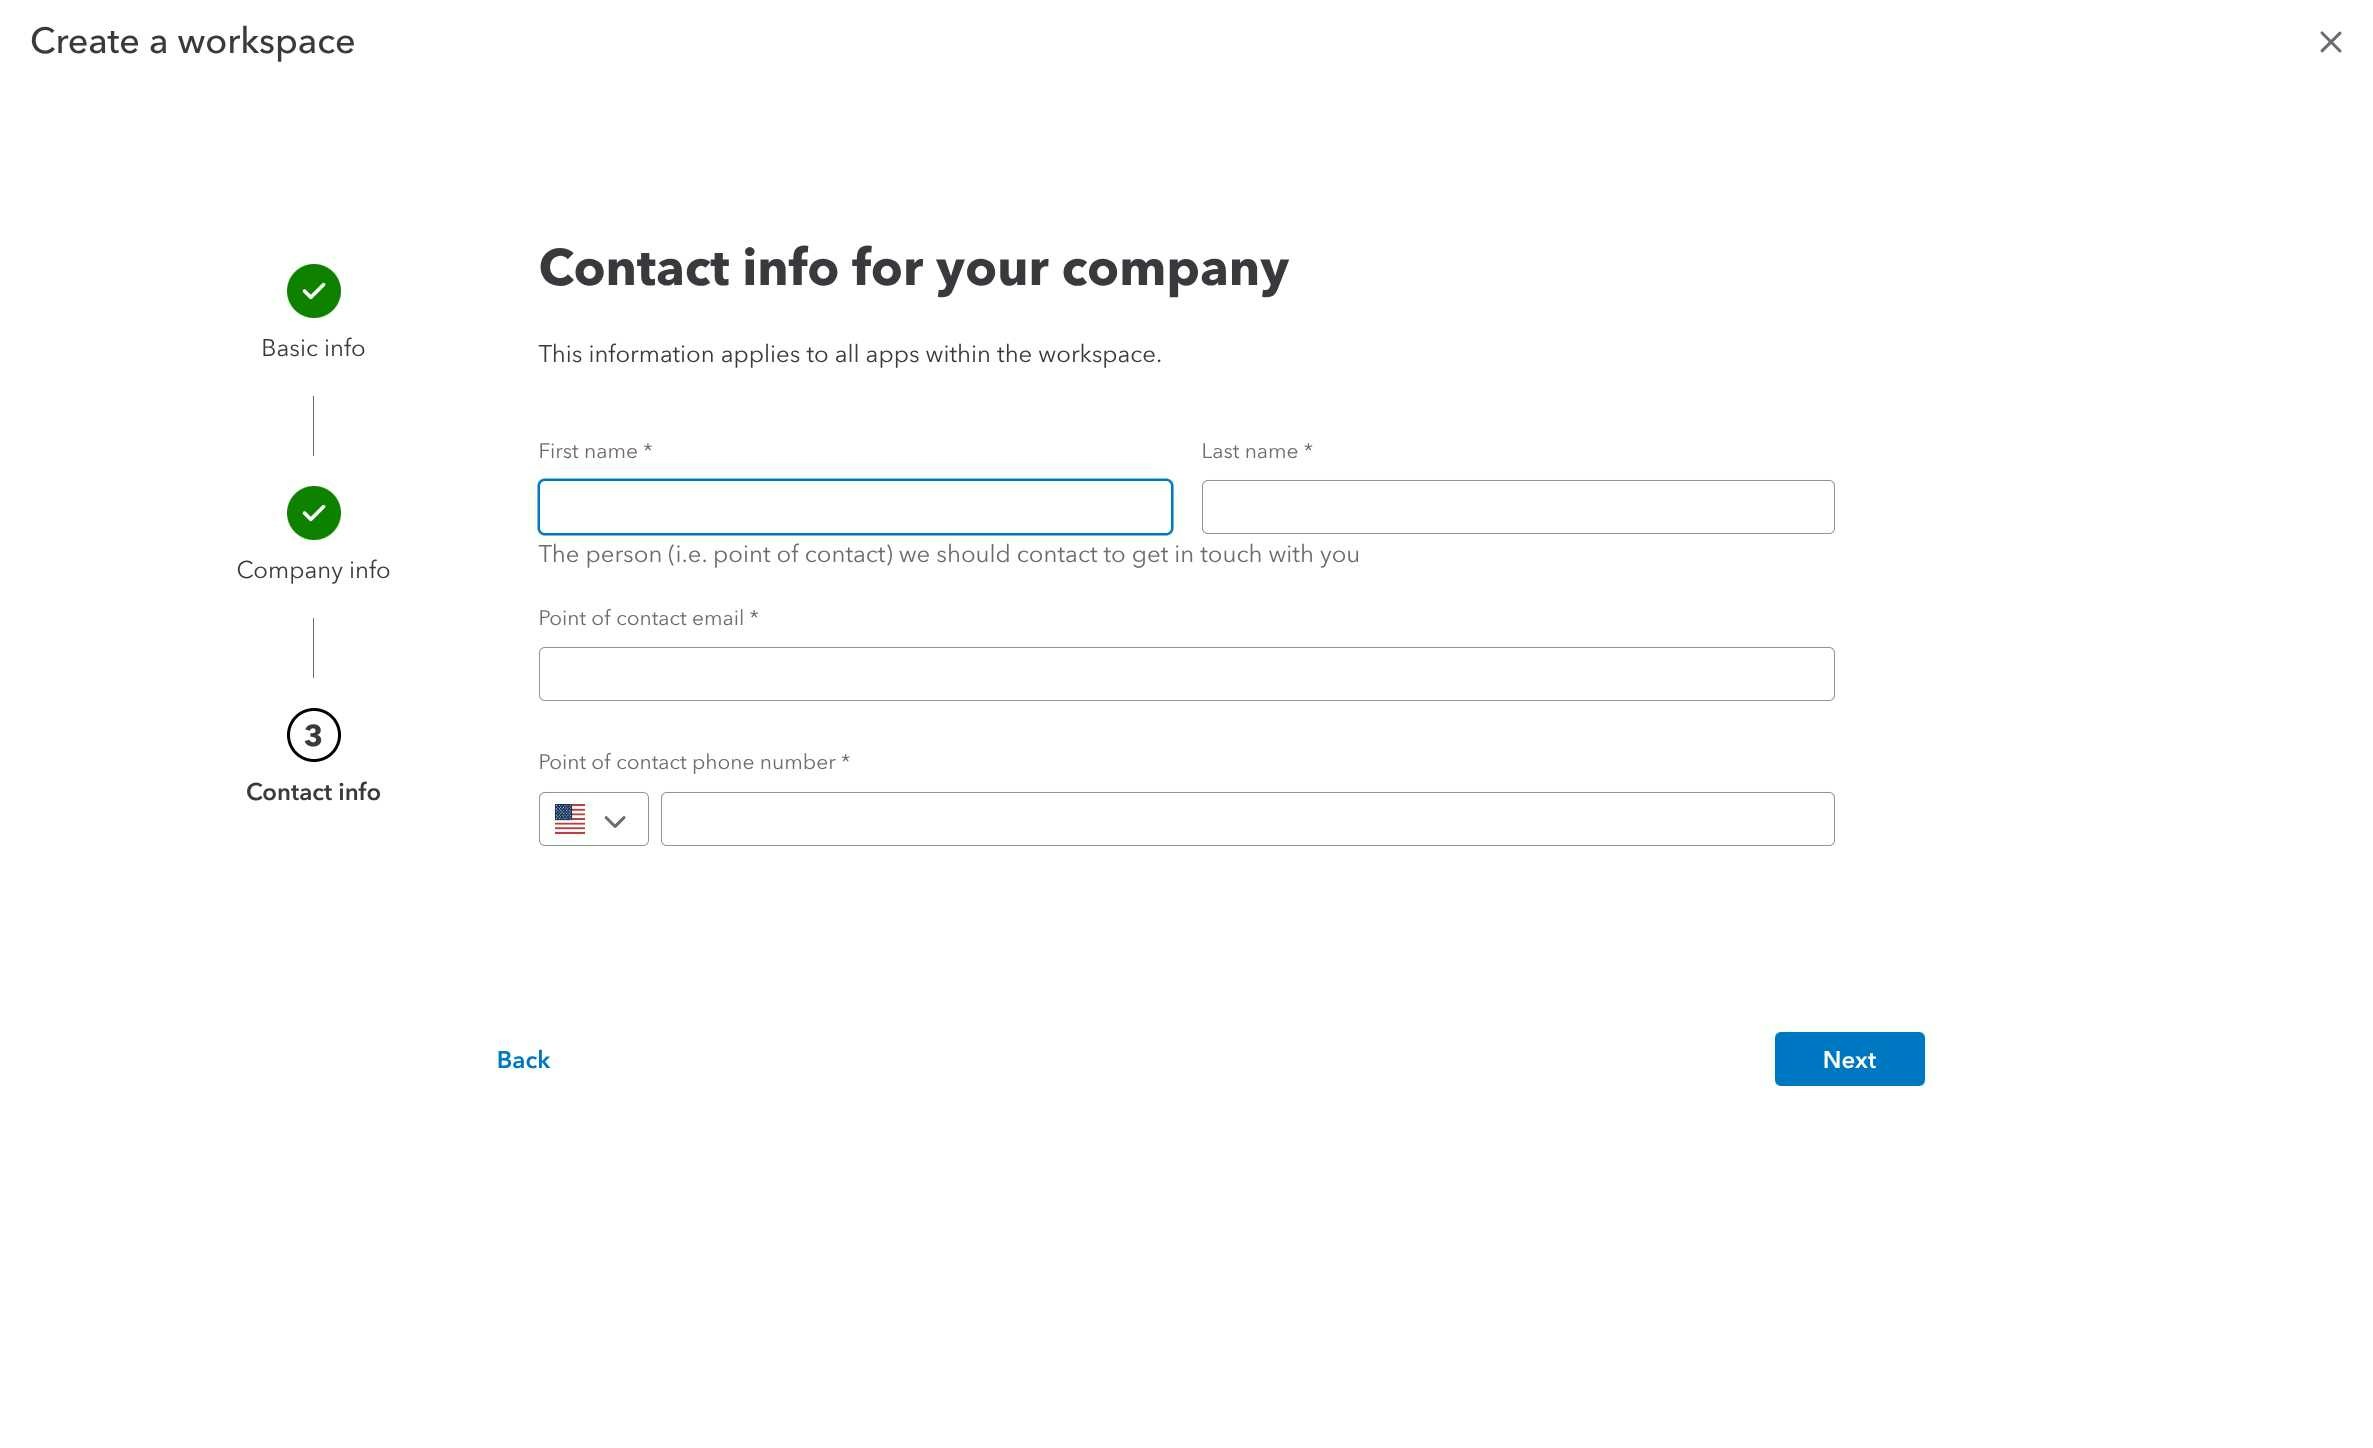

- Click “Create workspace” to complete the setup
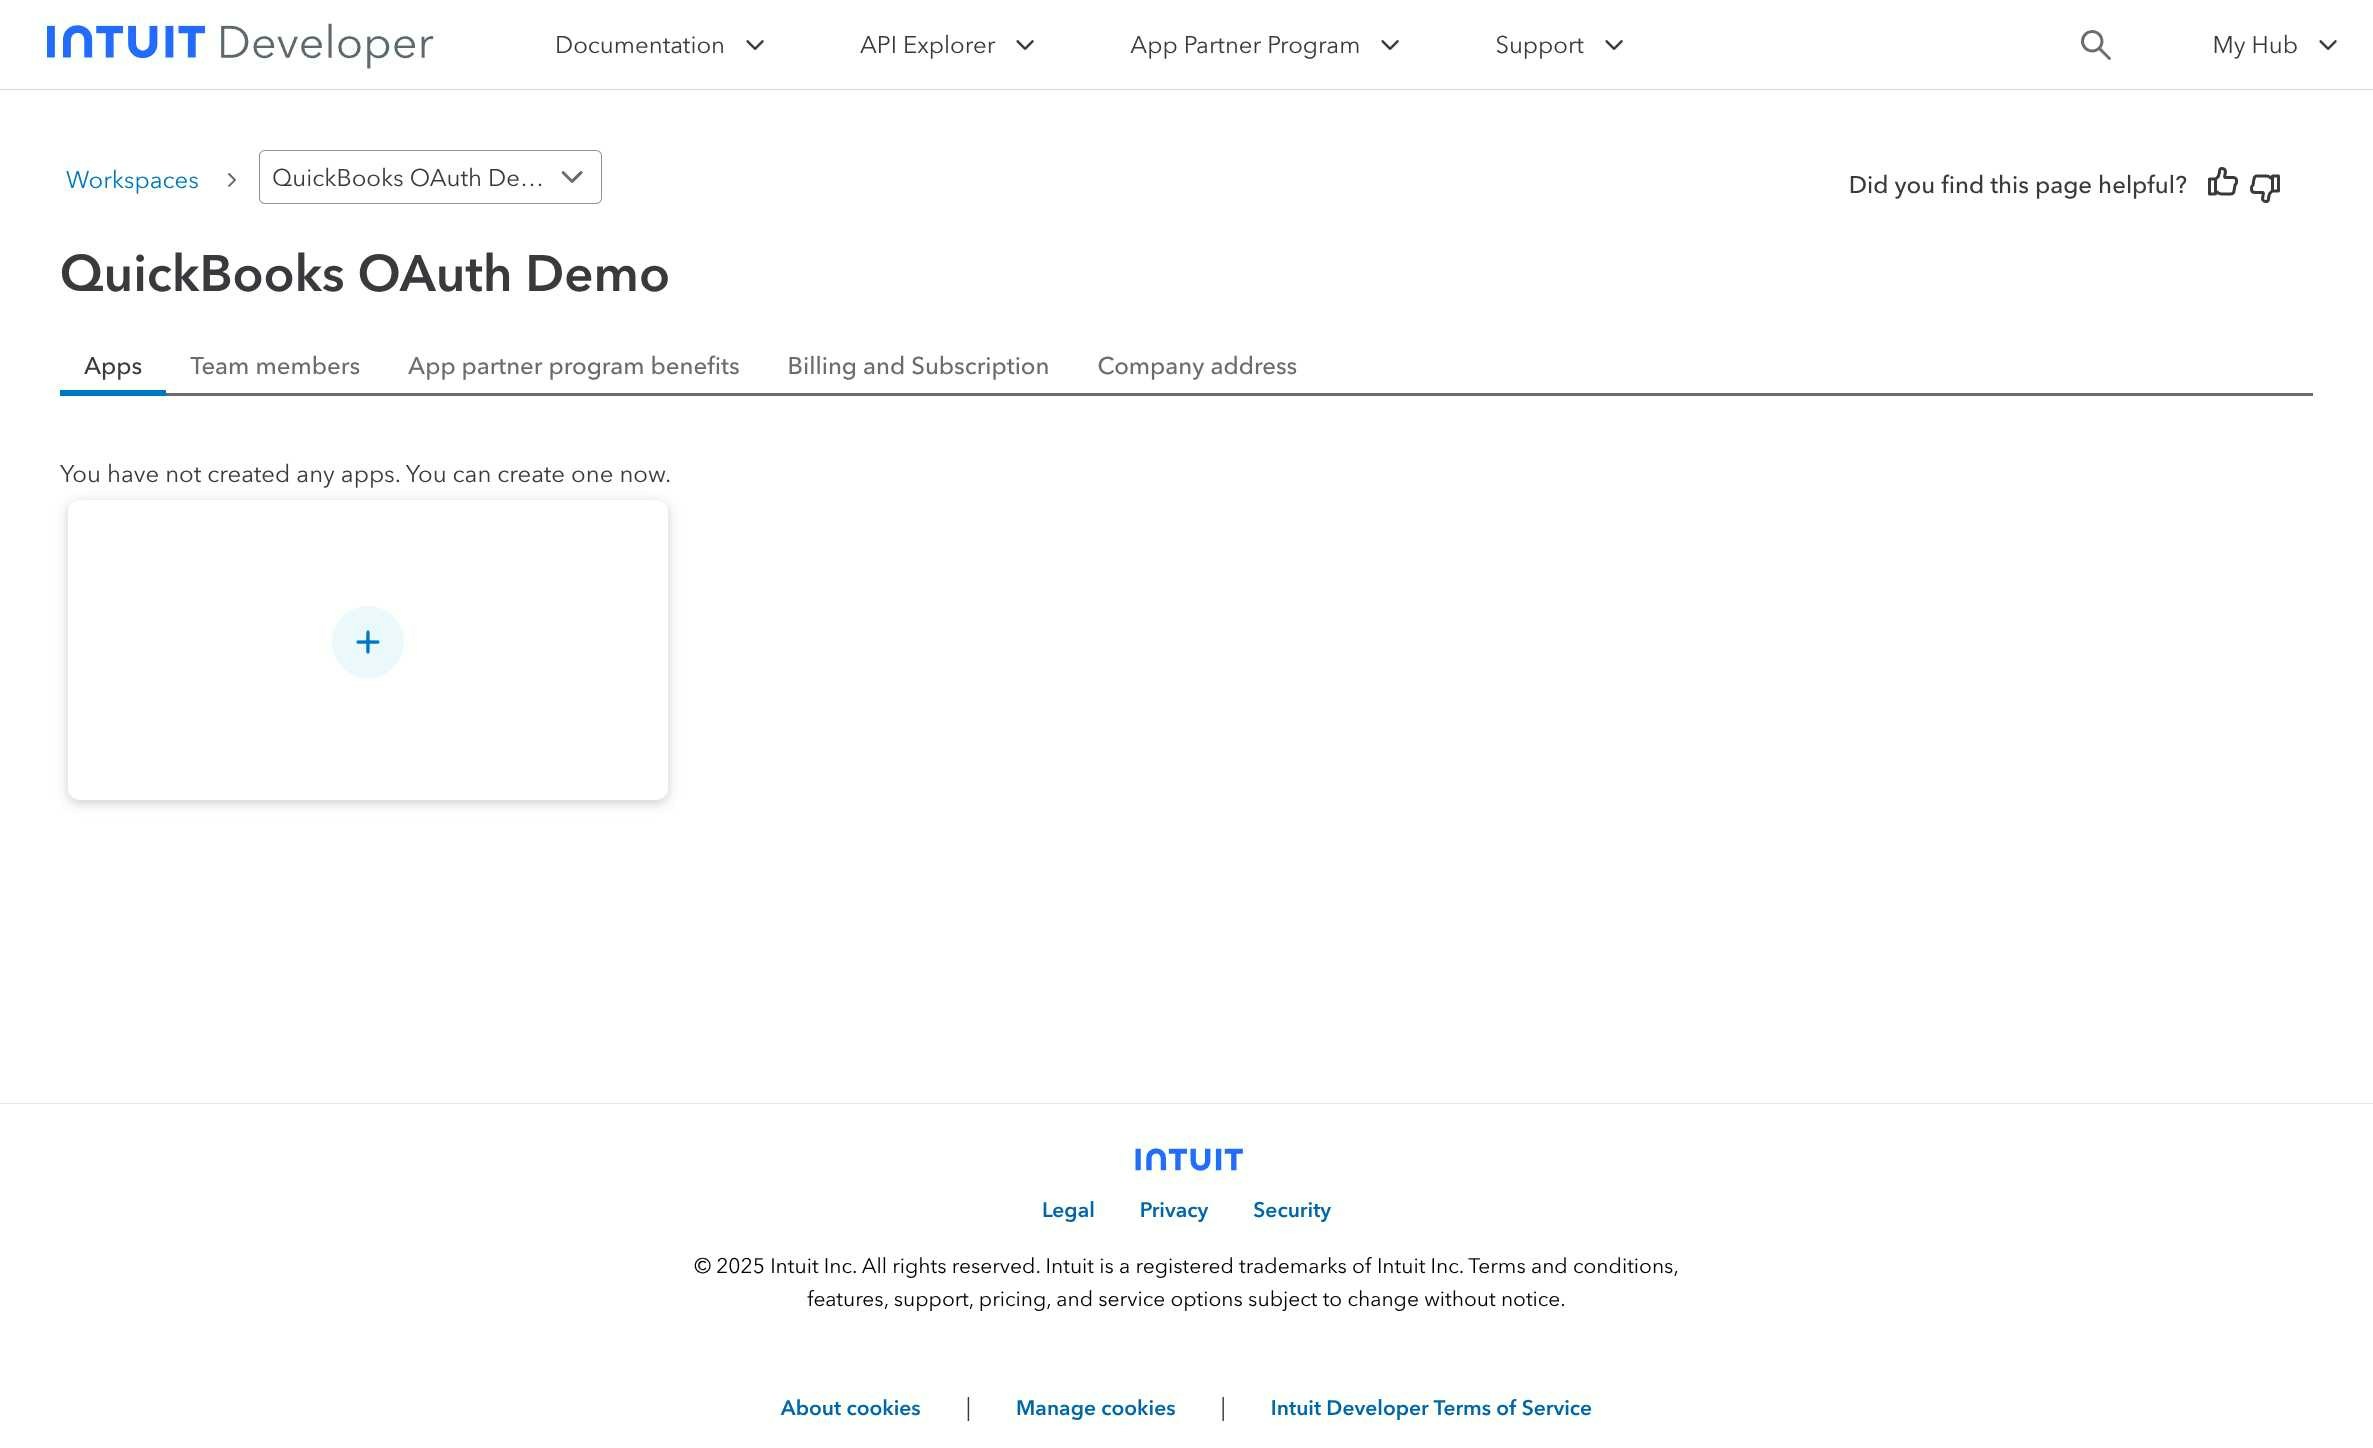
Step 2: Create QuickBooks OAuth Application
- After workspace creation, click “Create an app” to start building your QuickBooks integration
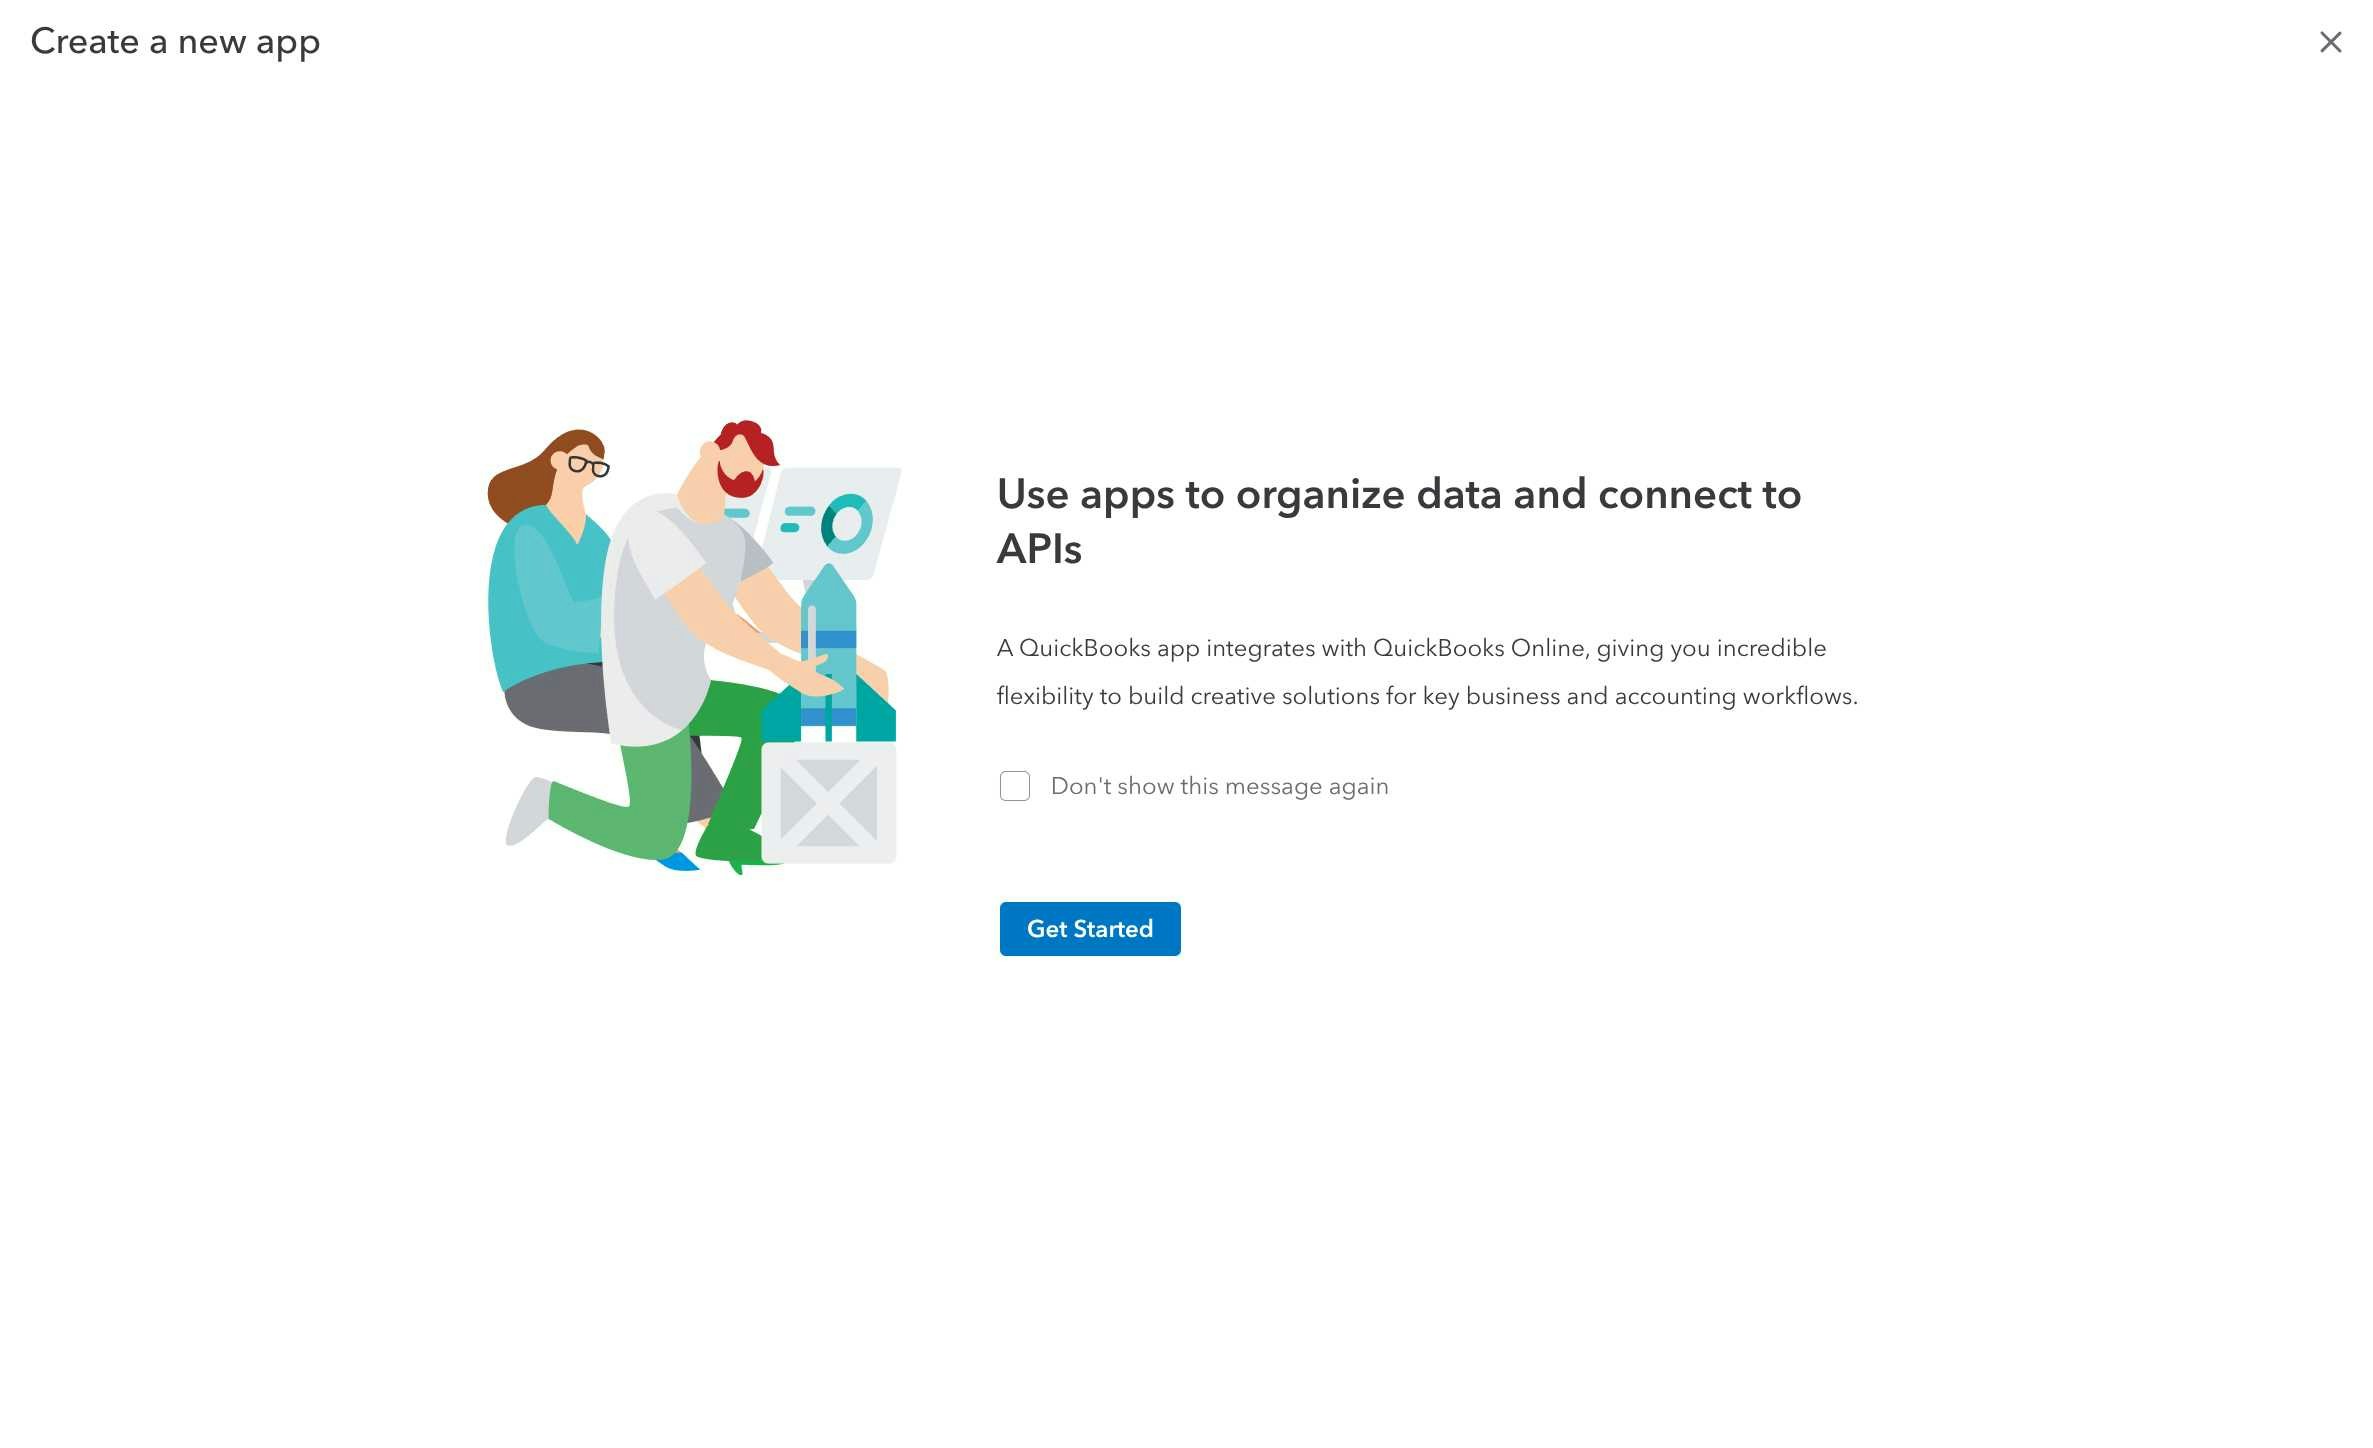
- In the app creation dialog, select app type and configure basic information:
- Choose “QuickBooks Online” as your app type
- Enter your app name (avoid using “Intuit” or “QuickBooks” in the name)
- Provide app description

Step 3: Configure OAuth Permissions
Klavis QuickBooks MCP Server uses the following OAuth scopes:
com.intuit.quickbooks.accounting (for full accounting data access) and com.intuit.quickbooks.payment (for payment processing)- In the permissions configuration step, select the required QuickBooks scopes:
- com.intuit.quickbooks.accounting - For accessing accounting data (customers, invoices, items, etc.)
- com.intuit.quickbooks.payment - For payment processing capabilities
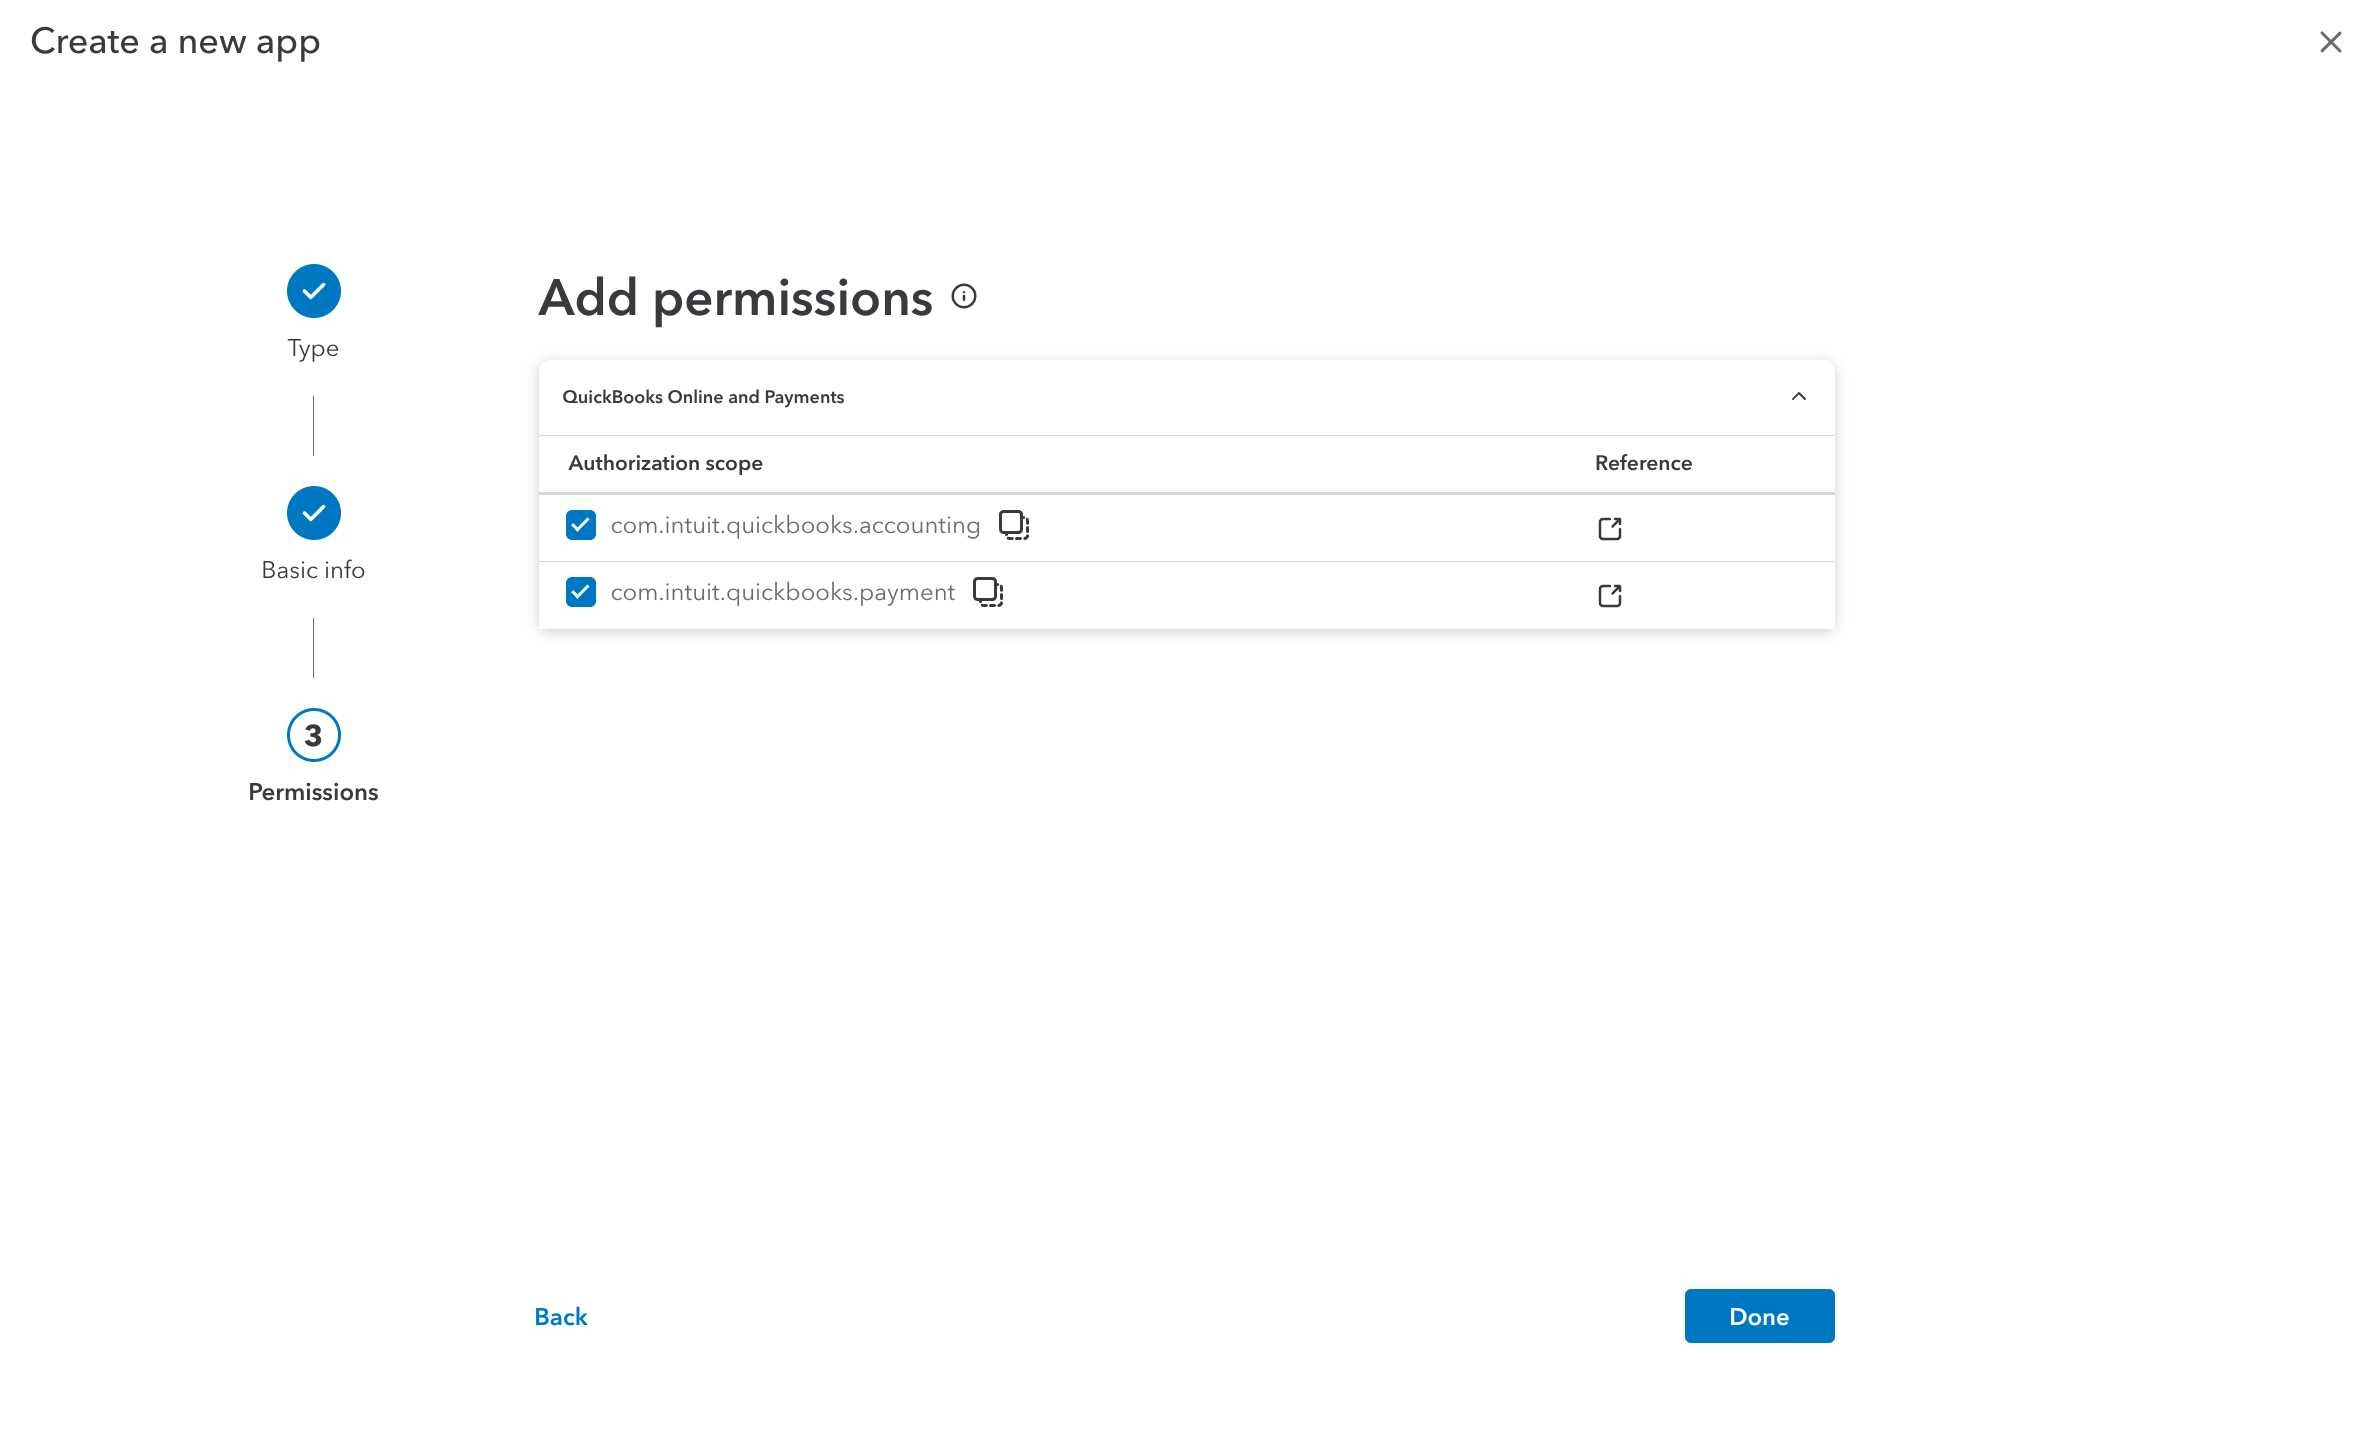
- Review and confirm the permissions by clicking “Confirm”
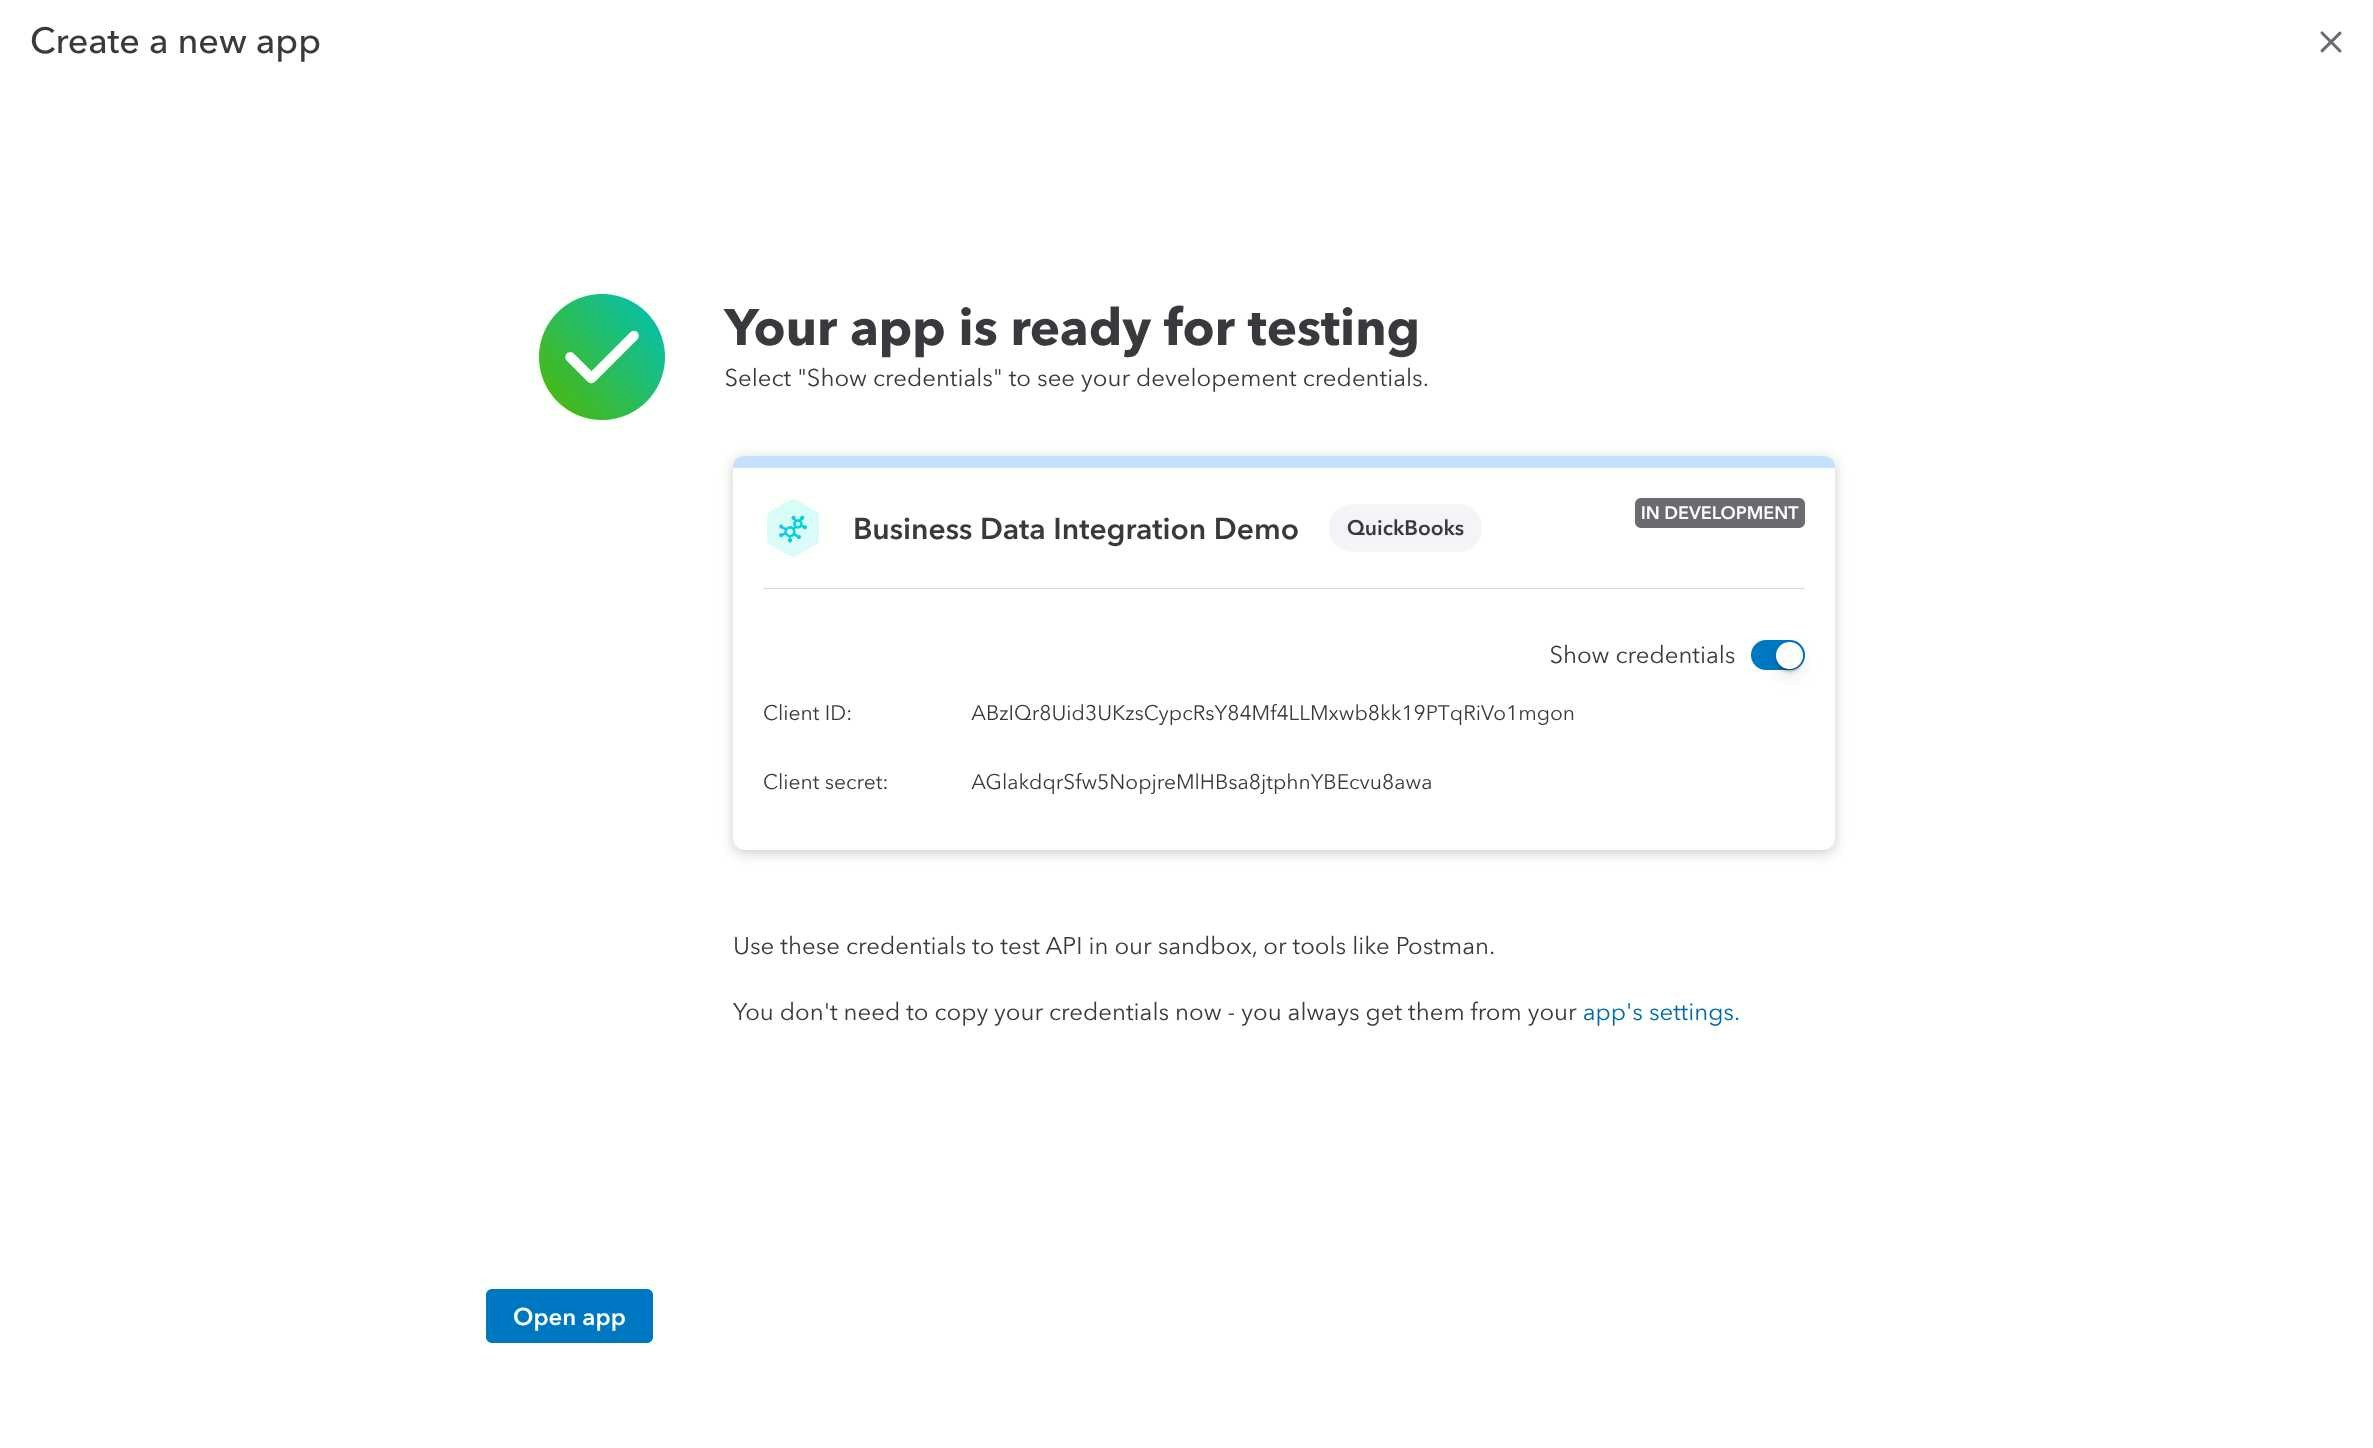
Step 4: Access Your OAuth Credentials
- Once your app is created, you’ll see the success page with your development credentials
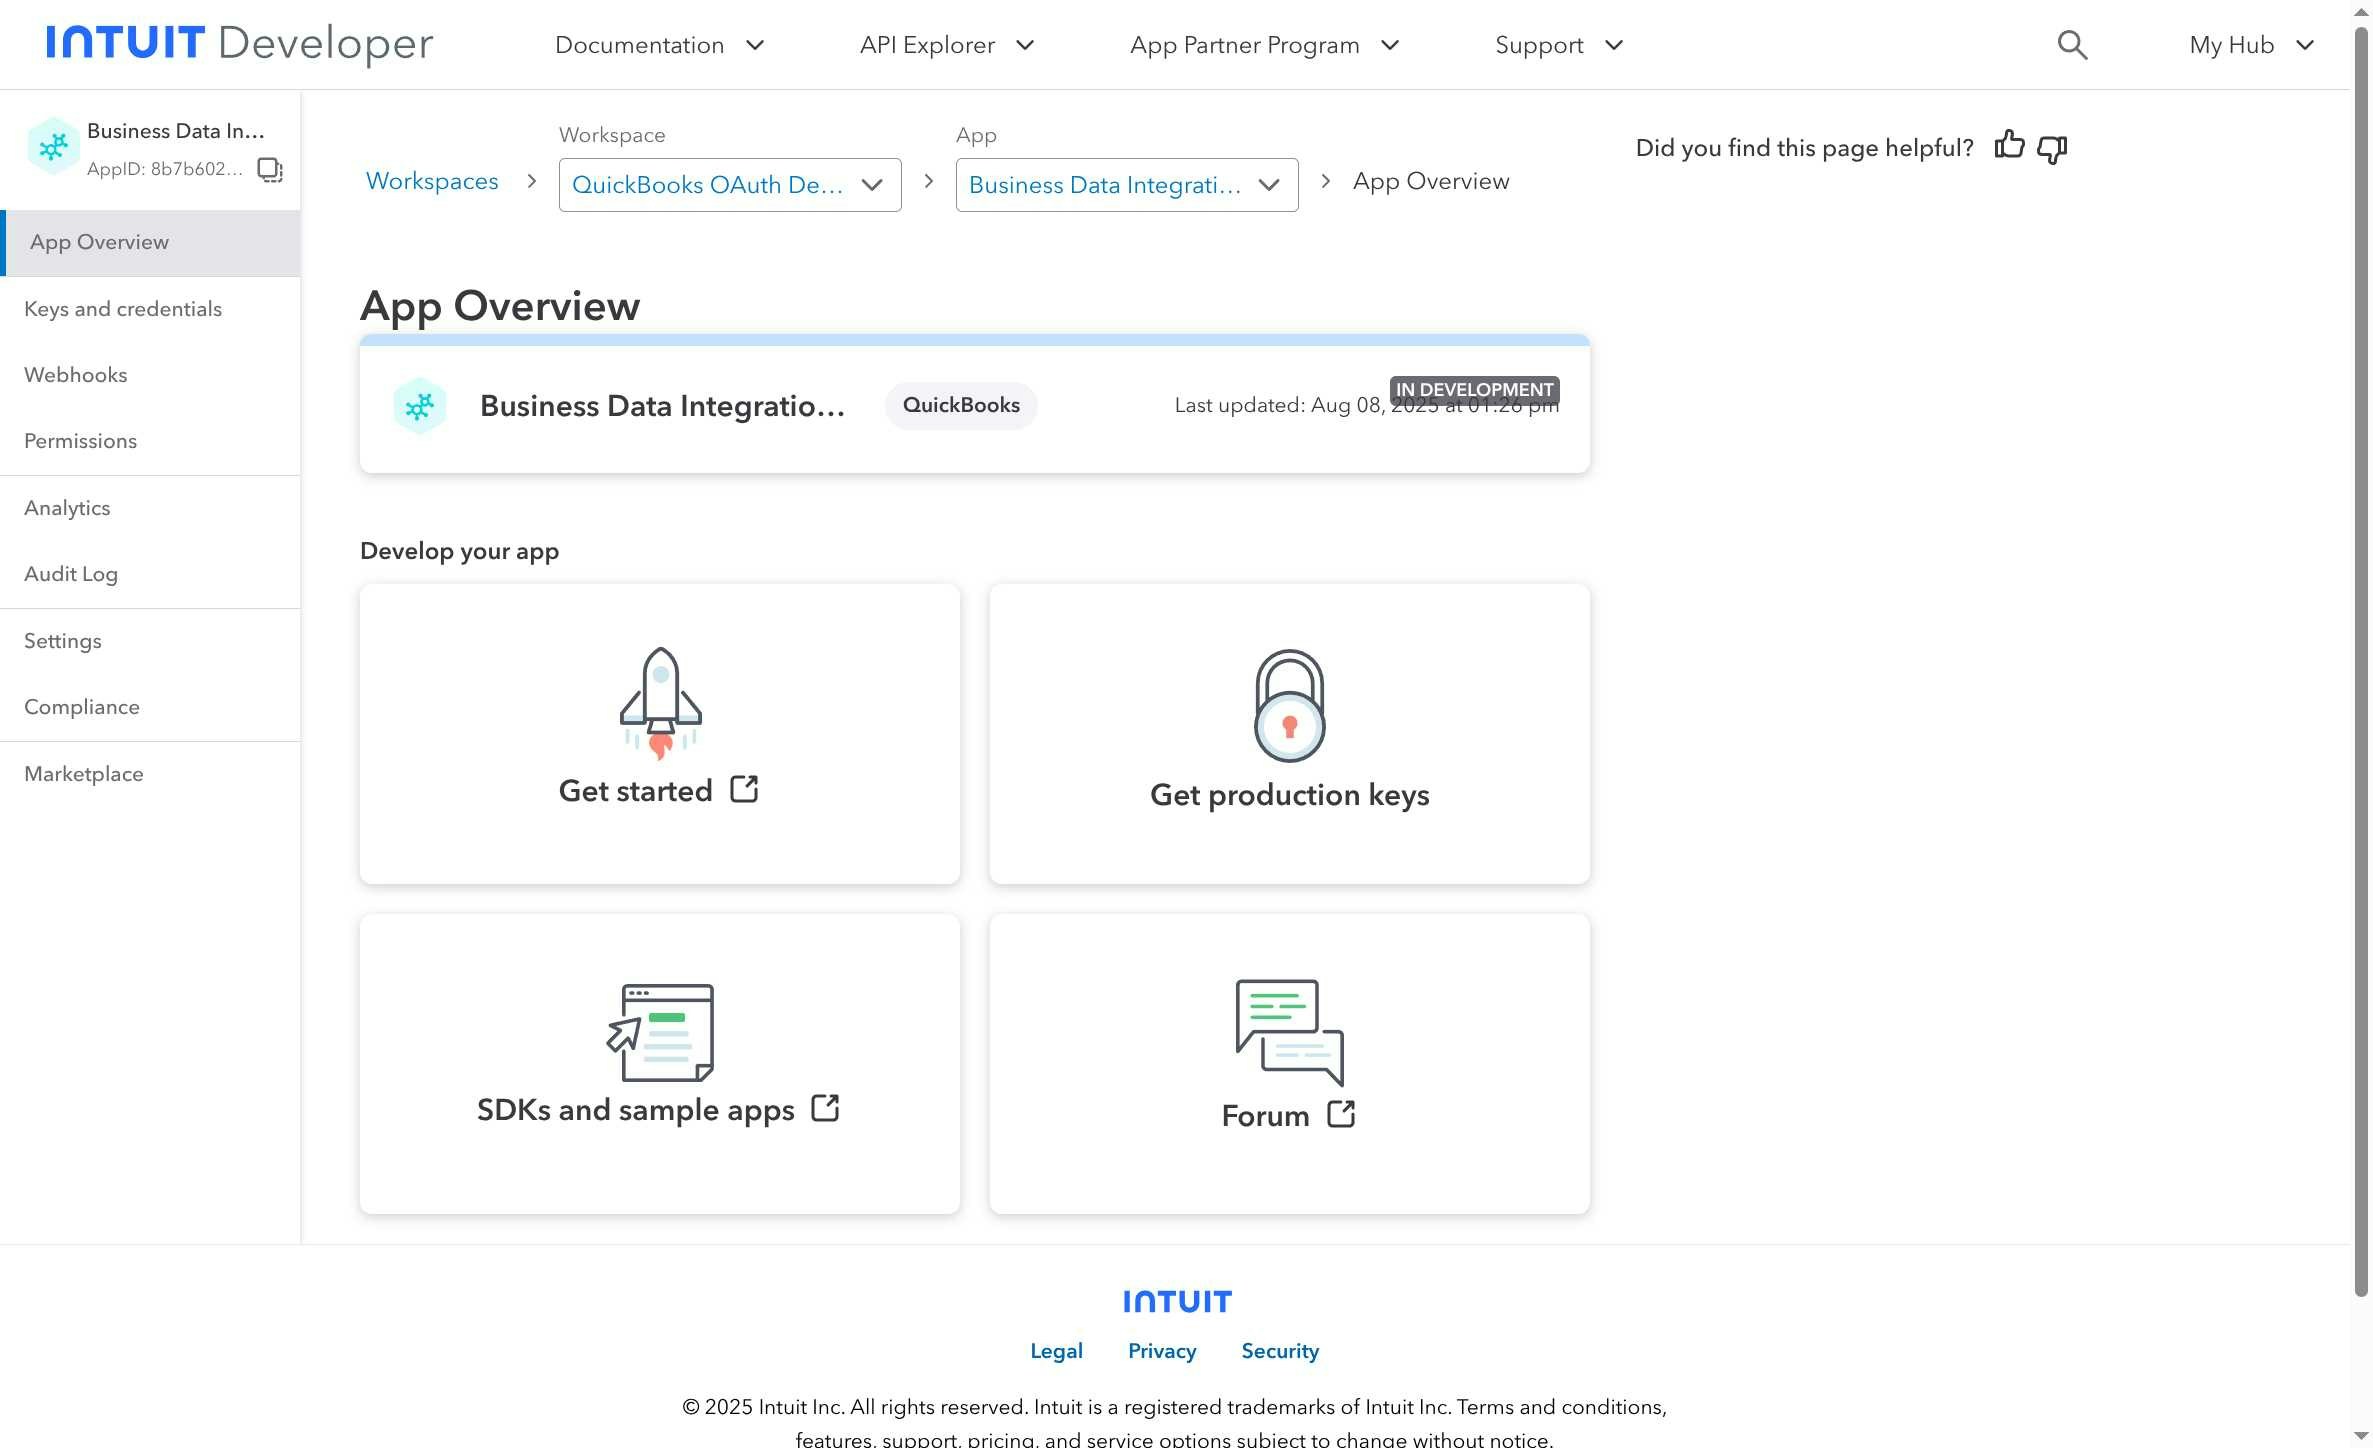
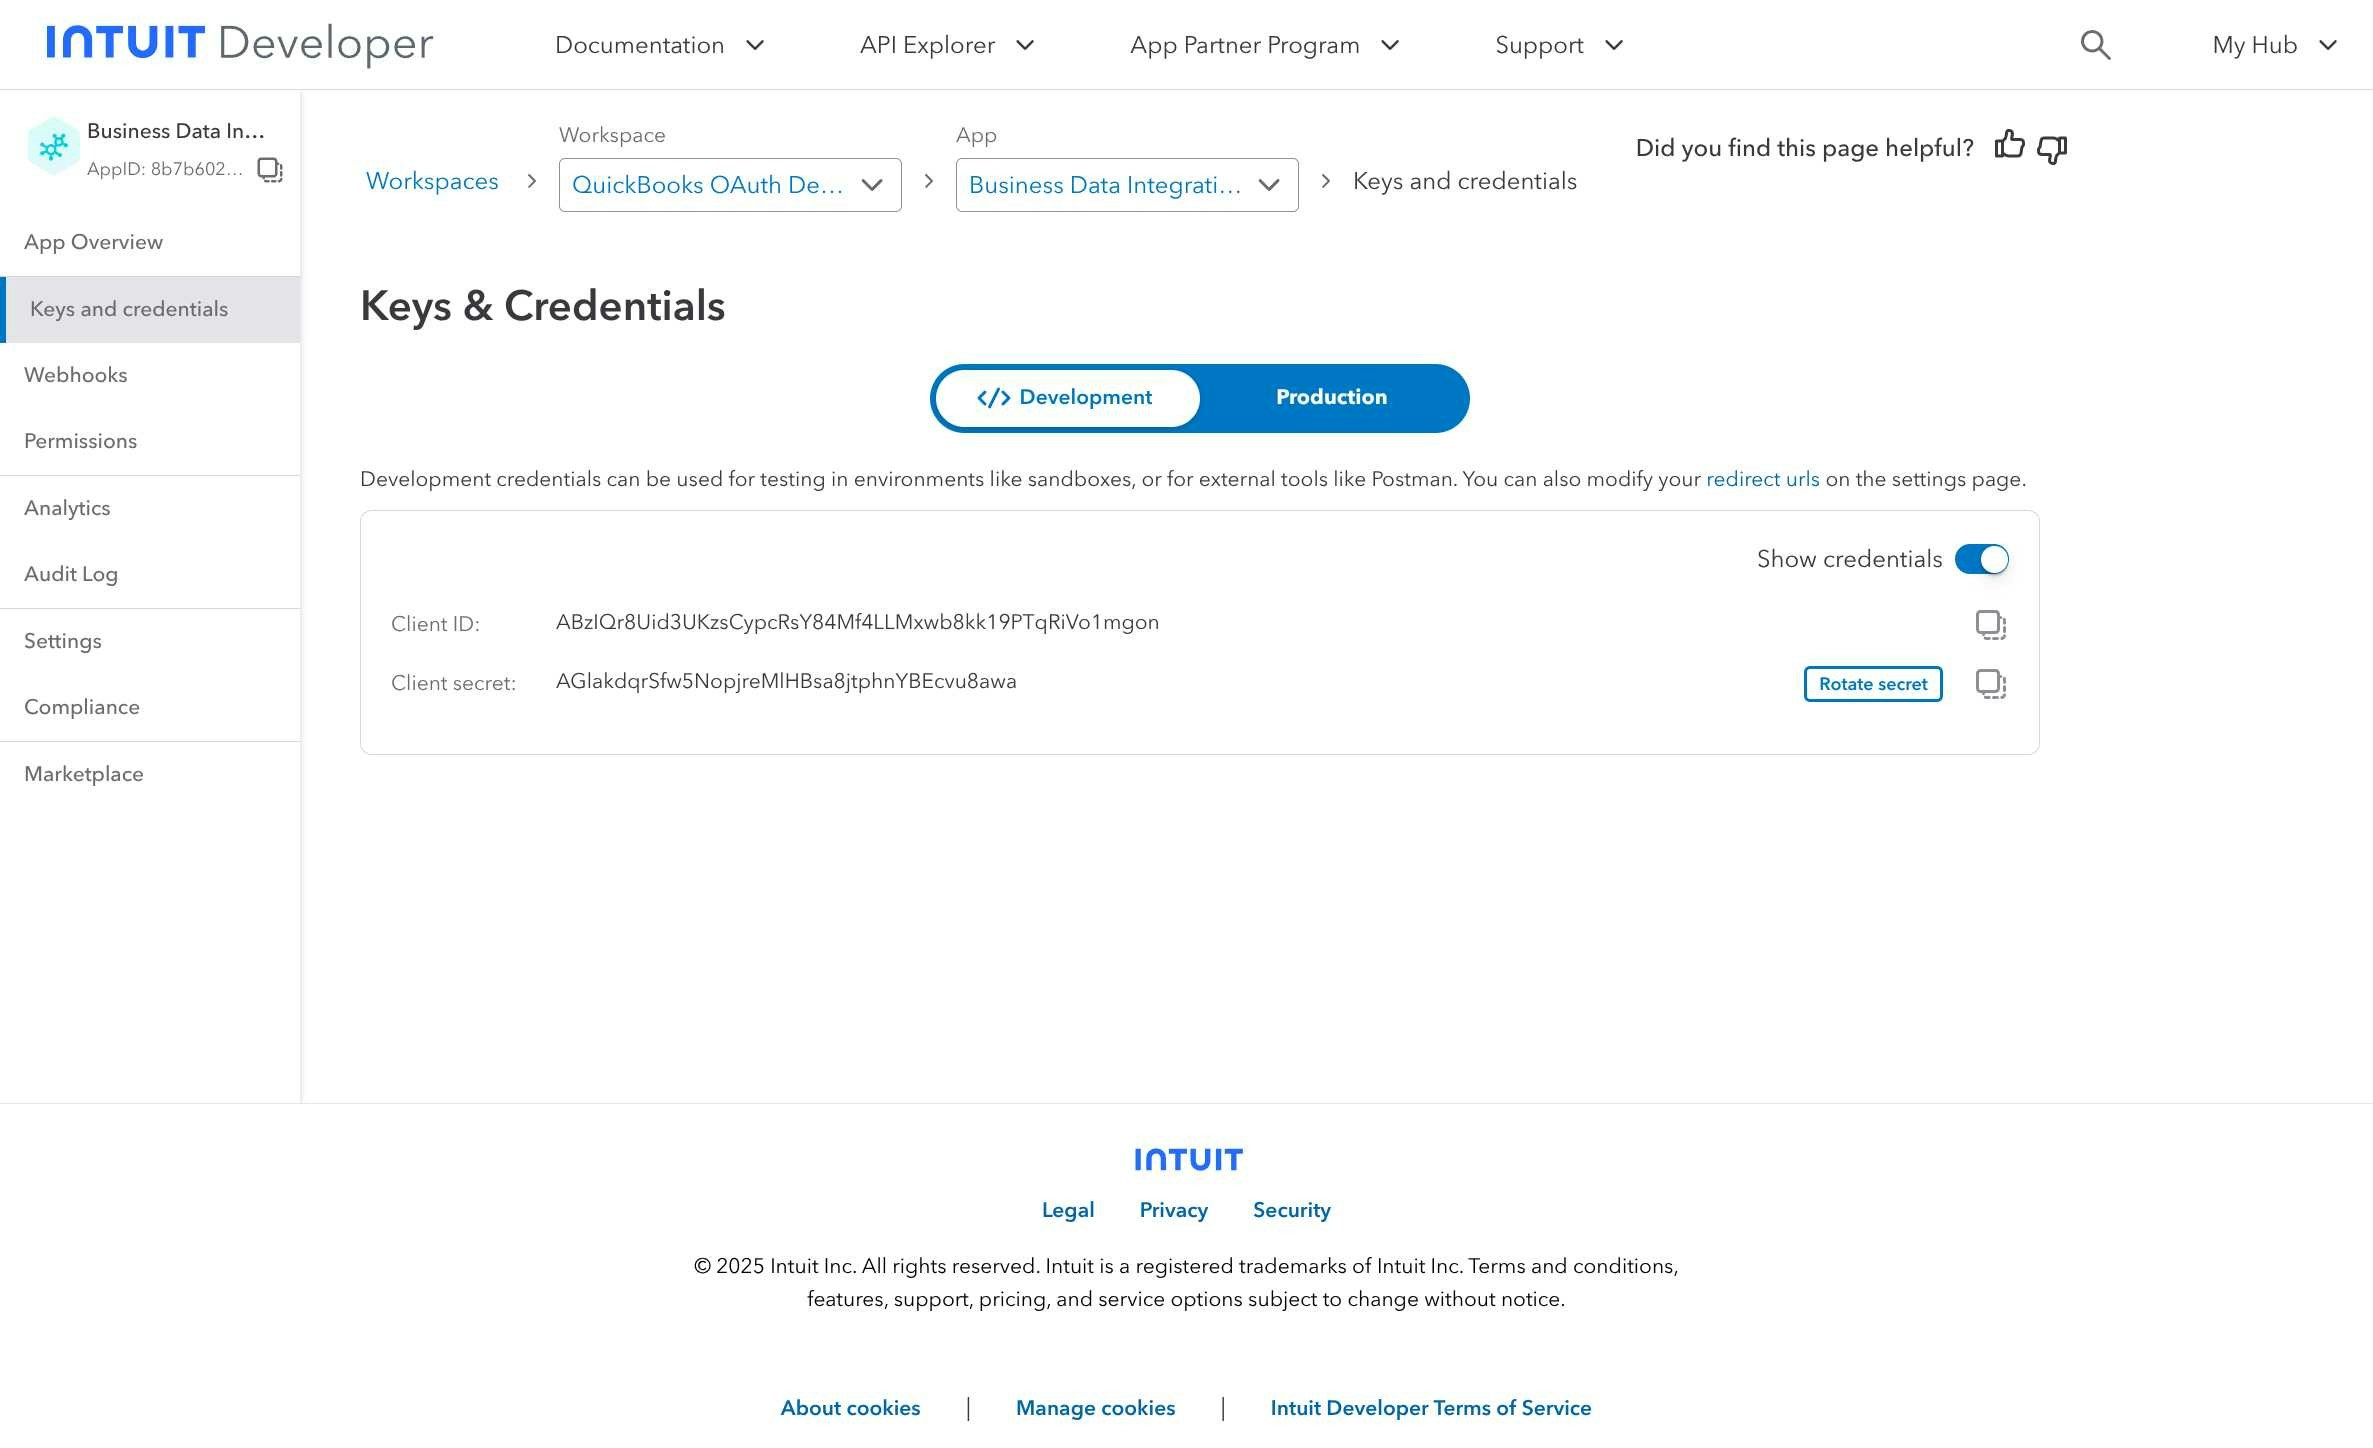
- Navigate to “Keys and credentials” in the left sidebar to view your OAuth credentials:
- Client ID: Your OAuth application identifier
- Client Secret: Your OAuth application secret (keep this secure)
- Configure your redirect URIs:
- For Klavis integration:
https://api.klavis.ai/oauth/quickbooks/callback - For local development:
http://localhost:3000/oauth/quickbooks/callback
- For Klavis integration:
You have successfully created a QuickBooks OAuth application! You now have your Client ID and Client Secret ready for integration with Klavis AI.
Klavis handles all token management automatically - we securely store and manage your OAuth tokens so you maintain seamless access to your QuickBooks data without any interruption.
(Local Testing) Step 5: Testing Your Integration
- Open the Intuit API Playground: https://developer.intuit.com/app/developer/playground
- Select your app and environment (Development)
- Click “Get Access Token” to authorize and retrieve the token
- Copy both the Access Token and the Realm ID for testing API calls
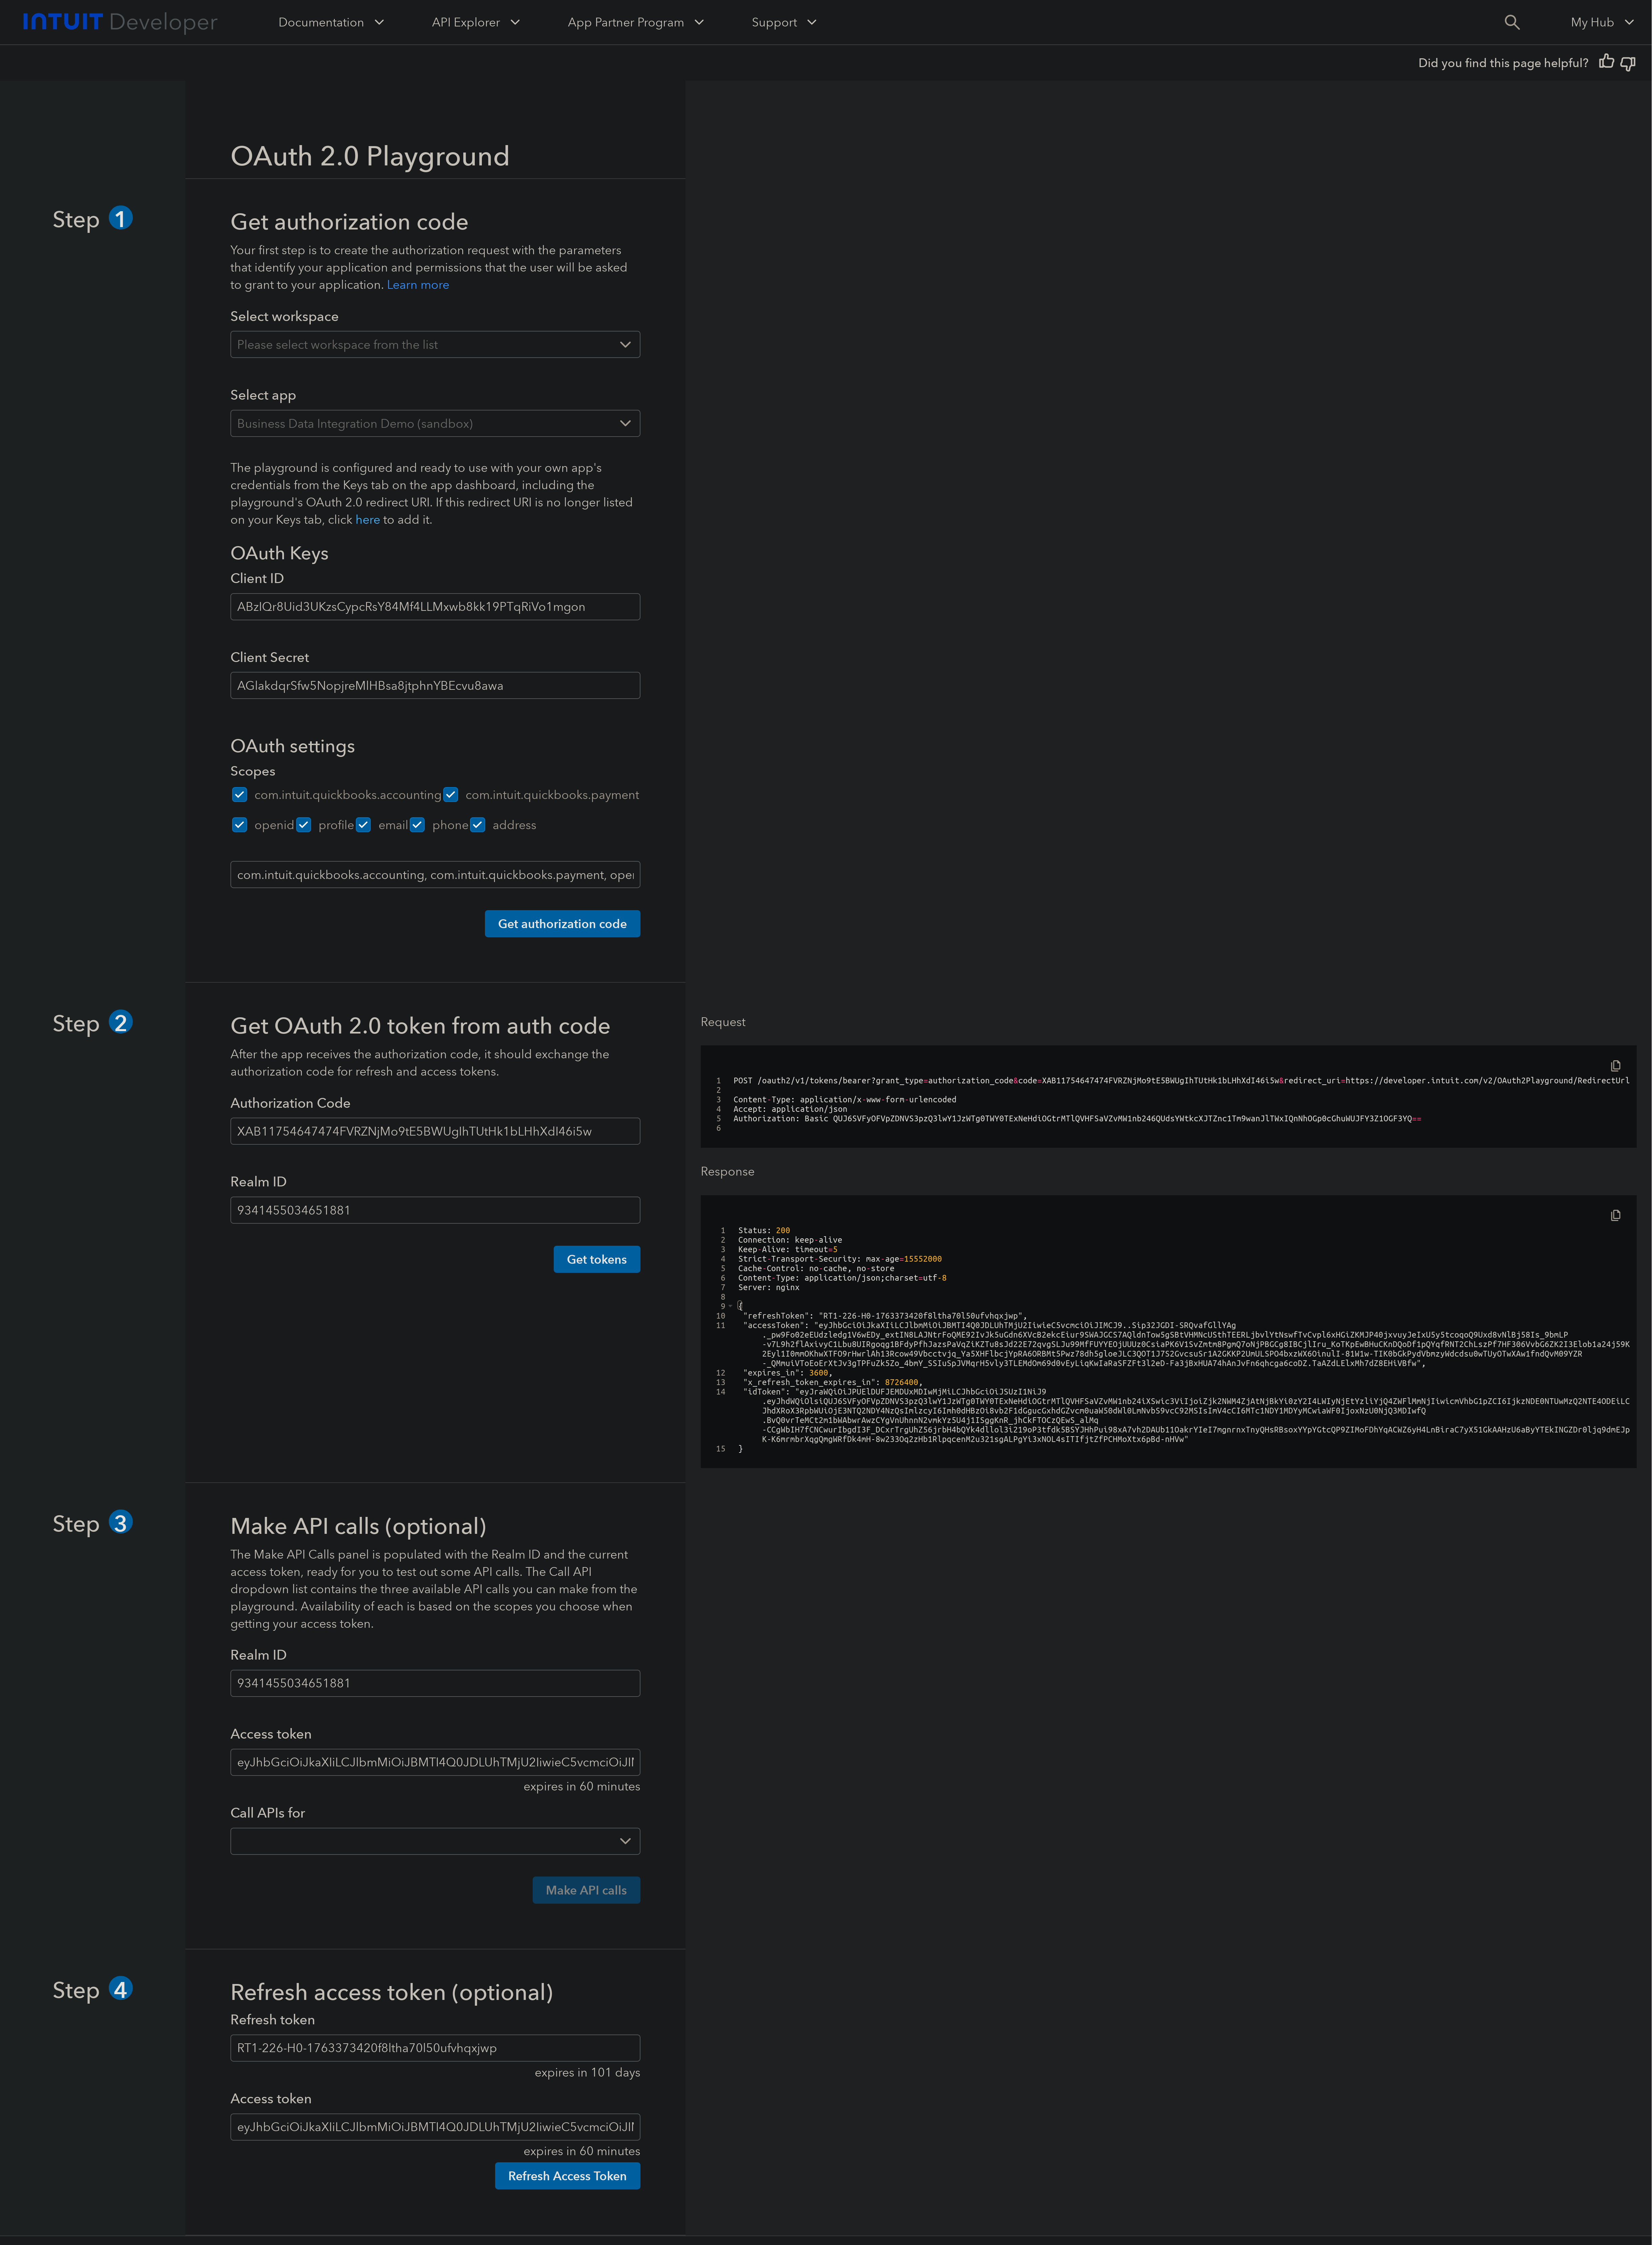
Use the Access Token as the Bearer token in Authorization header and the Realm ID as the companyId for API requests.
(Optional) Step 6: White Labeling
White labeling allows you to customize the OAuth experience with your own branding instead of Klavis AI’s.
- Configure White Labeling: Go to https://www.klavis.ai/home/white-label
- Add Your Credentials: Enter your QuickBooks Client ID and Client Secret from Step 4
-
Set Redirect URI: Use
https://api.klavis.ai/oauth/quickbooks/callbackor your custom callback URL -
Initiate OAuth: Use your client ID when starting the OAuth flow:
For detailed white labeling implementation and code examples, see our OAuth & White Labeling guide.