Prerequisites
- Google account
Step 1: Create a Project
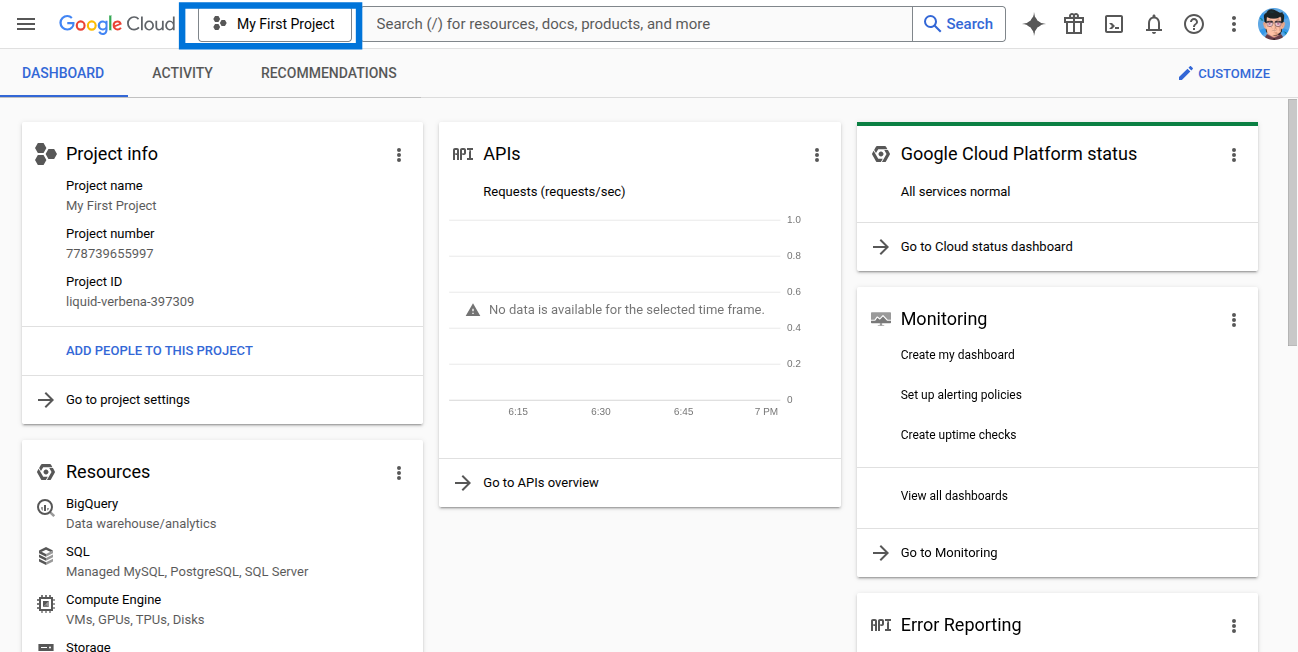
- Visit https://console.cloud.google.com/home/dashboard and select the project dropdown at the top.
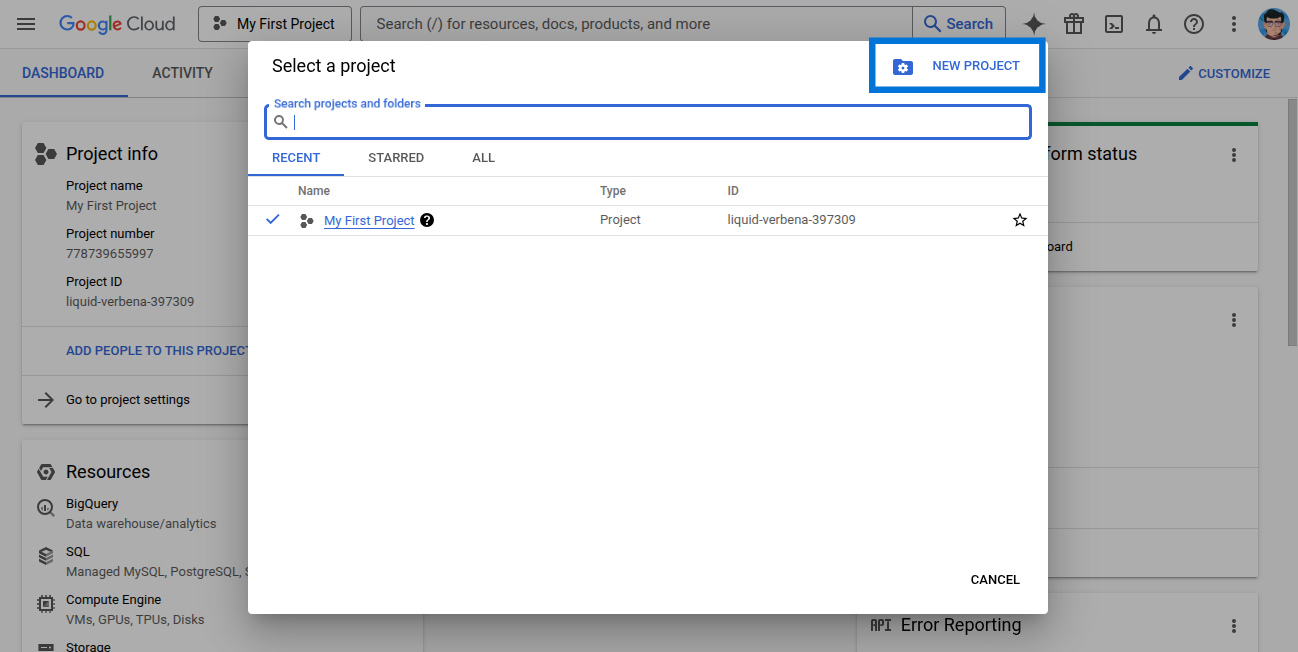
- Click New Project.
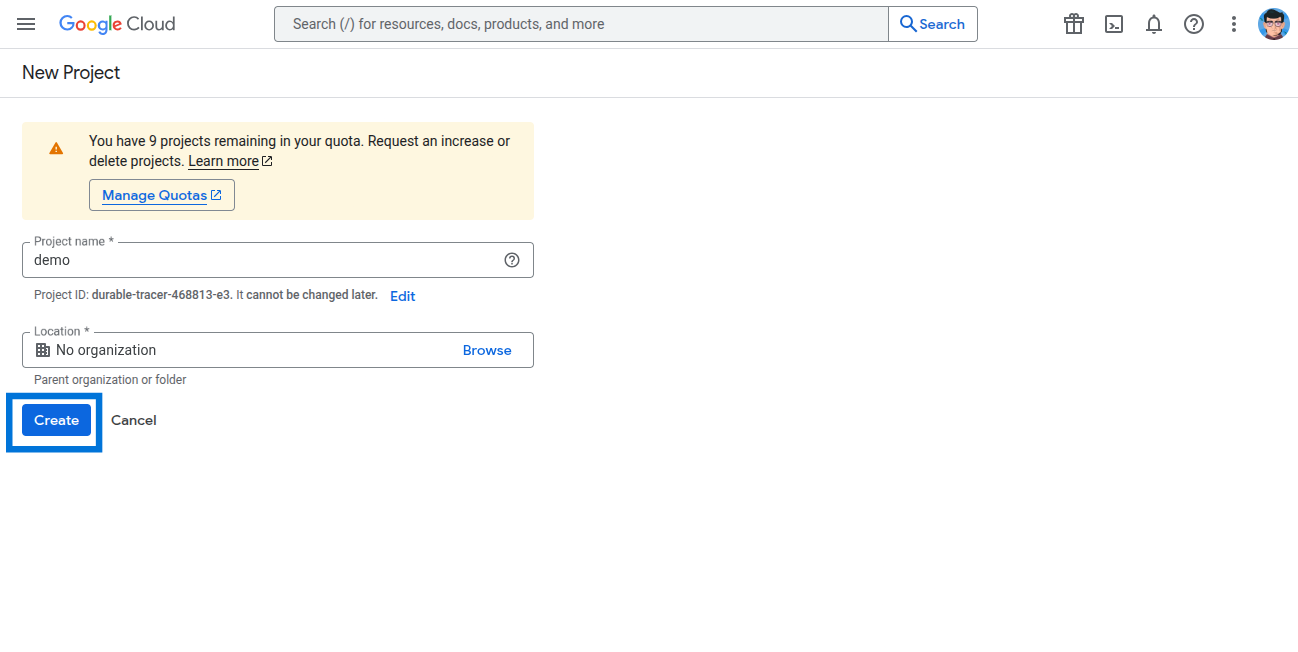
- Enter the project details and click Create.
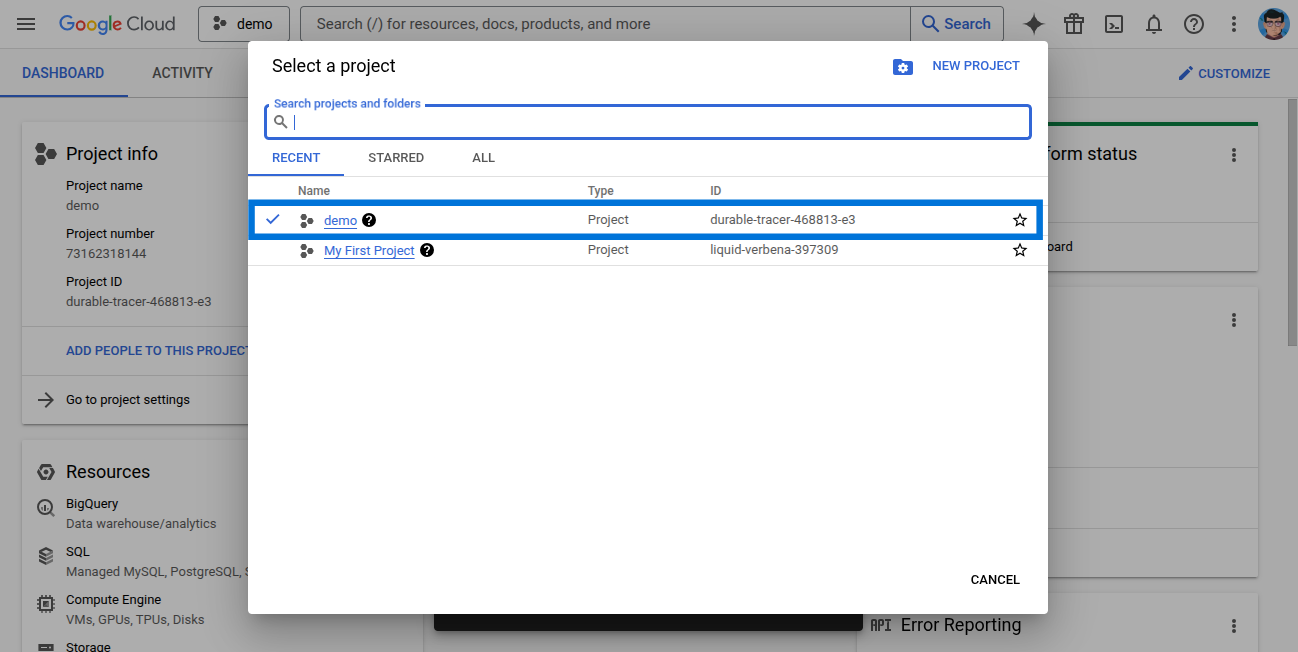
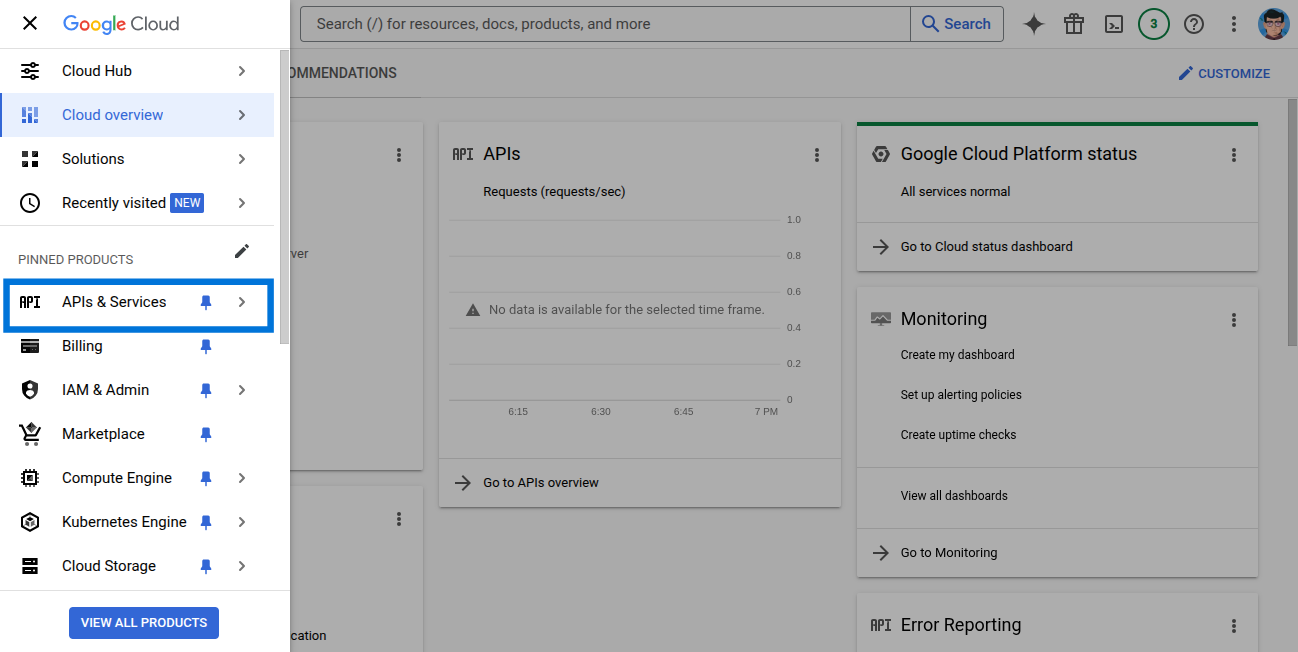
- Select your newly created project.
- Go to APIs & Services.
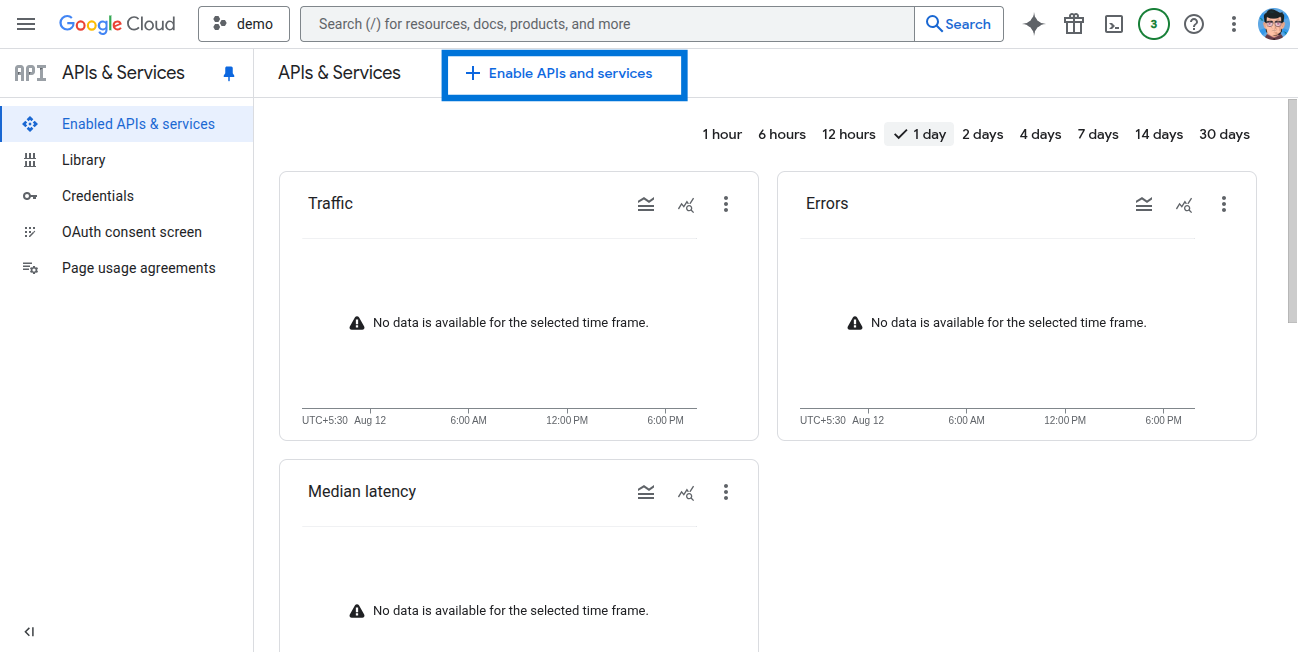
- Click Enable APIs and Services.
- Search for and select Google Docs API.
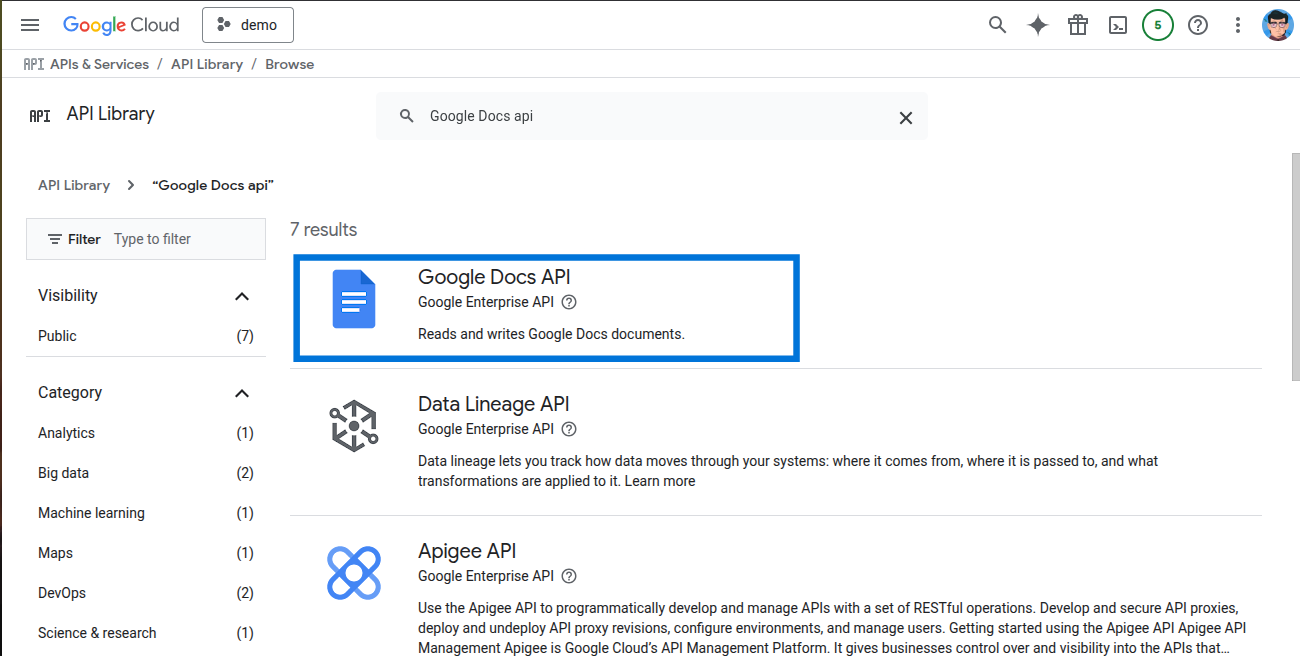
- Click Enable.

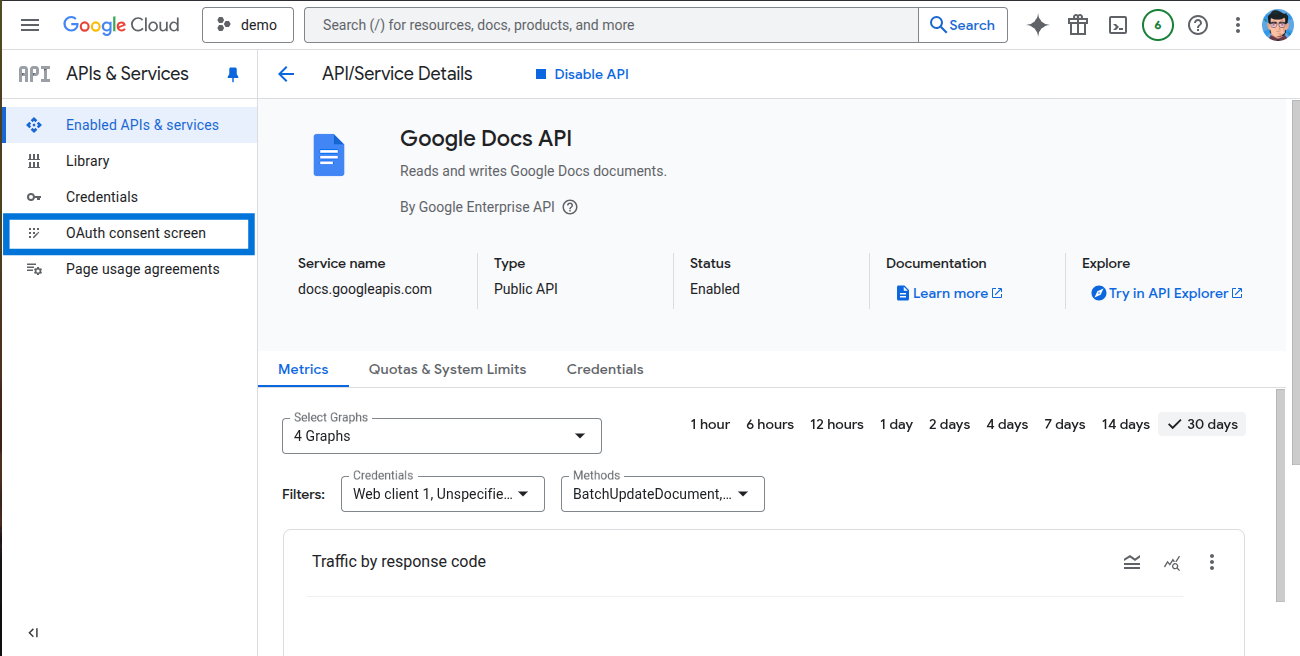
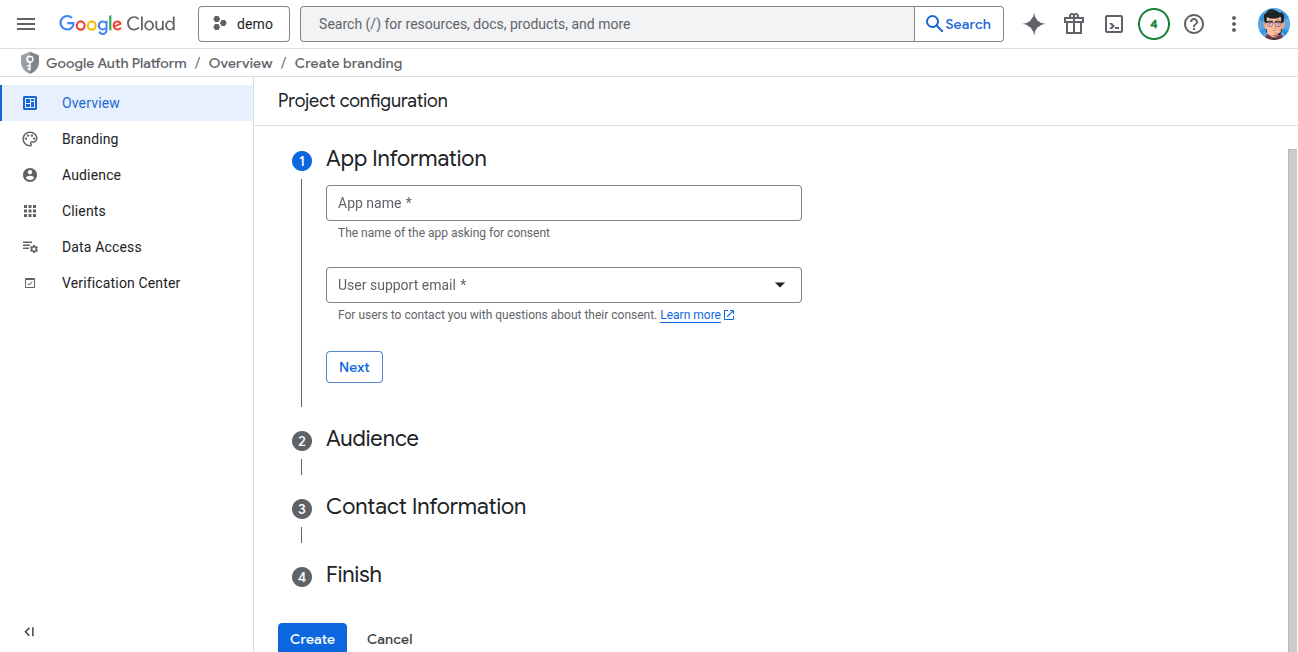
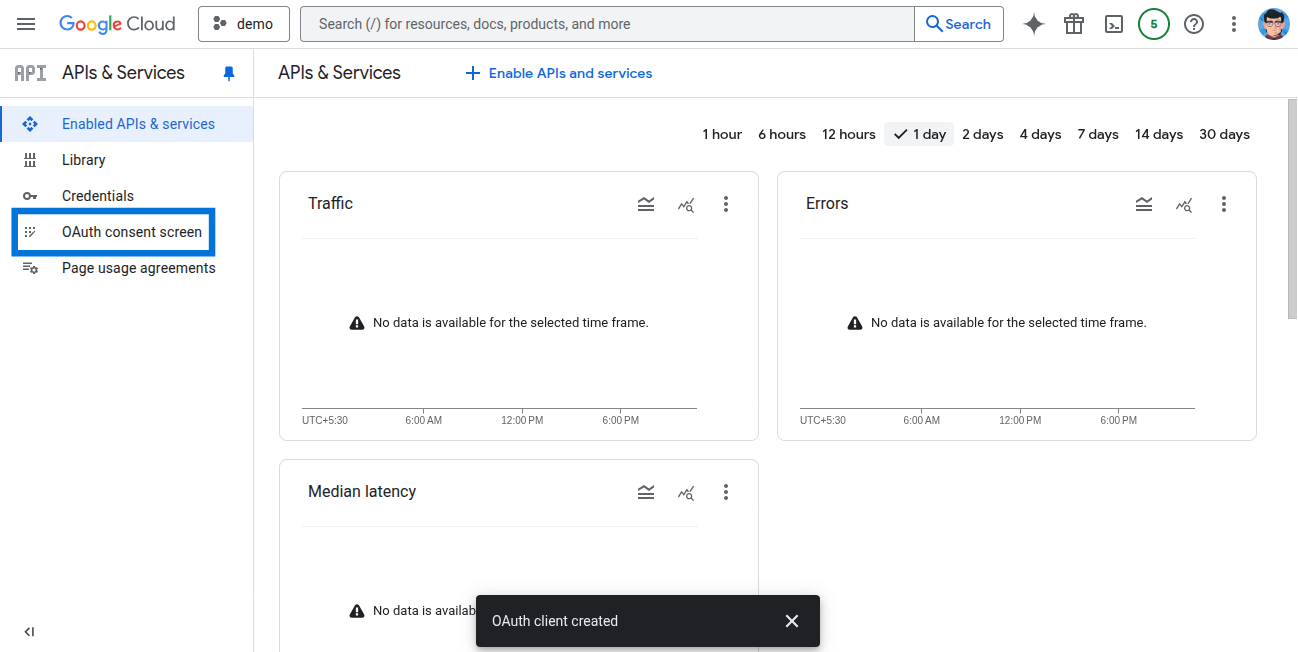
- Go back to APIs & Services and select OAuth consent screen.
- Enter the required information and save.
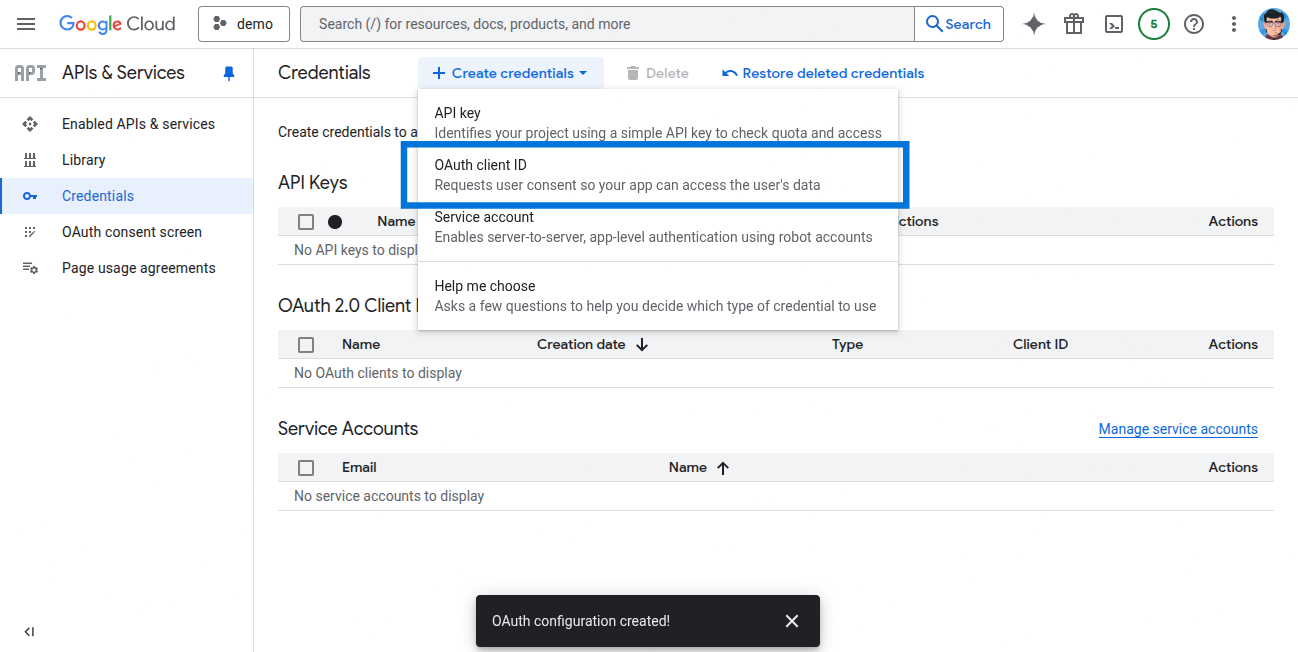
- Go to Credentials in APIs & Services and click Create Credentials.
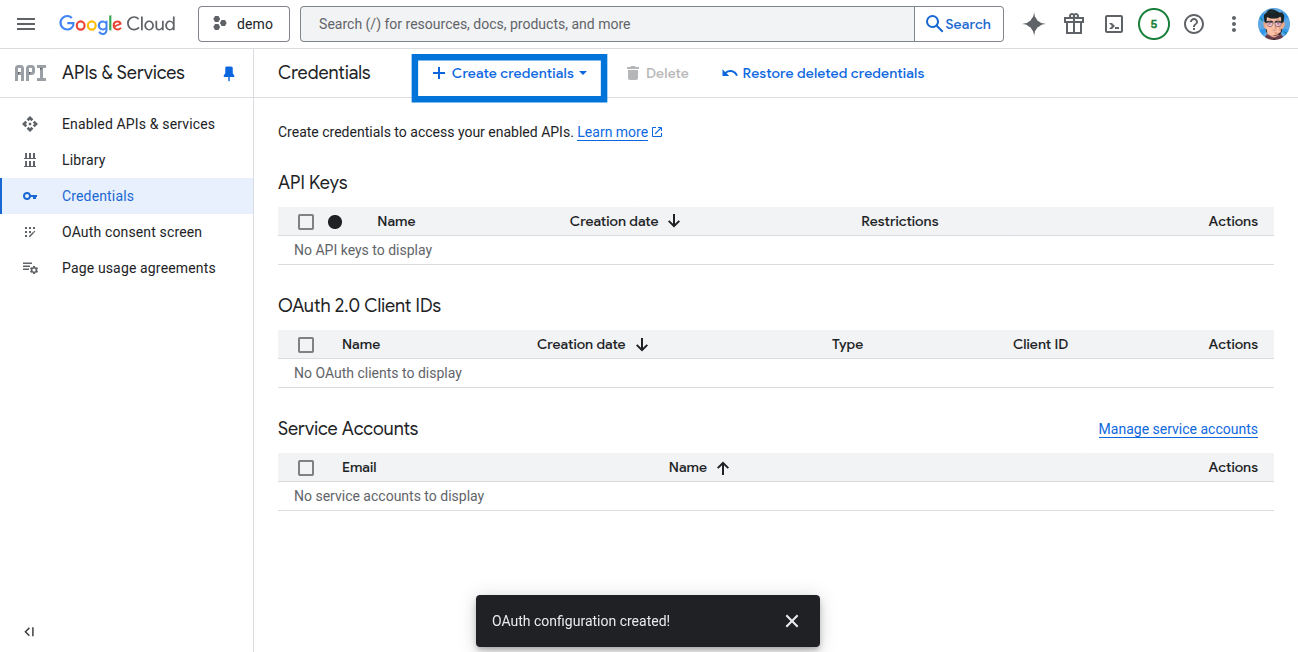
- Select OAuth Client ID.
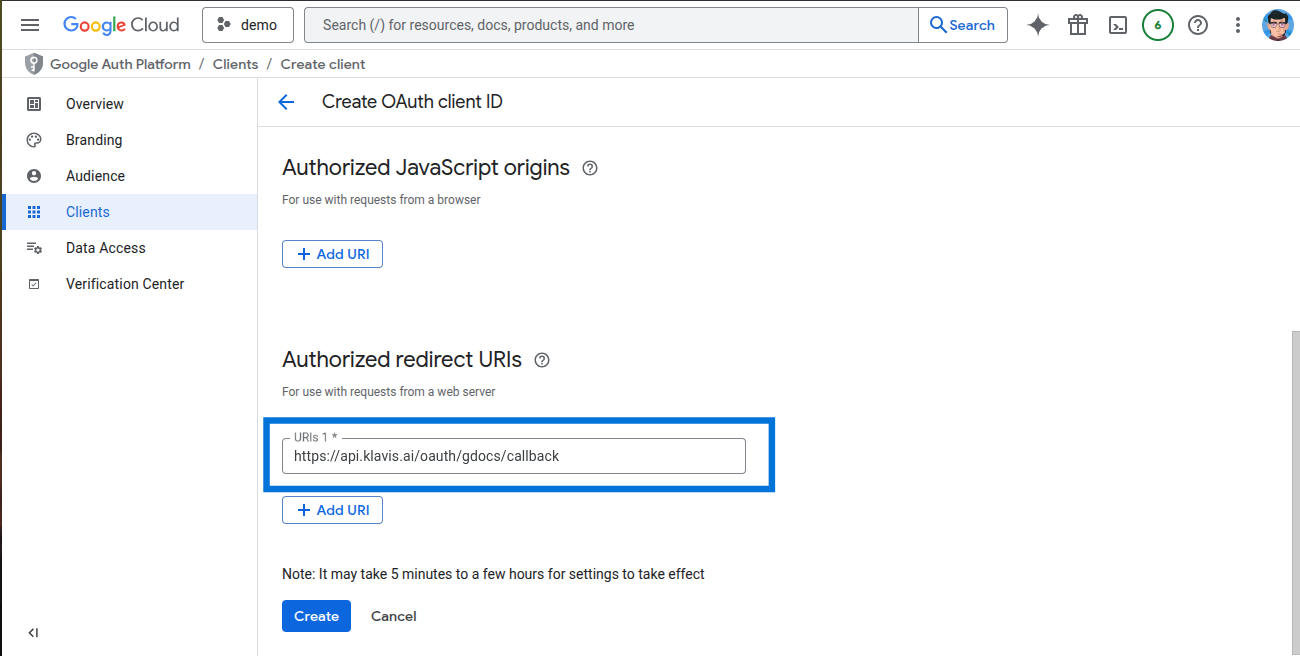
- Choose Web Application and enter the required details.
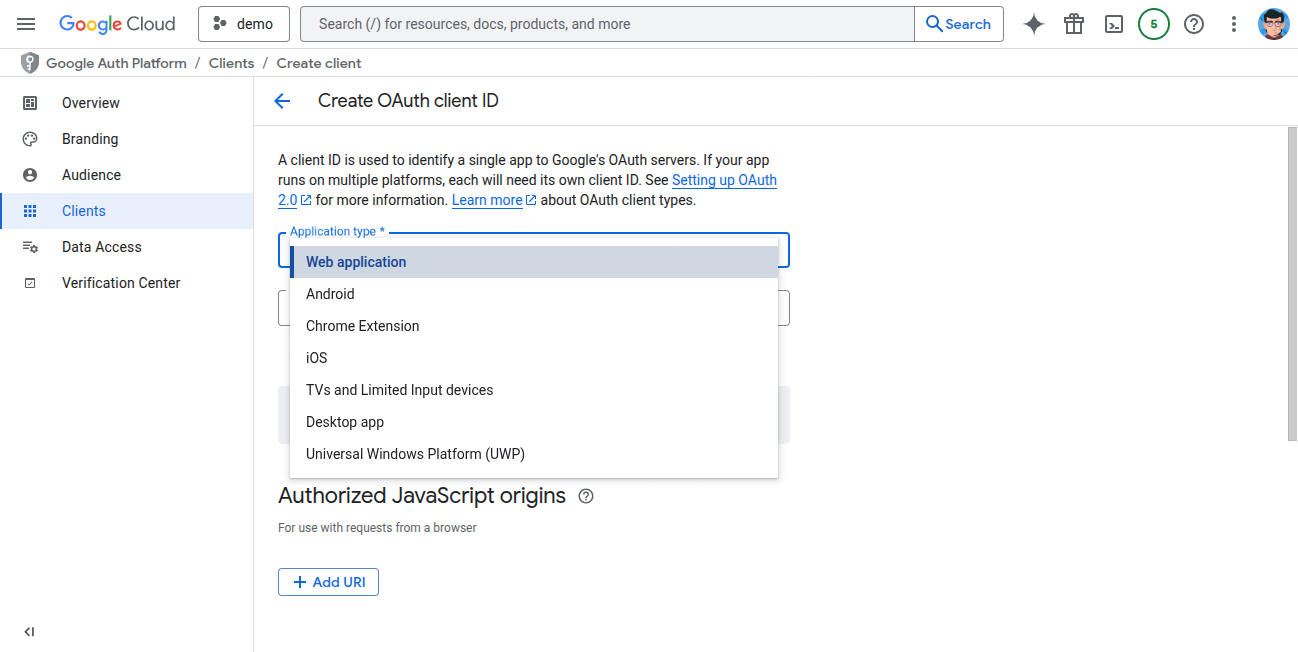
- Add redirect URLs:
https://api.klavis.ai/oauth/gdocs/callbackThen click Create.
- Your Client ID and Client Secret will be displayed.

Step 2: Request Scopes
Klavis Google Docs MCP Server uses the following OAuth scopes:
https://www.googleapis.com/auth/drive- Go to OAuth consent screen.
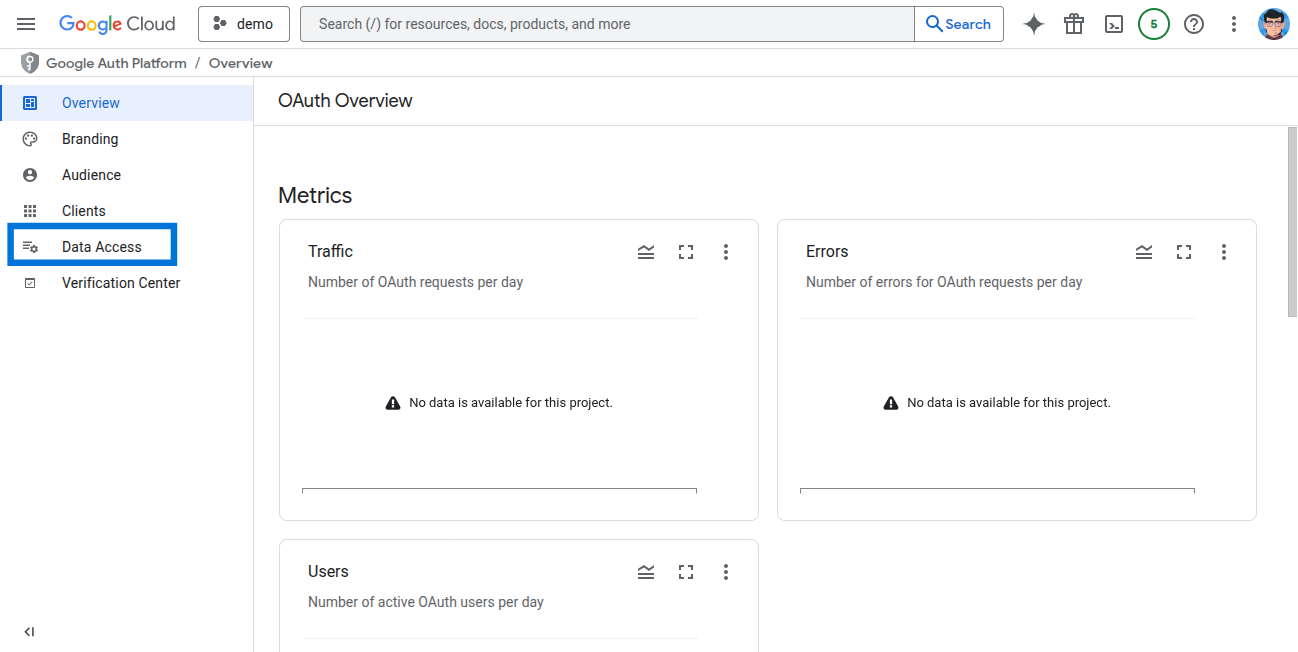
- Click Data Access.
- Click Add or Remove Scopes.
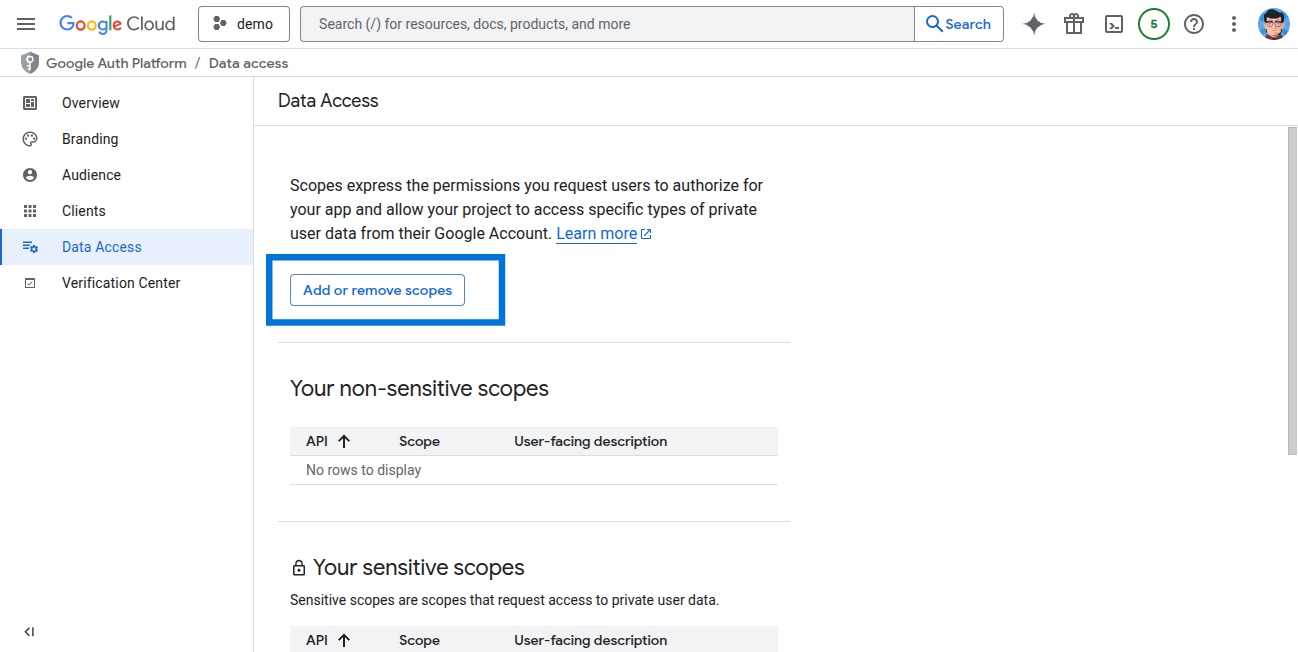
- Enter the needed scopes and click Update.
You have successfully created a Google Docs OAuth application! You now have your Client ID and Client Secret ready for integration with Klavis AI.
(Optional) Step 3: White Labeling
White labeling allows you to customize the OAuth experience with your own branding instead of Klavis AI’s.
- Configure White Labeling: Go to https://www.klavis.ai/home/white-label
- Add Your Credentials: Enter your Google Docs Client ID and Client Secret from Step 1.
-
Set Redirect URI: Use
https://api.klavis.ai/oauth/gdocs/callbackor your custom callback URL. -
Initiate OAuth: Use your client ID when starting the OAuth flow:
For detailed white labeling implementation and code examples, see our OAuth & White Labeling guide.