Developer
Github Copilot
Connect Klavis MCP Servers with Github Copilot in minutes and supercharge your AI coding experience

Quick Setup Guide
1
Access Klavis MCP Servers
Navigate to the Klavis home page and click “MCP Server” in the left sidebar, pick MCP Server you like.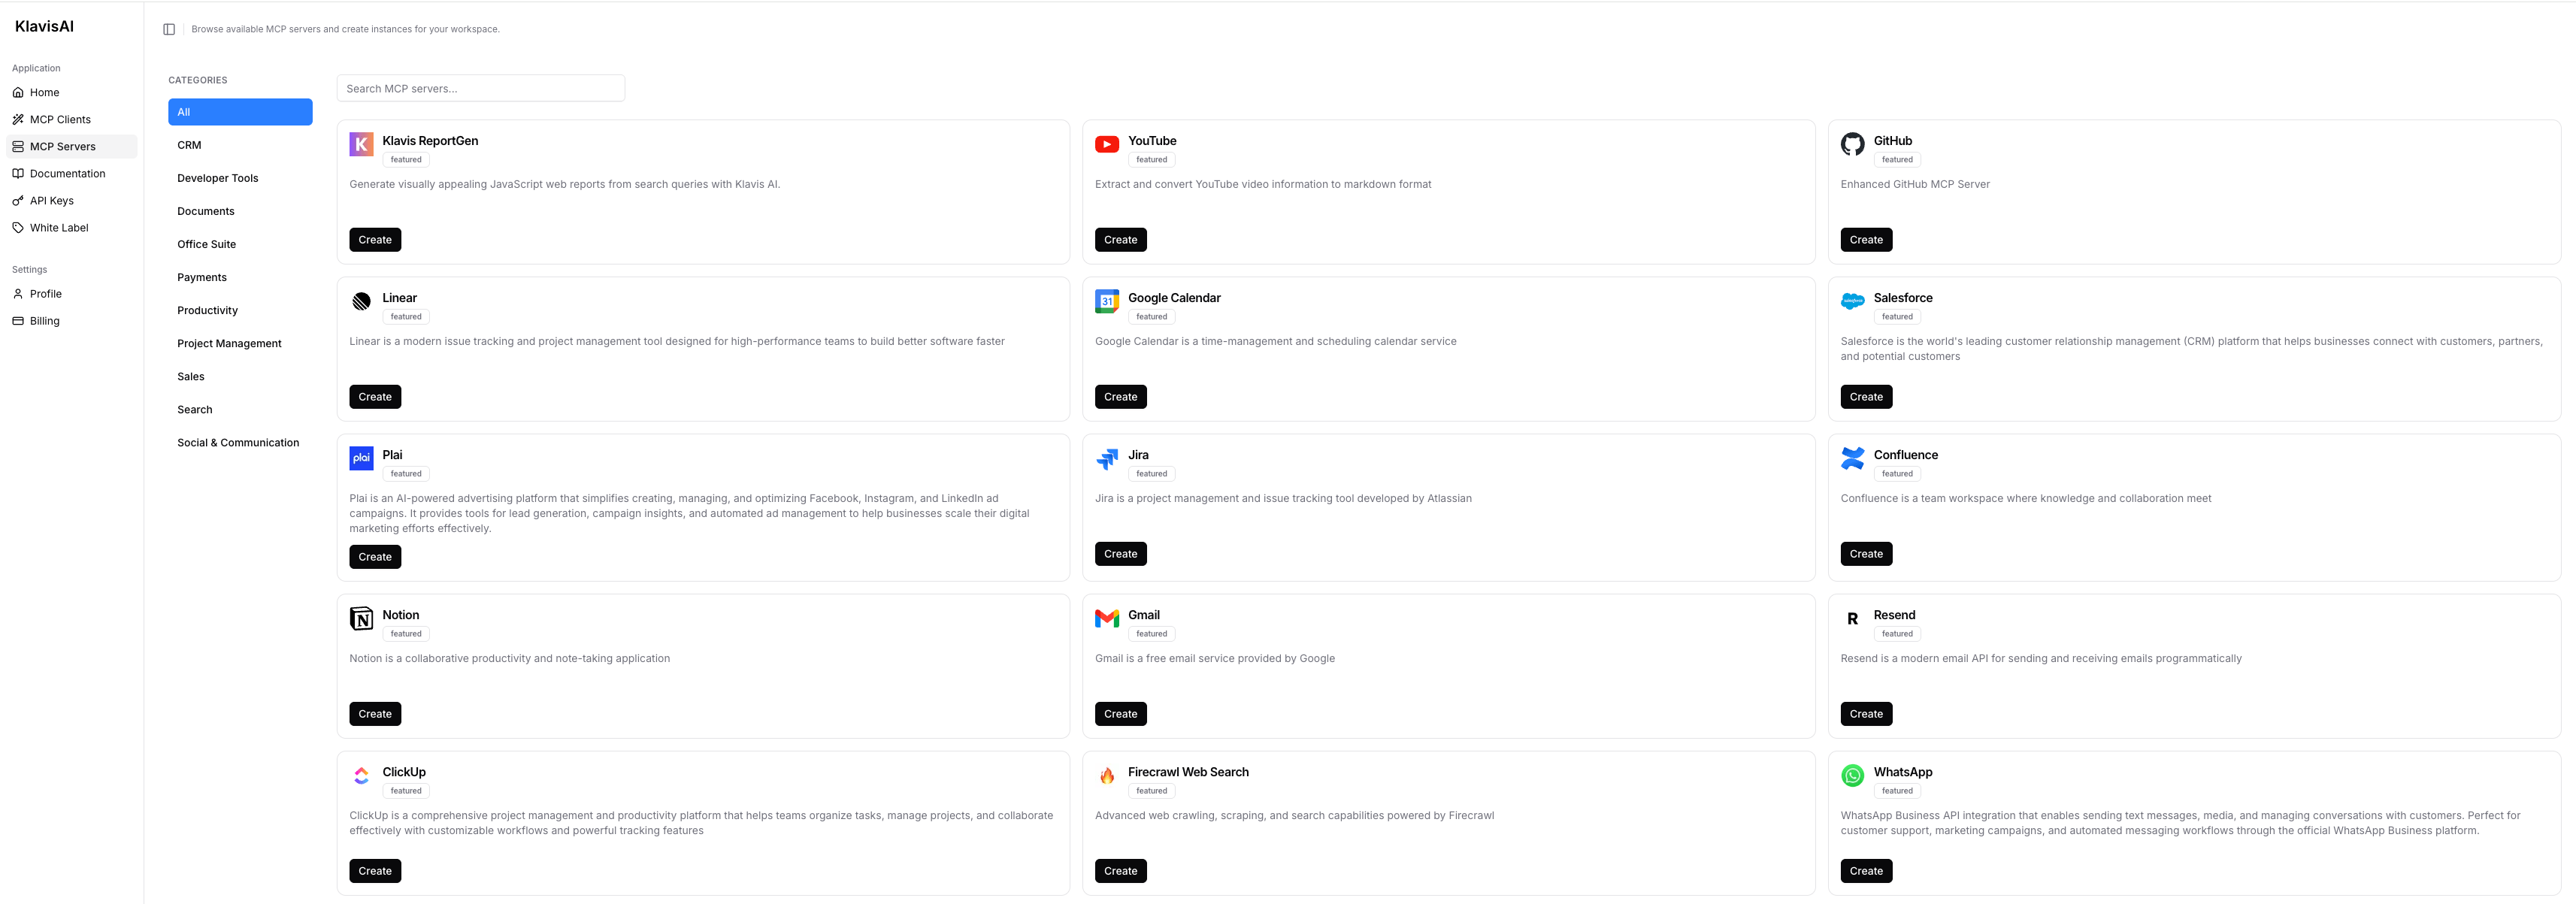
2
Complete Authentication
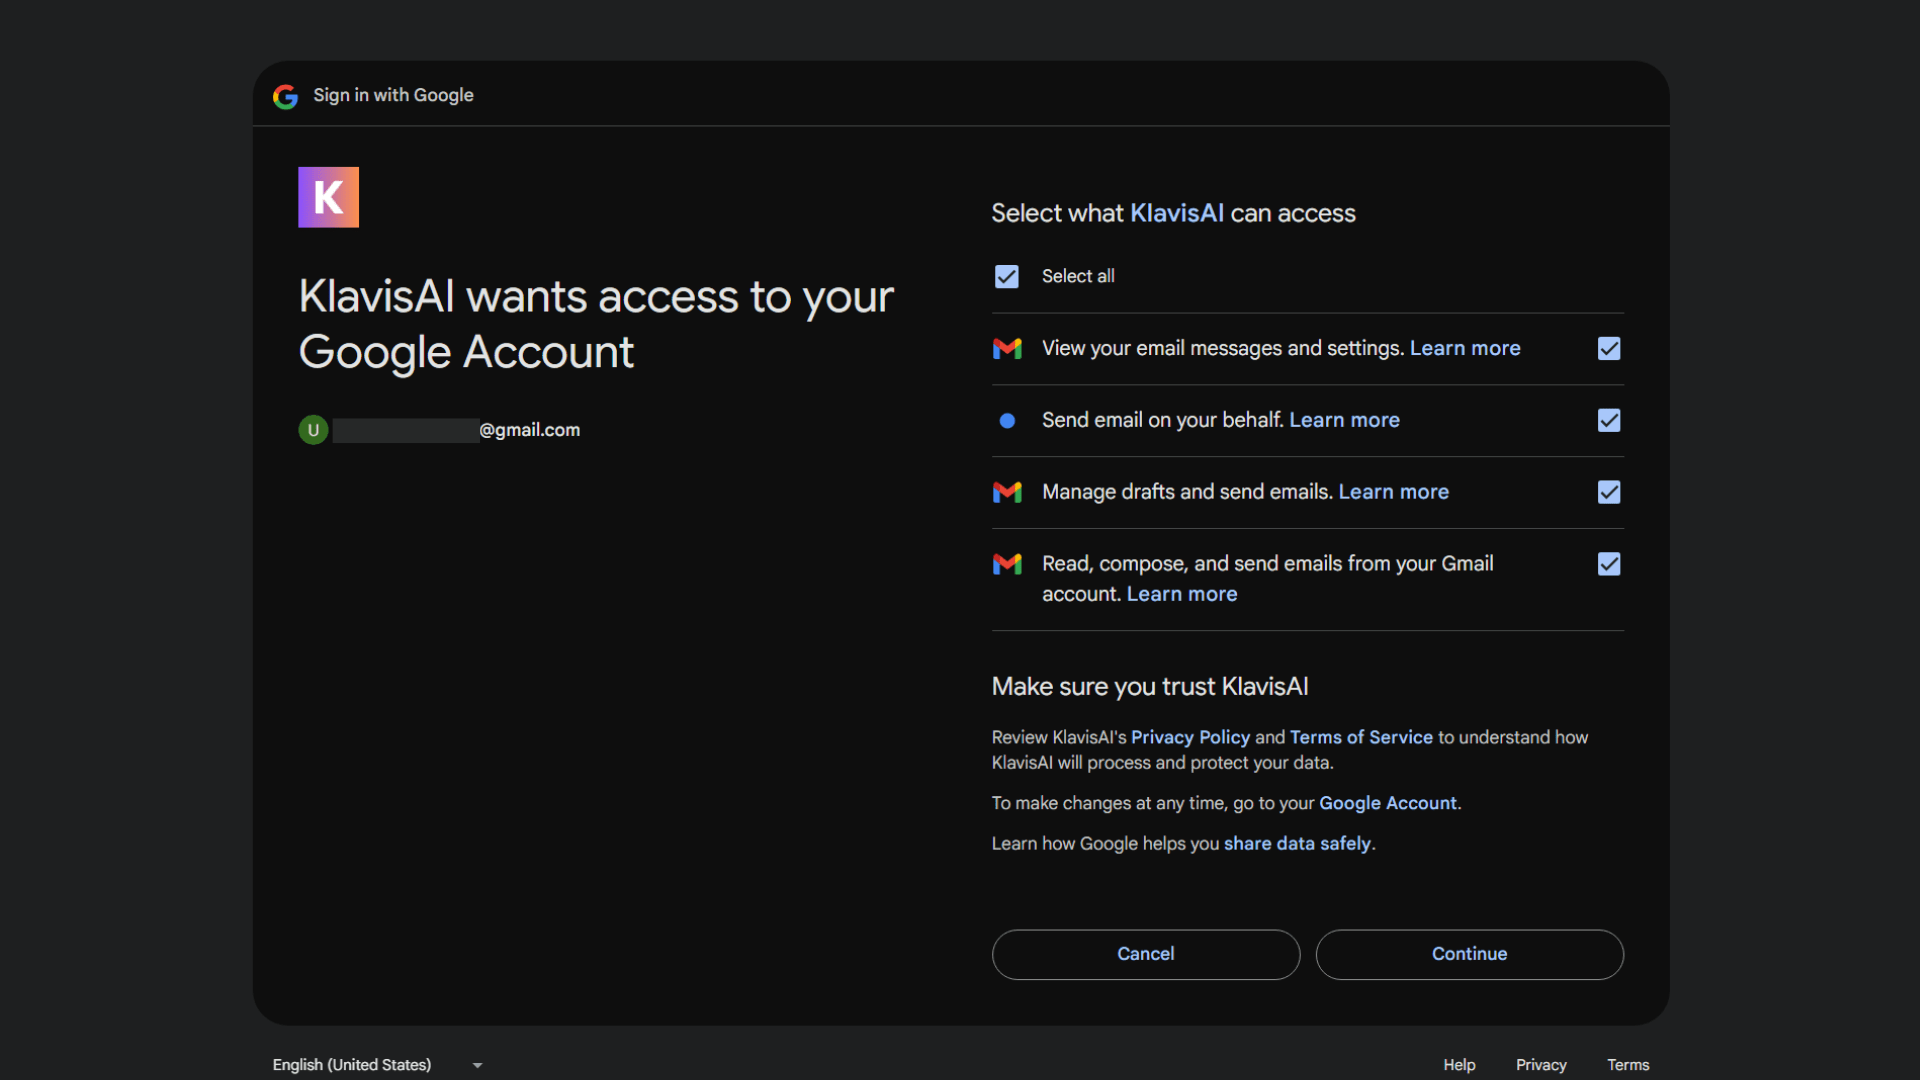
🔐 OAuth Services (Most Common)
🔐 OAuth Services (Most Common)
- Automatically redirected to OAuth authorization
- Sign in to your account (GitHub, Google, Slack, etc.)
- Grant necessary permissions
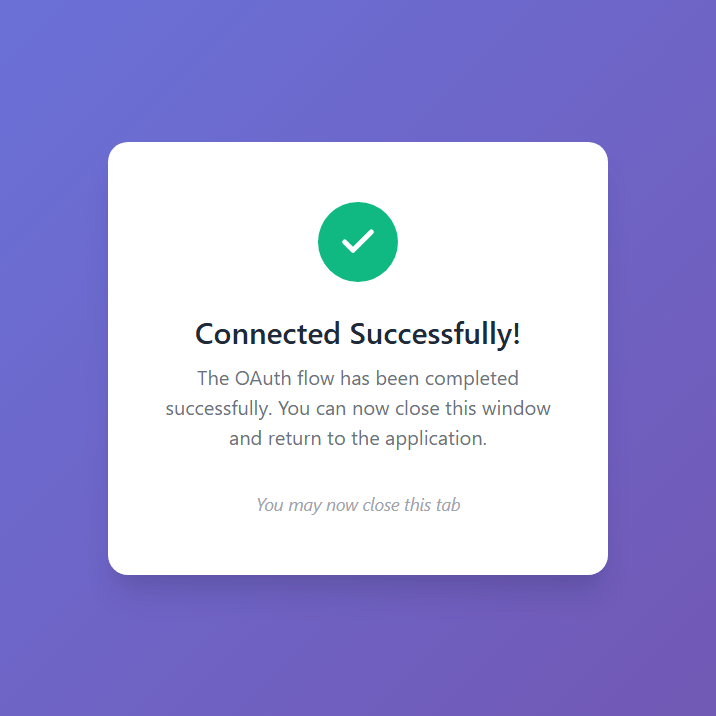
- Redirected back to Klavis automatically
🔑 API Key Services
🔑 API Key Services
- Prompted to enter an API key
- Follow service-specific instructions to generate key
- Paste key in the provided field
- Click “Save” to continue
3
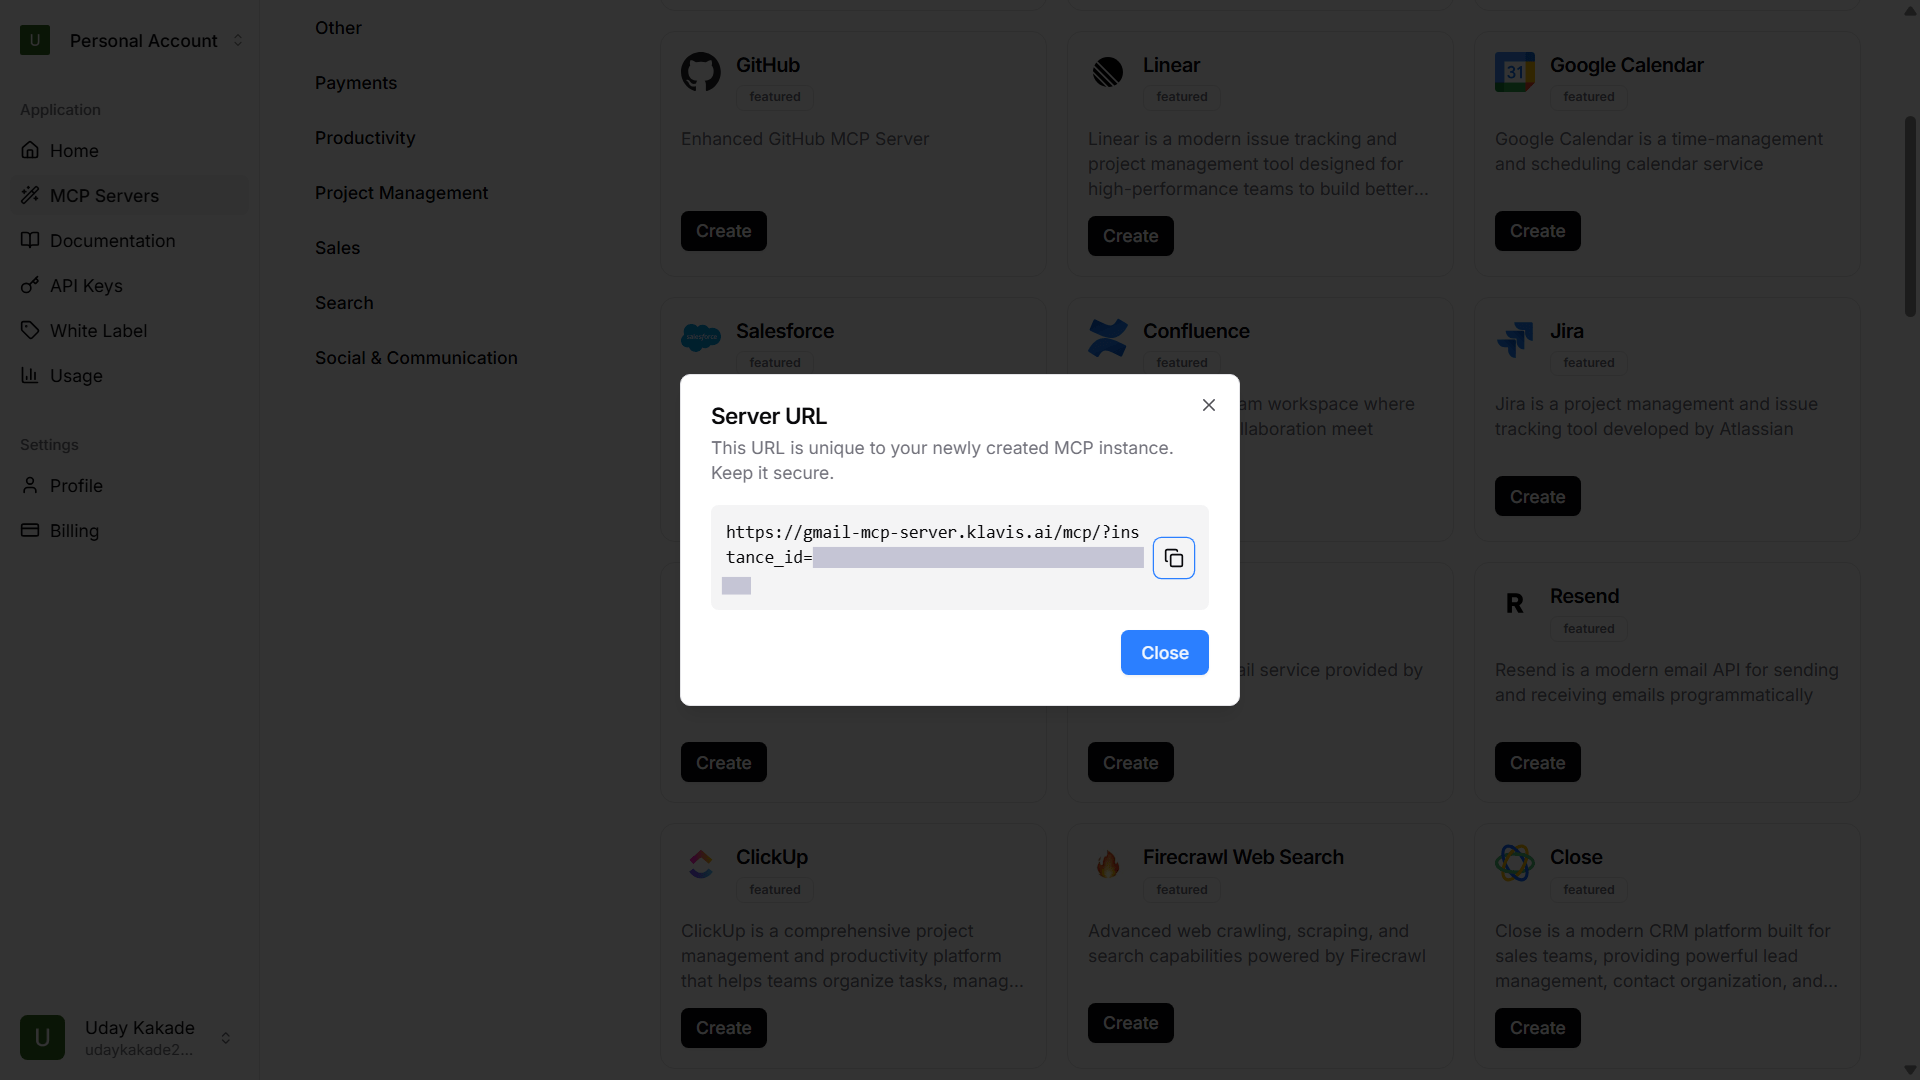
Configure Github Copilot
Copy Your Server URL, open Command Palette in VS Code settings: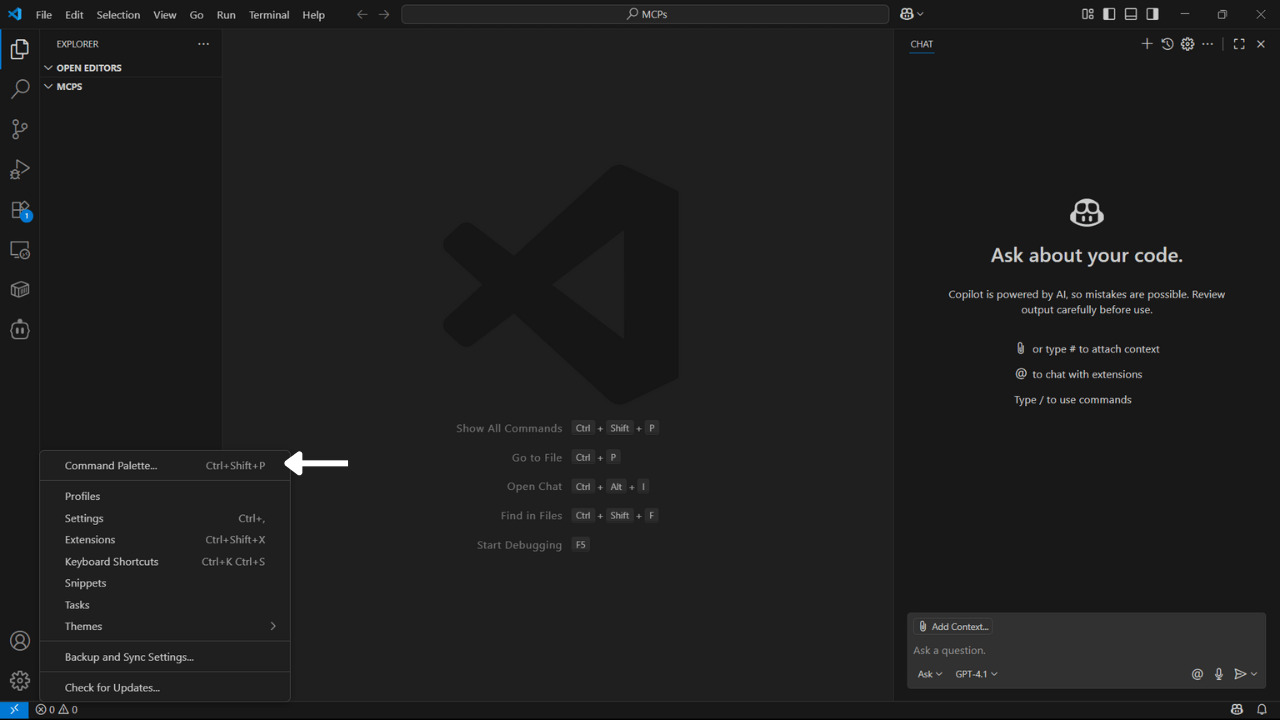
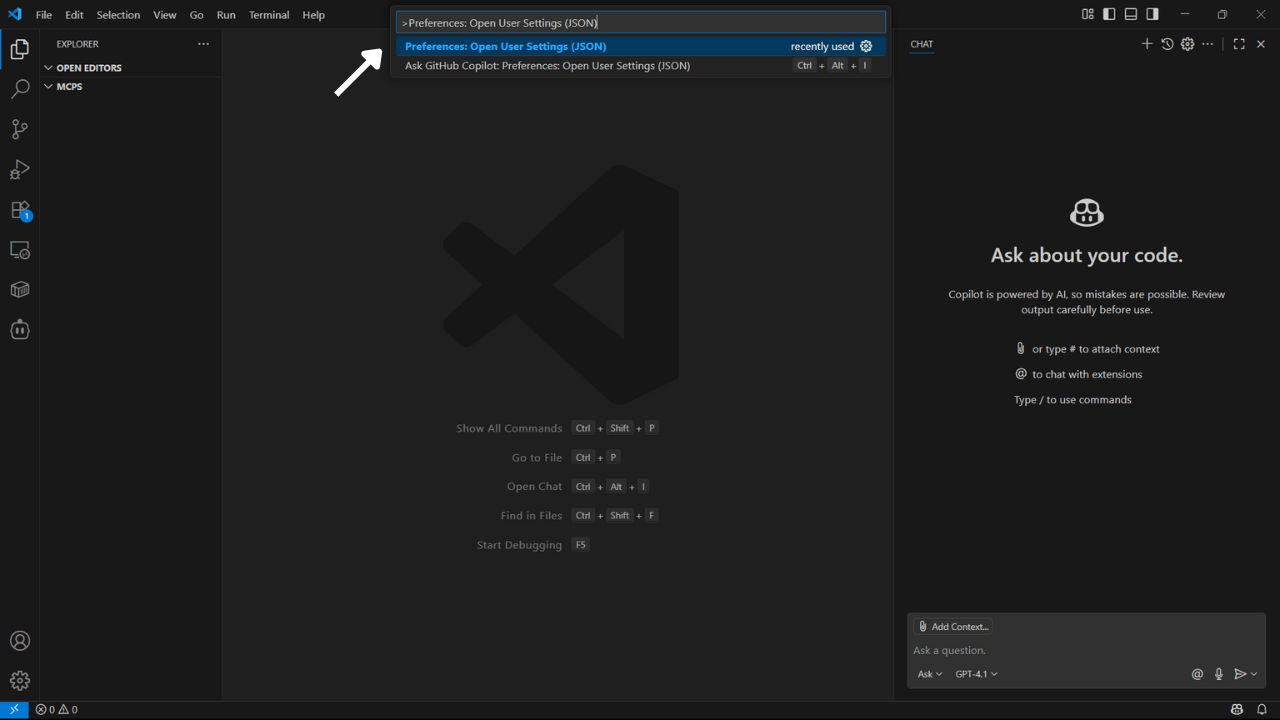

- macOS:
Cmd + Shift + P - Windows/Linux:
Ctrl + Shift + P - Or Settings > Command Palette > Preferences: Open User Setting (JSON)
4
Verify Tools Loading
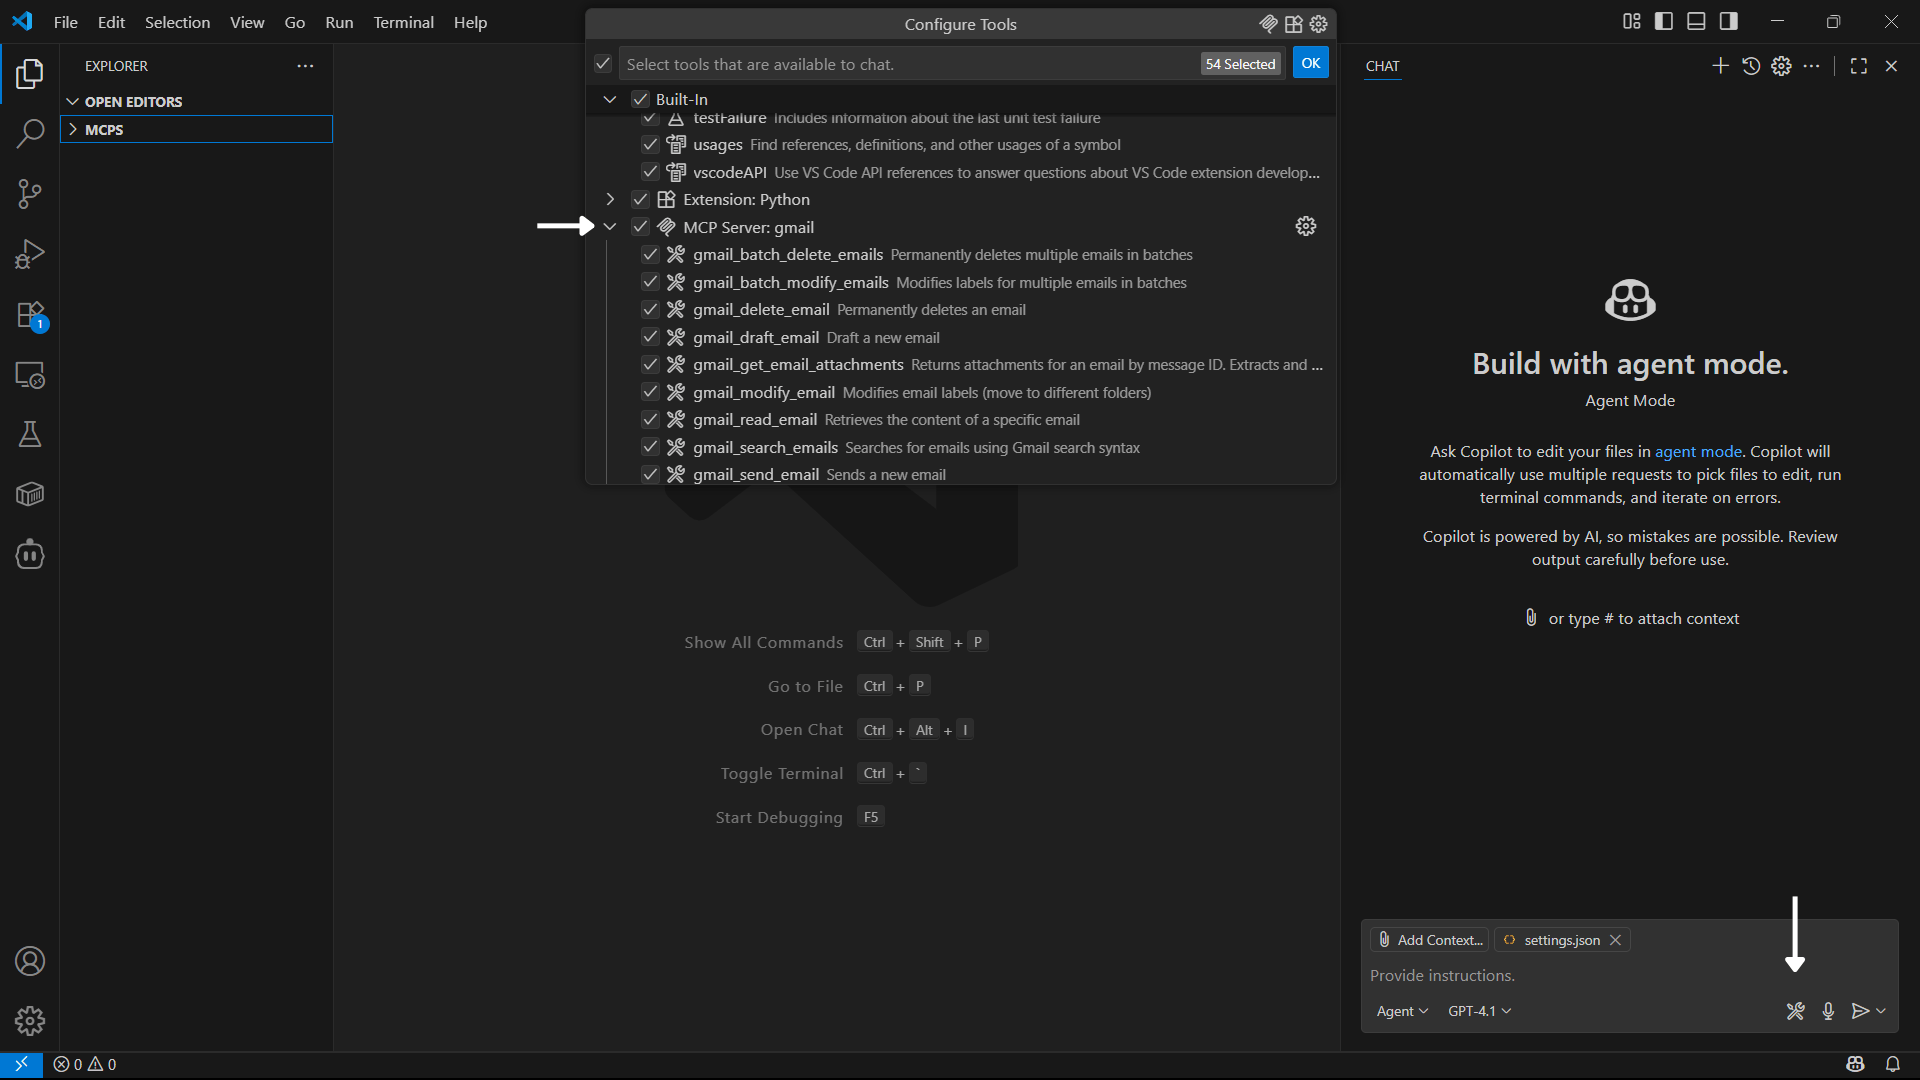
📋 Reopen Github Copilot Settings to apply the new configuration
5
Start Using in Github Copilot Chat
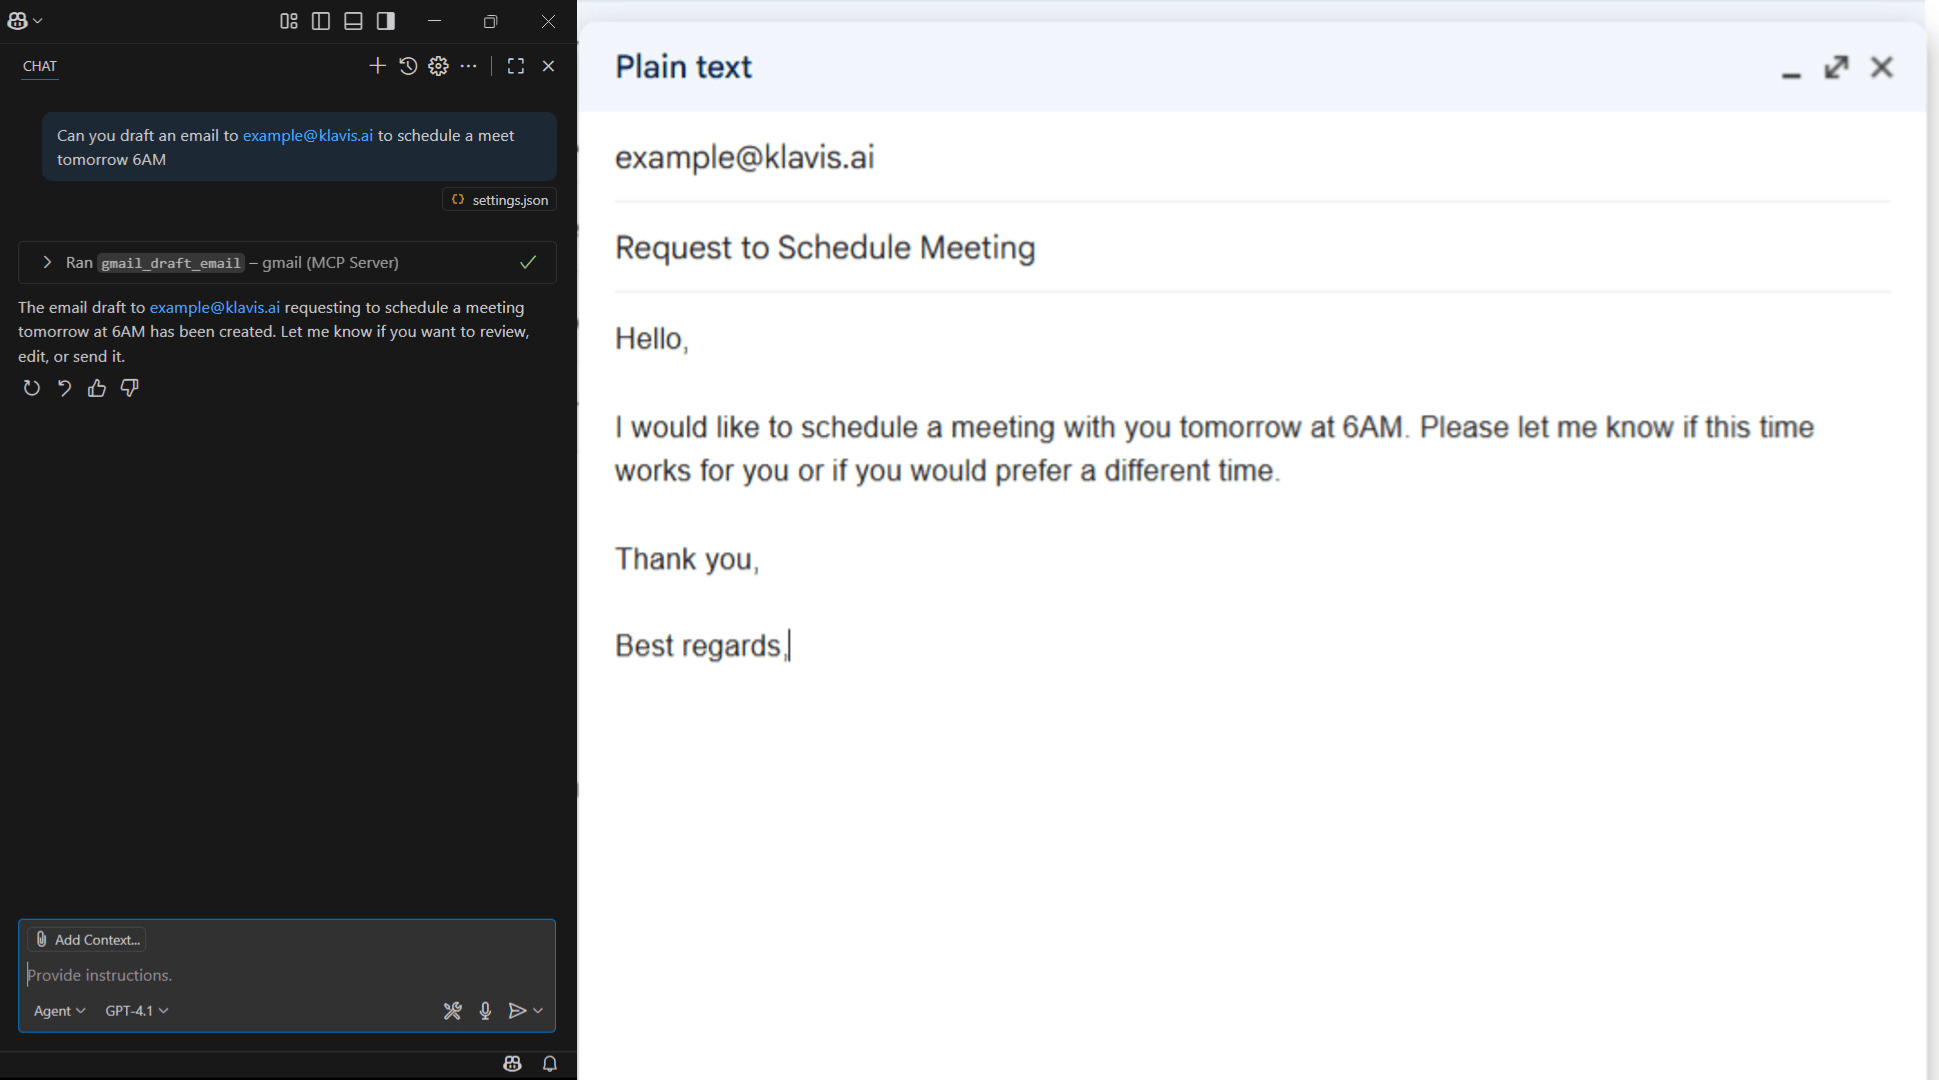
Cmd/Ctrl + I) and start using natural language:🎯 Github Copilot Chat automatically detects when to use your MCP server tools based on context - no need to specify tool names!
6
Happy Building! 🎉
You’re all set! Your MCP server is now integrated with Github Copilot in VS Code IDE.
Troubleshooting
🔧 Tools Not Appearing
🔧 Tools Not Appearing
- Double-check your Server URL for typos
- Ensure stable internet connection
- Verify authentication in Klavis dashboard
- Check VS Code logs (View → Output → GitHub Copilot) for errors
- Try completely restarting VS Code IDE
🔐 Authentication Issues
🔐 Authentication Issues
- Re-authenticate in the Klavis dashboard
- Check if your OAuth tokens have expired
- Verify API key permissions (for API key services)
- Ensure you’ve granted all necessary permissions
⚡ Performance Issues
⚡ Performance Issues
- Limit the number of active MCP servers
- Check your internet connection speed
- Restart VS Code IDE periodically
- Contact support if issues persist
Need Help?
Community
Join our Discord for community support and discussions
Support
Contact our technical support team for assistance